Key Highlights
- WhatsApp allowing option to add music to status update
- Option to add music allowed only with photo and videos uploaded as status
- Some regions yet to recieve this update
- Both Android and iOS users can access this feature
WhatsApp has been testing multiple features that are designed for improving the personalised chat experience on its platform while keeping privacy as the priority. The instant messaging app has also received numerous features that offer an intuitive experience to the users. One of the such features that WhatsApp was testing at the beginning of this year was the option to add songs and music to status updates. Earlier available as a beta version, this update’s stable version is now rolling out to the masses in a phased manner. Both Android and iOS smartphone users will soon be able to upload their favourite music track with their next status update. We have brought you the step-guide for the same.
For the tech geeks, stay updated with the latest cutting-edge gadgets in the market, exclusive tech updates, gadget reviews, and more right on your phone’s screen. Join Giznext’s WhatsApp channel and receive the industry-first tech update.
Also Read: Apple’s WWDC 2025 Dates Announced: What To Expect, How To Watch, More
Before You Proceed

It is worth adding that the option to add music to status update is currently accessible in limited markets. Since the stable rollout is underway in a phased manner, users in some regions won’t be able to use this feature. That said, there is another catch to adding music as a status upload. WhatsApp is currently only allowing users to add music in Status uploads for images and videos. There is still no option to add music to the statuses containing texts, GIFs or stickers. Also, your WhatsApp application has to be updated to the latest version. Try checking for any pending updates manually.
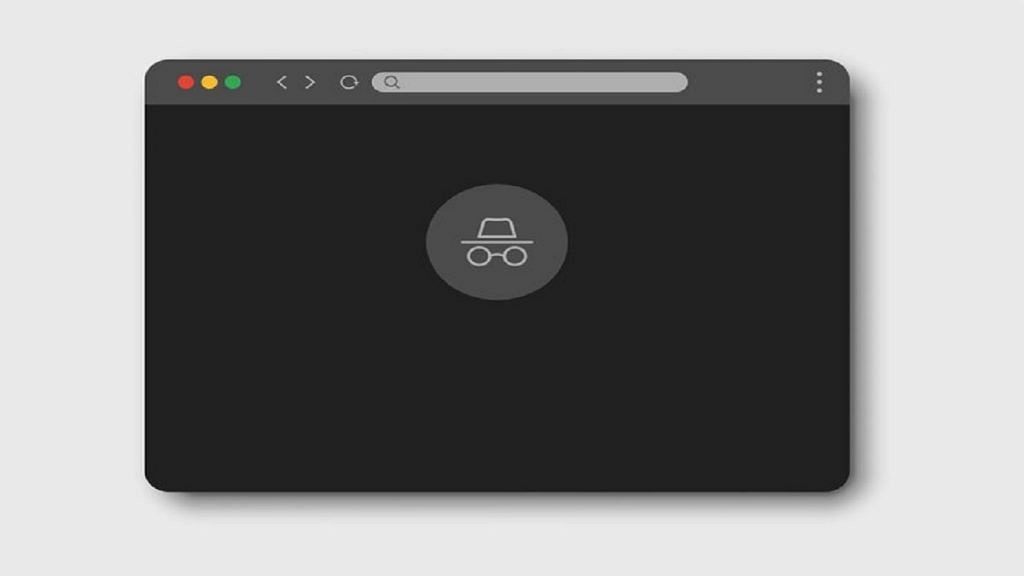
Also Read: Incognito Browsing Not So Private! Steps To Check Incognito Mode Browsing History And How To Delete
Steps To Add Music To WhatsApp Status Uploads On Both Android, iOS Devices

Step 1: Open the WhatsApp mobile application
Step 2: At the bottom of the app’s home page, click on the ‘Updates’ section
Step 3: Now, tap on the ‘Add media’ option (camera icon with a + symbol). This will open up your phone’s gallery.
Step 4: Select the image or video that you wish to upload as your WhatsApp status
Step 5: After selecting the media file, you will see a add music tab on the top. Click on it.
Step 6: You will be redirected to the music browser where you can search for any soundtrack
Step 7: Now, using the progress bar trim down and select the specific part of the soundtrack that you want to add to the Status upload.
Step 8: Click on Done to set the selected music part to the Status upload