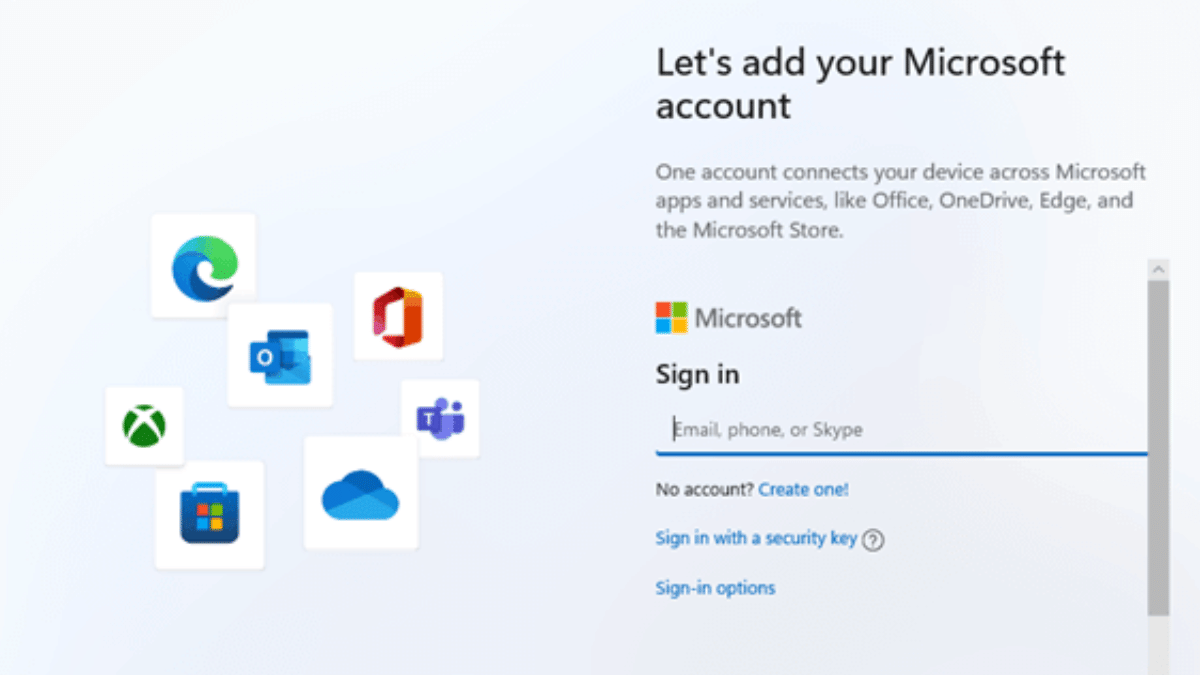
Want to install Windows 11 but don’t want to create or sign in with a Microsoft account? Well, you are not alone. With Microsoft pushing users towards its online account system, many people prefer a good old local account for privacy and simplicity. However, there’s still a clever workaround that works with the latest Windows 11 24H2 update. Whether you are doing a clean install or setting up a new laptop, this guide will walk you through the current method to bypass the Microsoft account requirement.
Step-by-Step: Install Windows 11 Without A Microsoft Account
Here’s how to do it:
Step 1: Begin the Windows 11 installation. When you reach the ‘Choose your country or region’ screen, pause. This is where you prepare to block the mandatory Internet connection check.
Step 2: Press Shift + F10 to launch the command prompt window.
Step 3: Type this command exactly: OOBE\BYPASSNRO and press Enter. Your PC will restart and bring you back to the same setup screen, now with the Internet check bypassed.
Step 4: Once the system reboots, press Shift + F10 again. In the Command Prompt, type ipconfig /release and hit Enter. This will disable the network. Alternatively, unplug your Ethernet cable or turn off your Wi-Fi.
Step 5: Close the command prompt and go through the region and keyboard selection screens as usual.
Step 6: When Windows asks to connect to a network, click on ‘I don’t have Internet’.
Step 7: You will be prompted with ‘Continue with limited setup.’ Click it, and Windows will let you create a local account.
Step 8: Now you will see the screen asking ‘Who’s going to use this device?’ Enter a name, set a password (optional but recommended), and continue the installation.
With this method, you can successfully install Windows 11 without a Microsoft account, even on the latest 24H2 build. It’s a simple trick but gives you full control over your setup and privacy.
For the tech geeks, stay updated with the latest cutting-edge gadgets in the market, exclusive tech updates, gadget reviews, and more right on your phone’s screen. Join Giznext’s WhatsApp channel and receive the industry-first tech updates.
WhatsApp requires an active internet connection for message sending messages and media
It can also be used without internet
This method required workaround via linked devices feature
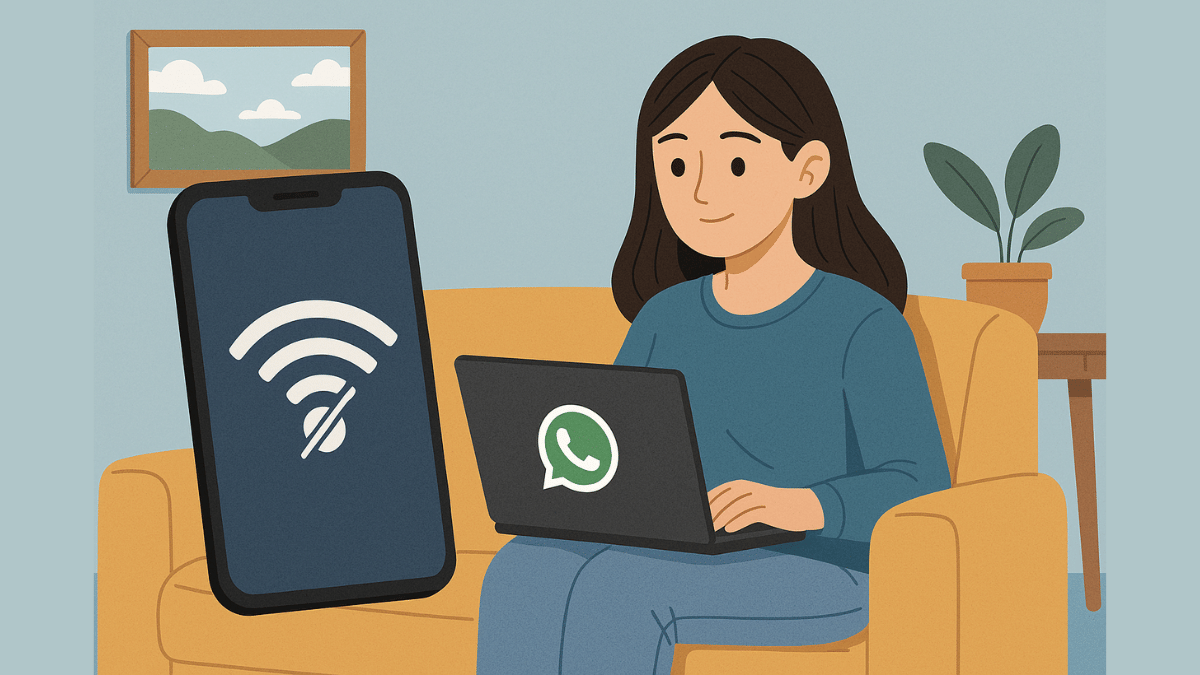
WhatsApp is the modern day messaging app on which we rely for daily texting and media transfers. The instant messaging mobile app has definitely simplified our lives and remain the top preferred choice for all personal and professional conversations. But to use all WhatsApp services a smartphone with working internet is must. Or not? Ever imagined using WhatsApp without both internet and your smartphone? That too, without compromising on privacy and security aspects keeping your chats all private? What if we tell you there’s a workaround where you can use WhatsApp without your smartphone and internet. Fone out more below:
For the tech geeks, stay updated with the latest cutting-edge gadgets in the market, exclusive tech updates, gadget reviews, and more right on your phone’s screen. Join Giznext’s WhatsApp channel and receive the industry-first tech updates.
Is It Possible To Use WhatsApp Without Internet Or Your Smartphone?
While there is no direct option to use WhatsApp without internet on your smartphone, there are a bunch of few features that can help you with all your conversations. There is the Schedule messages feature that comes handy when you know you won’t be able to access internet for WhatsApp and yet need your messages to be delivered on time.
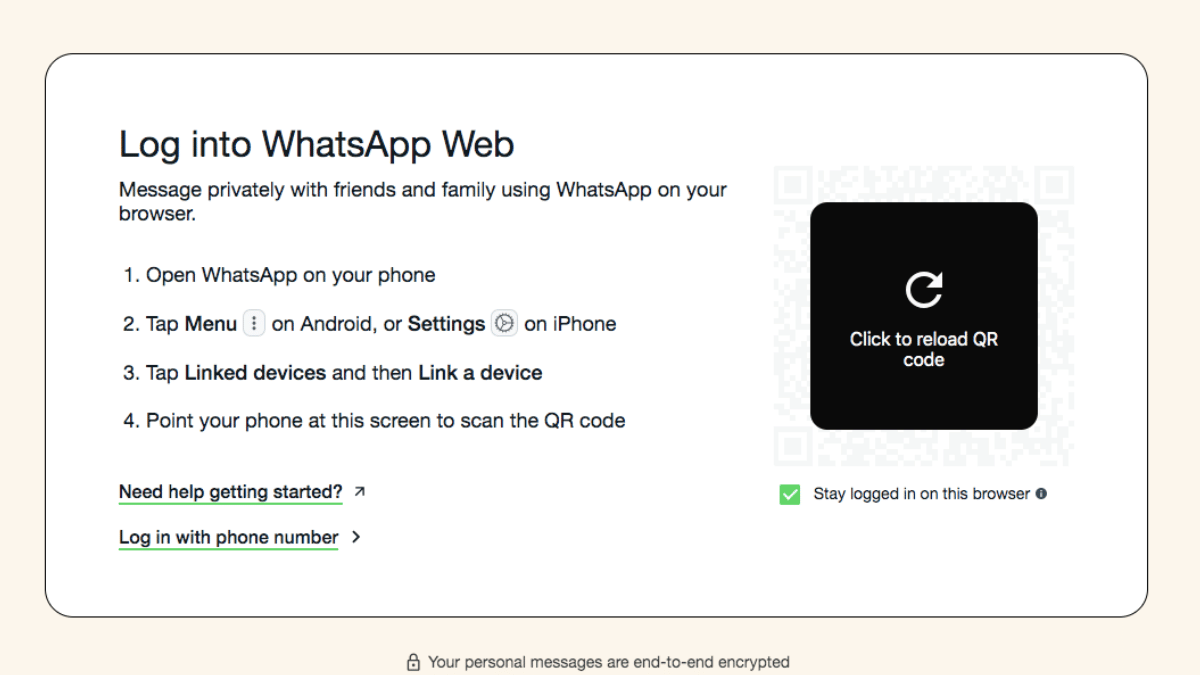
But if in case your smartphone battery is drained and it can get switched off any moment, then the Linked Devices feature is what comes to the rescue. You can continue with your chats on a separate smartphone/ laptop, or PC via this WhatsApp feature. This paired device functions independently from the primary device while providing all levels of safety.
Scammers trick people into merging calls to steal OTPs and money
Never merge calls with unknown numbers or share OTPs
Report suspicious calls to your bank and the cybercrime helpline (1930)
A new scam is on the rise in India. The fraudsters are tricking people into merging calls and unknowingly sharing their OTPs. This allows scammers to complete unauthorized transactions and steal money. Authorities have warned users to be extra cautious and avoid merging calls with unknown numbers. Let’s get to know more.
A scammer calls, pretending to be a friend or someone who got your number from a known contact.
They ask you to merge the call with another number, claiming it’s your friend or a bank representative.
The second call is actually an OTP verification call from your bank and the scammer tricks you into sharing the OTP.
Once the OTP is shared, the fraudster completes the transaction and steals money from your account.
How To Protect Yourself
Never merge calls with unknown numbers: Be cautious when someone asks you to add another caller.
Verify the caller’s identity: If someone claims to be your friend or a bank official, call them back on a trusted number to confirm.
Report suspicious OTP requests: If you receive an OTP for a transaction you didn’t request, call 1930 (cybercrime helpline) and notify your bank immediately.
Why You Should Be Concerned
A recent survey found that over one-third of people in India have been victims of online scams. According to a report by global analytics firm FICO:
60 percent of people received scam messages.
54 percent knew someone who had been scammed.
The number of people losing more than Rs. 8 lakh doubled in 2024 compared to 2023.
What To Do If You Merged A Call With A Scammer?
Don’t share any OTPs or personal details.
Hang up immediately and contact your bank.
Call 1930 to report the scam.
Monitor your bank account for suspicious transactions.
Scammers are finding new ways to trick people, but awareness is the best protection. Never share OTPs over the phone, and always verify calls before taking action.
For the tech geeks, stay updated with the latest cutting-edge gadgets in the market, exclusive tech updates, gadget reviews, and more right on your phone’s screen. Join Giznext’s WhatsApp channel and receive the industry-first tech updates.
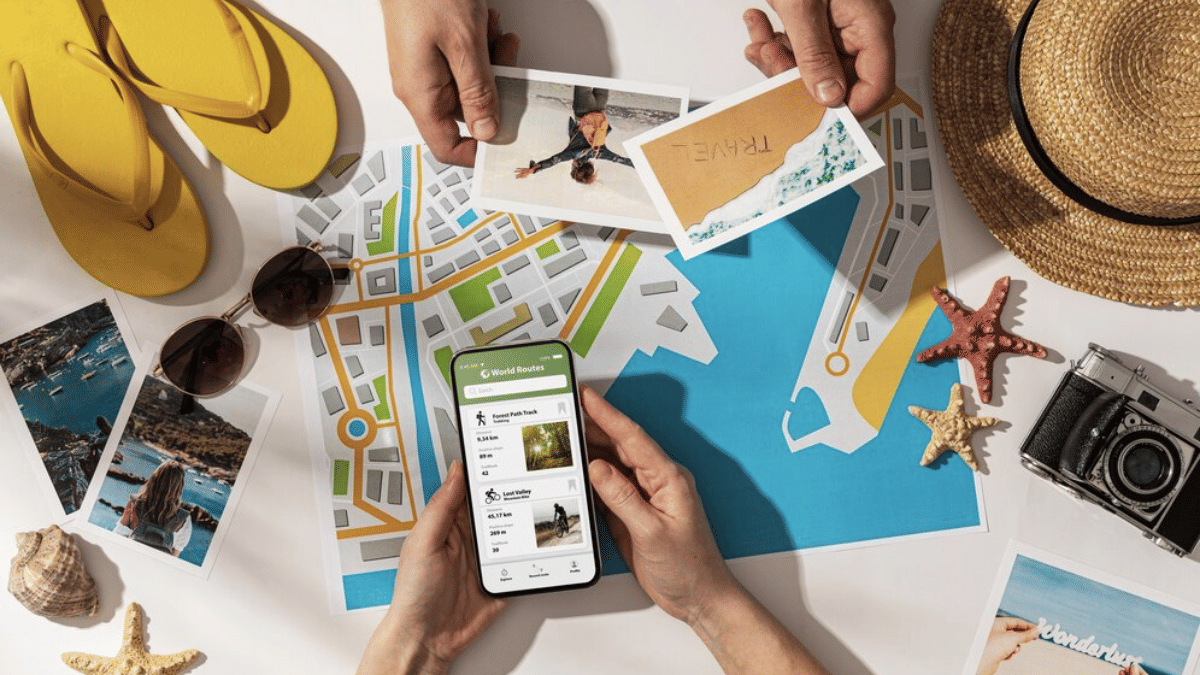
AI-enabled apps and tools can be used for travel and vacation planning
Finding cheap flight an train tickets is now possible via AI tools
Pre-reservations of hotels and resorts can also be done via AI apps
With exams getting over, vacation planning is likely going on with full swing amongst families and friends. We believe you might have started that long tiring search for the best destination to travel this summers. For the ones planning a trip to Himalayas, beaches, or even international destinations, AI chatbot and tools can come to the rescue. With travel apps and agencies getting onboard with AI tech, planning travel and vacations is simple than ever. From reserving flight/ train tickets, to booking accomodations and finding route suggestions, all can be done without much efforts using AI. Let’s explore the ways that can help you plan your vacations this summer to your favourite destination.
For the tech geeks, stay updated with the latest cutting-edge gadgets in the market, exclusive tech updates, gadget reviews, and more right on your phone’s screen. Join Giznext’s WhatsApp channel and receive the industry-first tech updates.
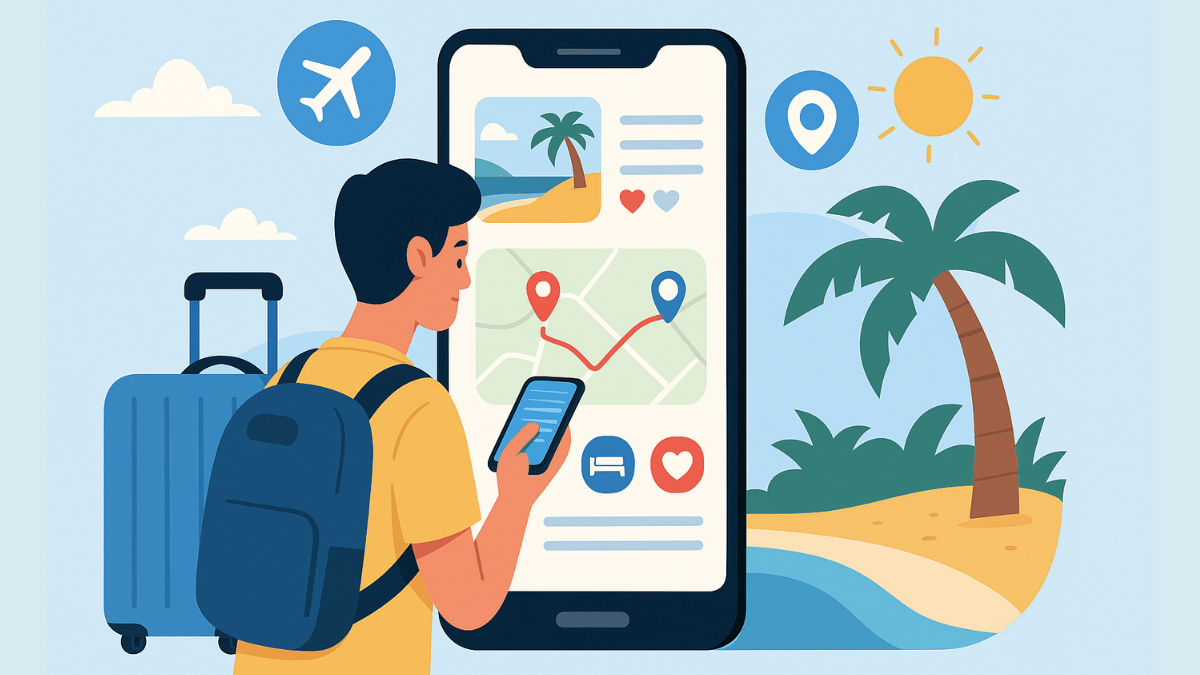
How To Use AI For Summer Travel Planning Effortlessly
1. Use AI Apps/ Tools To Find Cheapest Flights & Hotels
Most of the popular travel app such as Google Flights MakeMy Trip, Ixigo, Scyscanner have incorporated AI to help users search for cheapest flight/railways tickets along with stays. This helps with advance planning while keeping a check on the budget.
Can help with prediction and tracking cheapest flight tickets along with the month or timeline when the fares are lowest.
Allows price comparison for tickets for different airlines and hotels
One can also get discounts and offer alerts using AI travel apps and tools
Expert Tip: MakeMyTrip and Goibibo travel apps are best for making last-minute bookings for hotels. Both platforms offers deals and packages for long as well as short stay options.
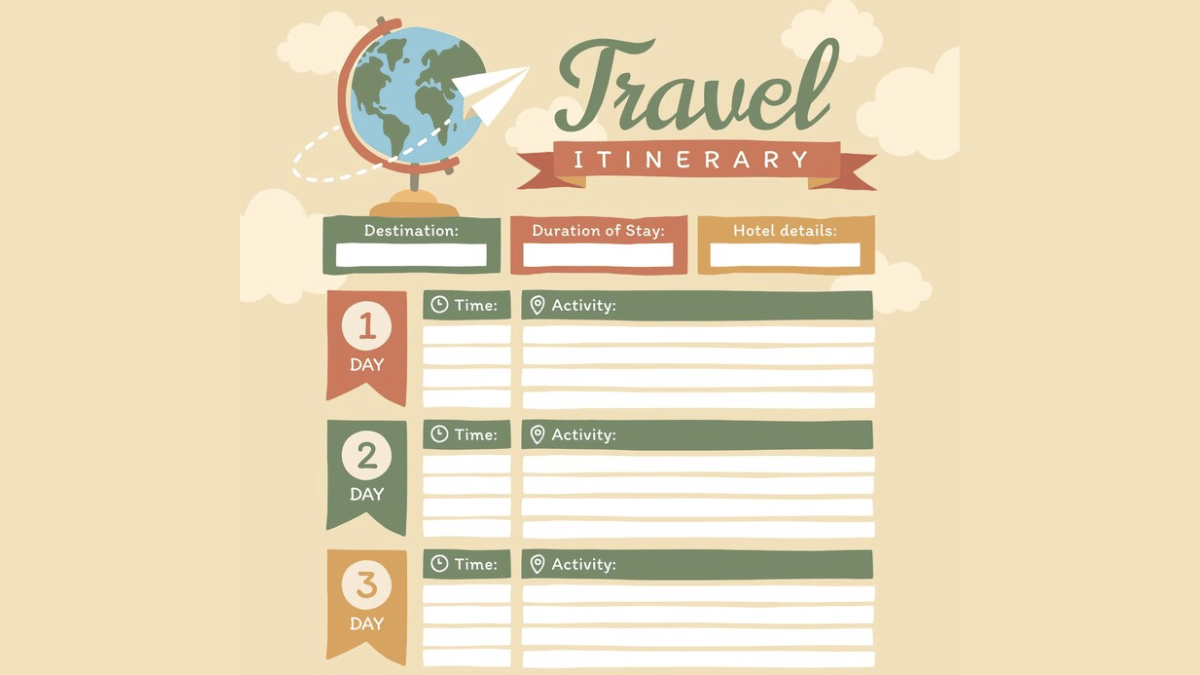
2. Create Customised Travel/ Stay Itinerary Using AI
AI tools besides helping to find cheapest flights and hotels can help you create a customised itinerary as well. You can make use of ChatGPT and Gemini AI for the same. All you need is to share details of the journey including dates, number of days of the trip, your preferences while travelling, and also budget. Adjustments and further customisations can be done using the same AI chatbots.
Domestic travel via trains and busses makes more sense of your destination is roughly an overnight journey. IRCTC, the official Indian Railways train booking app is now AI-enabled and can help with all bookings with just a few taps. Likewise, you can use RedBus app for reserving bus tickets for your destination. The AI integrated in these apps helps with faster and confirmed ticket booking. Additional tasks that these helps with are:
AI apps can also help you keep a check on the weather which is necessary before you hit the roads. This is specifically if you are planning your visit to destination with high chances or rainfall or snowfall or extreme heat conditions. You can check early weather predictions (Week-wise or month-wise) using AccuWeather, Rainbow weather, and others are AI-enabled and can predict weather effectively allowing you to plan your travel well in advance.
AI travel apps can also help you with effective budget management for your summer vacation travels. And for the international travellers, currency apps such as Instarem and Niyo Global can help you with rate conversions. Users can also keep a track of their travel expenses and expenditure further making it simple to avoid overspending of funds.
Travelling is essential for reviving your brain and energies and also for new experiences and memories. However, unplanned vacations or travels can be a nightmare if you are planning to visit an entirely new destination. And if you are with our family, it is always advised to make bookings well in advance. Specifically, when the tourist season is at peak, finding stays and travel options could be difficult. Hence, AI tools can make our jobs much easy by planning our trips, train/ flight, and hotel reservations.
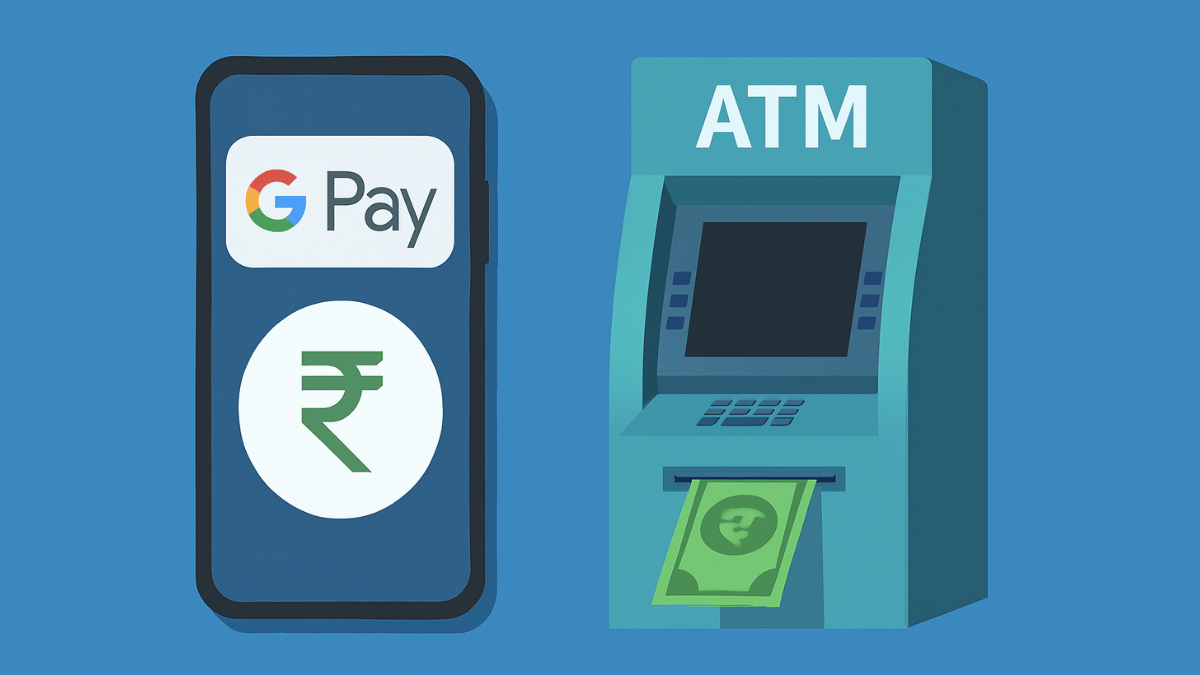
Cash withdrawal possible without physical cards at ATM
Smartphones comes to the rescue here
UPI and bank apps used for card-less withdrawals at ATM
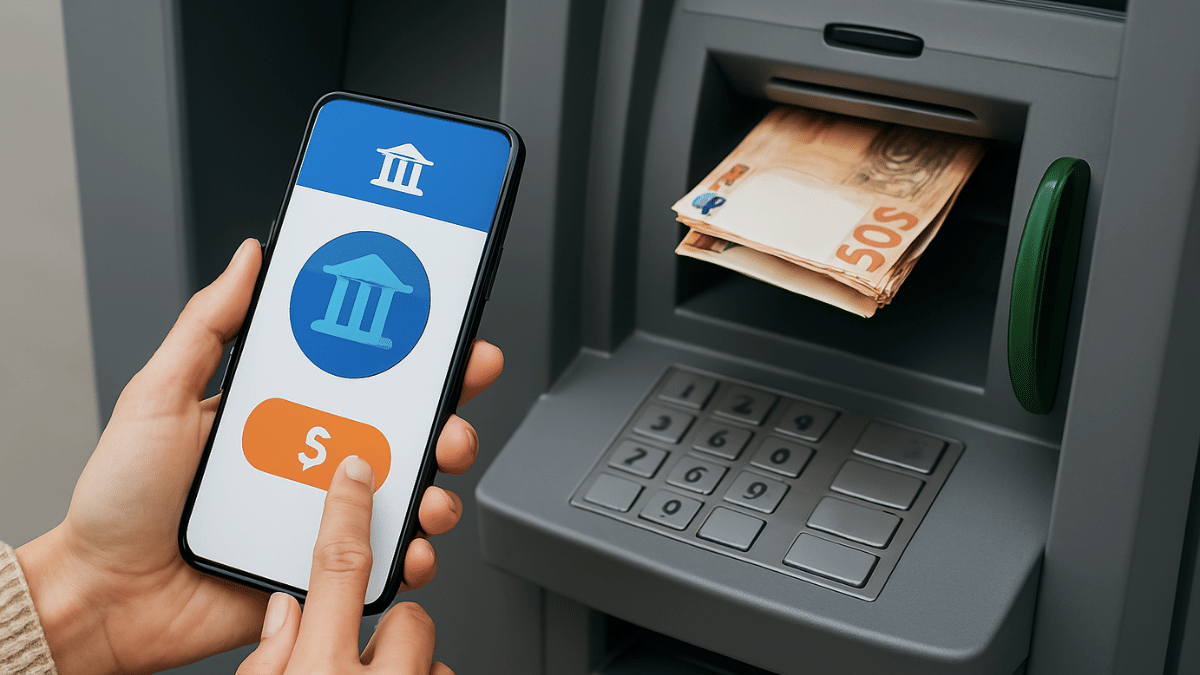
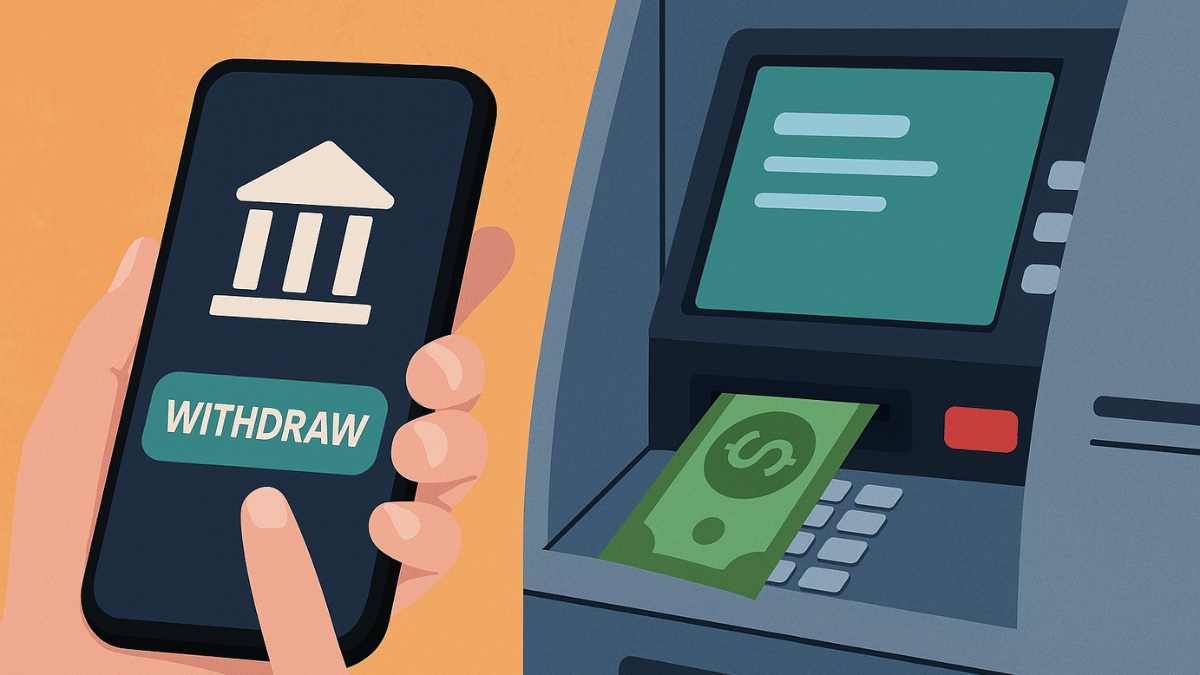
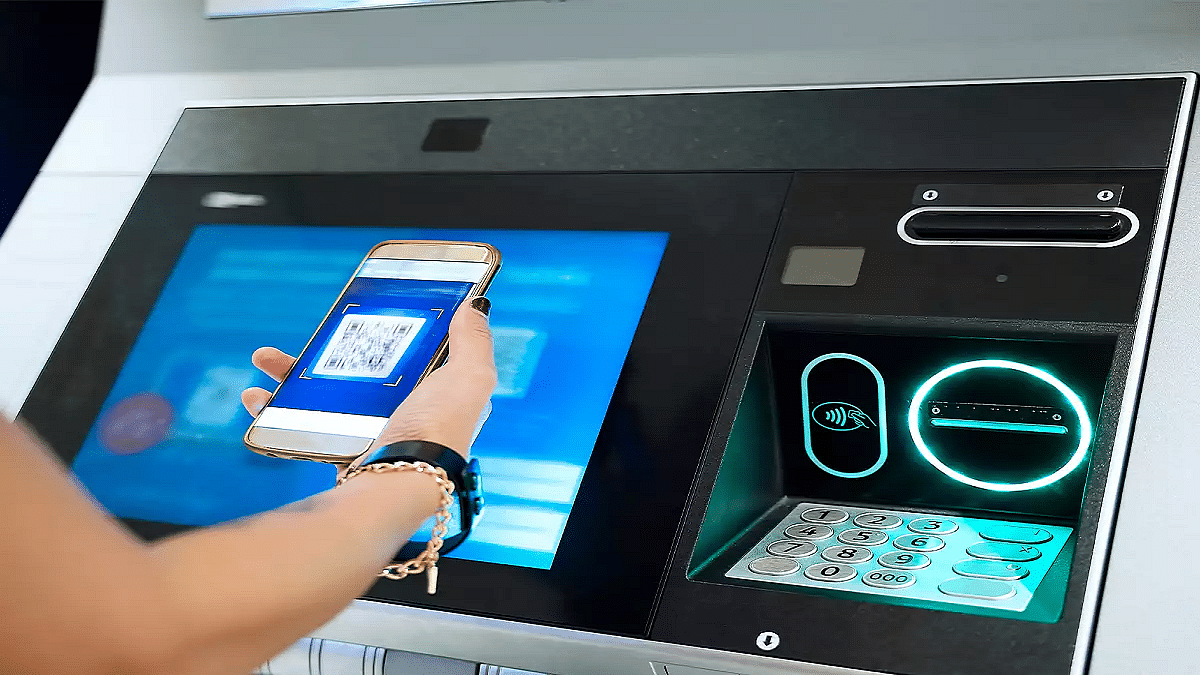
Ever been in a situation where you need to withdraw cash for emergencies and don’t have the ATM card? It’s definitely one of those scary situations that you would wish to avoid. Not any more? Modern day banking have made it easy for account holders to withdraw money from ATM machines without any physical ATM card. All you need now is a smartphone with working internet connection. Here in this guide, we’ll take you through the process of withdrawing money from ATMs with just your smartphones.
The answer is yes. You can now easily withdraw cash from any ATM even if you aren’t carrying a physical debit or credit card. All thanks to the digital banking which now is more secure and making lives easier for the masses. By downloading the bank’s mobile app or via UPI apps, cardless cash withdrawals can be done at the ATMs.
Safety From Scams and Card Thefts – Helps with enhanced safety while money withdrawal by ruling out possibilities of card skimming or thefts at the ATM.
Hassle Free Cash Withdrawal– Cuts down on hassle of carrying physical ATM cards everywhere and helps with withdrawal even if there is no card.
Multiple features available to enhance payment services
Payment Split feature available for easy bill splits
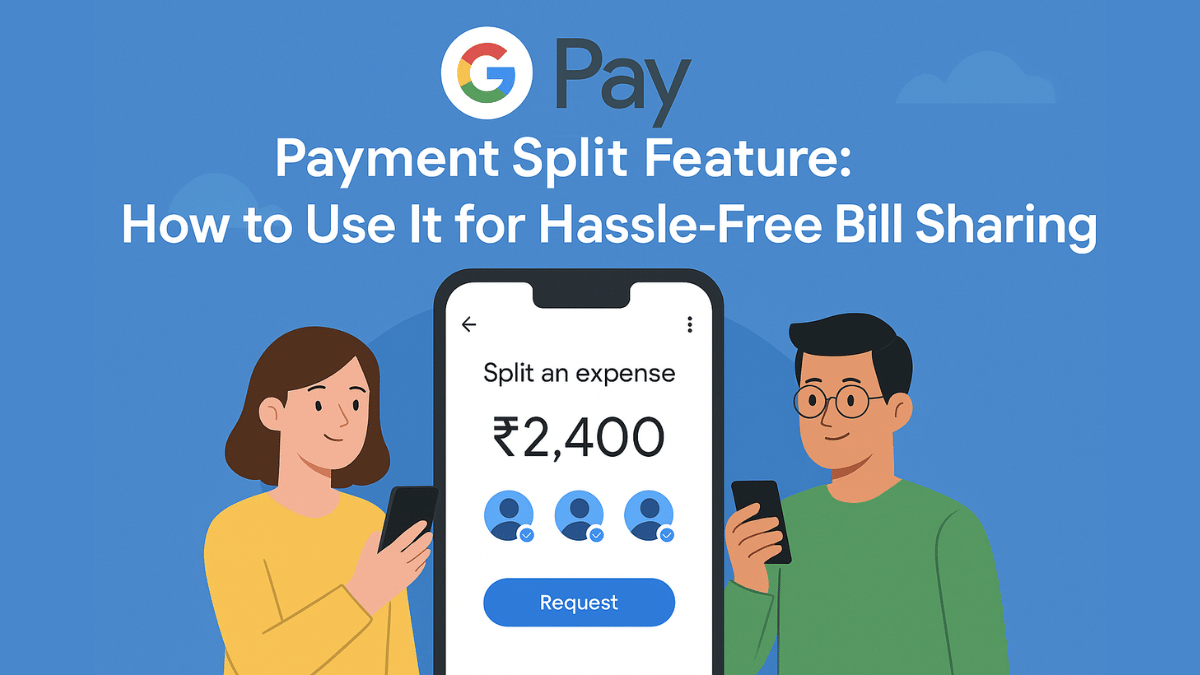
With the arrival of UPI (Unified Payment Interface), India has witnesses a huge shift towards digital payments and money transactions. All you need is a smartphone with active internet connection and a bunch of few UPI apps such as GPay, PhonePe, And Paytm for all digital transactions and payments. Forgetting wallet wouldn’t be a valid excuse if you are out with friends and wish to split bills. But often, it is difficult to keep a track of all the expenses that you have made during a trip and want to share your contribution. While there are dedicated third party apps such as Splitwise that helps you with bill splits, it rather would be easier to keep a track using a UPI app. GPay, the official UPI app from Google also has this feature integrated. So, if you are out dining with your friends or sharing room rent and OTT subscriptions, Google Pay’s Payment Split feature will come to your rescue. Let’s explore the quick ways to access GPay’s payment split feature and use it for hassle free bill payments:
For the tech geeks, stay updated with the latest cutting-edge gadgets in the market, exclusive tech updates, gadget reviews, and more right on your phone’s screen. Join Giznext’s WhatsApp channel and receive the industry-first tech update.
Google Pay Payment Split Feature: Functionality Explained
Google Pay’s Payment Split feature is designed to help users with equal payment splits with friends and families. This features simplifies the entire process of dividing payments between multiple people users directly from the app. It further cuts down on the hassle of manual expense tracking for different contacts. This feature is handy when you are out on a road trip with your friends or are planning to share expenses for room rents, groceries, etc.
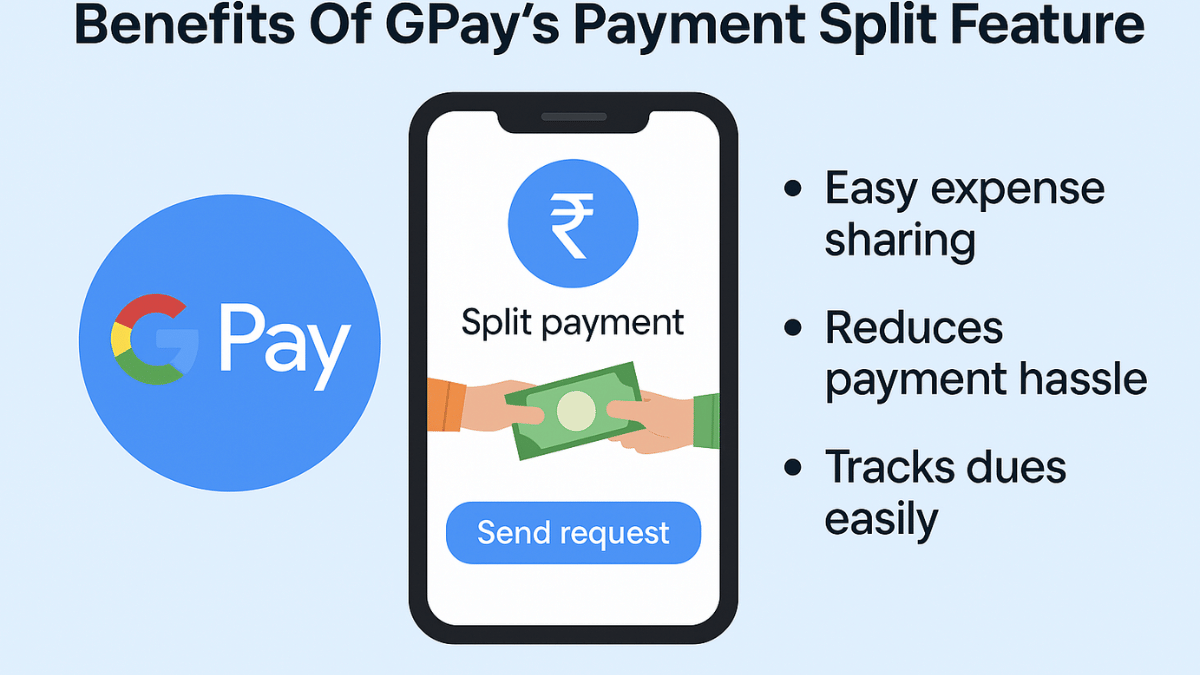
Benefits Of GPay’s Payment Split Feature
Send Instant Payment Requests – GPay’s Payment Split feature will allow users to send quick payment request to the contacts with whom you wish to split payment. Just with a single tap, the payment request can be processed.
Allows Hassle Free Group Management – This feature is extremely helpful in managing and splitting expenses even for large group of users. It can easily keep a track of the payments made by the members.
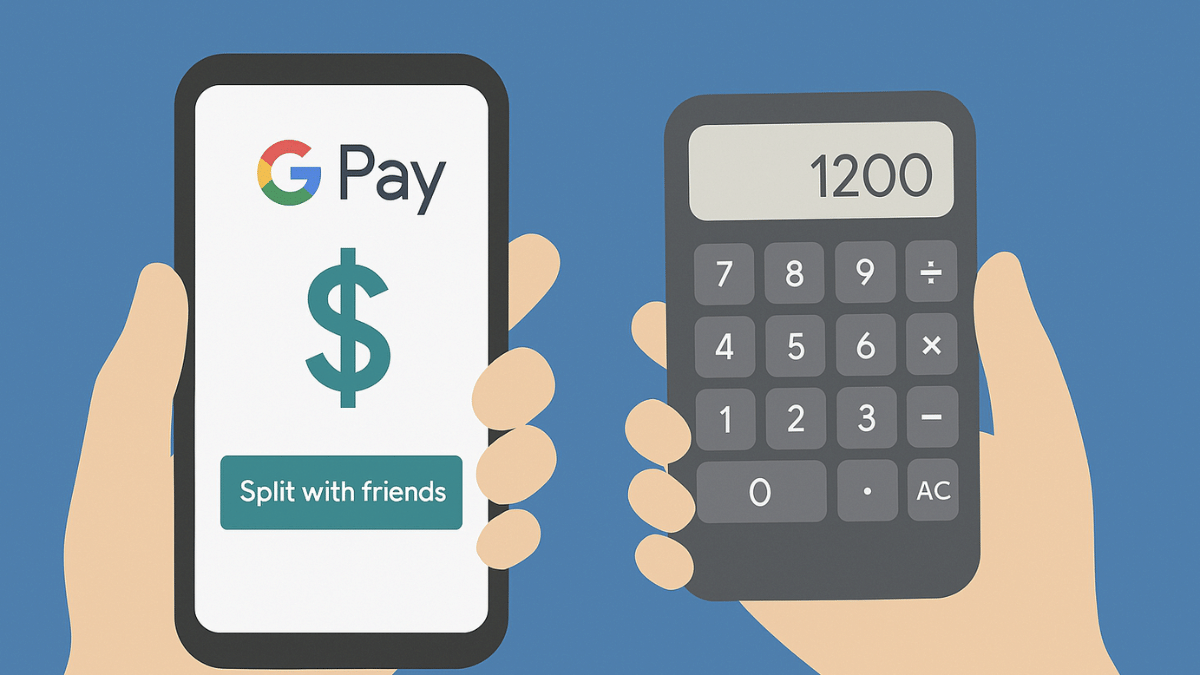
Does Automatic Calculation – Helps with automatic expense calculation and evenly distribution. Users can also make custom changes to the amounts to be paid or received.
Offers Secure Transactions – GPay is a private and secure UPI app. It’s encrypted platforms ensure all the transactions are safe.
Android & iPhone Smartphone Users – GPay is available for both Android and iOS smartphone users. This app can be downloaded via Google Play Store and Apple App Store to access the payment split feature.
Users with an active account on GPay – All the registered GPay users can access the payment split feature on their respective smartphones.
Ghibli Studio art is the latest viral trend on social media
Is legendary Japanese animation studio art introduced by ChatGPT
Available for ChatGPT+ and ChatGPT teams users for free
Third party apps and tools can be used to create Ghibli Style Studio art
We bet, your social media feed must have been flooded with animated images and posts from your friends and contacts. Called, Ghibli Art, it’s the latest sensation on the internet. OpenAI introduced this feature where users can generate the legendary Japanese animation studio-style images of their photos. Studio Ghibli is grabbing all the attention by providing hand-drawn-like visuals and whimsical storytelling of an image. But why has this art form suddenly gone viral online and do you really need ChatGPT to create your own Ghibli studio style art? In this article, we are helping you explore the easiest way with which you can create Ghibli arty style image for free without buying ChatGPT+ or ChatGPT Teams subscriptions.
Ghibli Art has recently gained a massive popularity amongst users on almost every social media platform including Instagram and X (formerly Twitter). The reason this studio art has become popular all of a sudden is the fun way it transforms images to animations. Besides making the images more aesthetically pleasing this feature further brings back nostalgia which is why the sudden rise in its trend
AI Art Generators Takes The Credit: OpenAI made this feature more popular by integrating it into ChatGPT. Users with paid subscription of ChatGPT can access this feature for free. Besides, other AI image generator tools that can create Ghibli-style images have helped with its popularity.
Nostalgia & Aesthetic Appeal: It’s the classic, hand-painted -like re-construction of the scenes which is making masses resonate deeply with childhood memories. The nostalgic appeals is the added bonus for its trend.
Social Media Trens: All of the major social media platforms like Twitter, Instagram, and TikTok are known for pushing the latest trends. The same has been the case with Ghibli Studio art which instantly became the viral trend.
How Can You Create Ghibli Art For Free Using X (Twitter)?
You can easily transform your pictures into stylish Ghibli Style Studio art. You don’t need the paid subscriptions for ChatGPT. Using X (formerly Twitter), you can create Ghibli Style images for free. Read the steps below:
Step 1: Launch X mobile app on
Step 2: From the bottom of the app’s homepage, click on Grok
Step 3: Do note that Grok 3 active model is selected for further process
Step 4: Use the attachment icon (paperclip icon) and upload the image that you want to transform to Studio Ghibli style art.
Step 5: Now, type the command, “Show this image in Ghibli Studio Style Art”.
Step 6: Press enter
Step 7: Wait for the image generation. Once generated, save to to your device gallery or post it on your feed.
Step 8: You can also give further commands to make any adjustments or modifications to the image, background, or overall scenario setting.
Transferring Ola Money cash to a bank account is now a possibility
Funds can be transferred using OLA Android and iOS app
Process can’t be completed without the authenticated OTP
Ola is the largest cab aggregator in India and one of the top ride-hailing companies in the world. For billions of users, the company has redefined mobility and serves over 250 cities in India, Australia, New Zealand, and the United Kingdom. Since Uber entered the Indian market, the popular ride-hailing service has been in a continual war with it. Ola has now expanded its user base by offering a variety of services and low-cost trips among other things.
Apart from the low prices, the ride-hailing company has made the payment procedure much simpler by providing a variety of payment options such as Ola Money. It gives its users the best deals such as cashless rides in Ola cabs, recharges, and bill payments. You can also shop on various merchants’ sites like Oyo, Healthkart, Askmebazaar, Cleartrip, Shopclues, and more.
Ola Money allows users to send money to a bank account. The app now offers a feature called “Ola Money to Bank Account”. It allows you to transfer all of your money to your bank account. They are employing a common method known as IMPS which allows money to be sent instantly into a bank account. So, if you have funds in your Ola Money app, transfer them right now. But how do you do it? In this article, we’ll show you how to transfer Ola Money to your bank account.
Step-By-Step Guide To Transfer Ola Money To Bank Account
Step 1: First, download Ola Money App on your mobile phone.
Step 2: Install and launch the Ola Money App.
Step 3: Sign up or log in using your username and password.
Step 4: On the home page, scroll down and select the “Transfer to Bank” option.
Step 5: Click on it and Enter the bank account number, IFSC code, name, and amount. Then, submit it.
Step 6: On your screen, a pop-up will appear to confirm the details. Click on Submit.
Step 7: Now, you get a confirmation OTP to your mobile number.
Step 8: Enter OTP and you are done.
By following the above-mentioned process, Ola Money cash will get transferred to your bank account instantly using IMPS Method.
For the tech geeks, stay updated with the latest cutting-edge gadgets in the market, exclusive tech updates, gadget reviews, and more right on your phone’s screen. Join Giznext’s WhatsApp channel and receive the industry-first tech updates.
WhatsApp is definitely the go-to mobile app for messaging. And with the introduction of audio and video calls, it has become more popular amongst the masses globally. Being the most secure platform for personal and professional conversations, WhatsApp is undoubtedly offering a premium experience to the Android and iOS users. WhatsApp has introudced several features that enhance the messaging and calling experience on its platform. One of such options which makes video calling more intuitive is the background change and filters. This feature is also beneficial for the working professionals who wish to hide untidy background during an emergency meeting, while for others it adds a touch of fun. So, how can you add filters or change background in WhatsApp video calls? Read on the step-guide here:
For the tech geeks, stay updated with the latest cutting-edge gadgets in the market, exclusive tech updates, gadget reviews, and more right on your phone’s screen. Join Giznext’s WhatsApp channel and receive the industry-first tech update.
This is the option which will help you make video calling more fun. The experience is further refined by the option with which you can refine your skin tones for a cleaner look.
Steps For Android, iOS Users:
Start a Video Call: Open WhatsApp and initiate a video call with any contact.
Access Effects Menu: Tap anywhere on the screen during the ongoing call and select “Effects” or “Filters” icon (appears on the call screen).
Choose a Filter: Now, scroll and find the suitable filter and simply tap on it to apply. Changes will be made real time.
Adjust as Needed: Brightness or contrast levels adjustments can be done to some of the filters. Do so if required.
How to Change Background in WhatsApp Video Calls
For Android & iOS Users:
Start Video Call: Open WhatsApp mobile app and start a video call as you generally do.
Tap on the Background Option: This option appears when you tap anywhere on the screen during the video call.
Select Background TypeFor The Video Call :
Blur – This option will keep the user in focus while blurring the background and surroundings.
Custom Image– This will allow adding a custom photo as the background during WhatsApp video call. You can select any image from the phone’s gallery.
Preset Backgrounds – There are a bunch of preset images which you can select from the WhatsApp’s default images option.
Apply the Background: After selecting the desired background, it will start reflecting in the video call immediately in real time.
Remove or Change Background: If you wish to go back to the default settings or use a different background just go back to the previous settings.
Applications for duplicate aadhaar card can also be done offline
Aadhaar card is validated as the most essential identity document by the government of India. It is mandate for every single citizen to apply for a Aadhaar identification card which can be done via UIDAI (Unique Identification Authority of India). For those who already own an Aadhaar card, loosing it can be a scary situation. If you somehow land in such situation where your Aadhaar card has been misplaced or stolen then you don’t have to panic. Thanks to the digitisation, it is now super easy to apply for a duplicate Aadhaar card online. Let’s dive into the steps below:
For the tech geeks, stay updated with the latest cutting-edge gadgets in the market, exclusive tech updates, gadget reviews, and more right on your phone’s screen. Join Giznext’s WhatsApp channel and receive the industry-first tech update.
1. Retrieve Your Aadhaar Number (If Not Available)
This is the most crucial step to initiate the process of applying a duplicate Aadhaar card. If you already remember your EID (Enrolment ID) or UID (Aadhaar number) then you can simply jump to the step 2.
How To Check Aadhaar UID/ EID On Laptop/ PC
Open any web browser and go to the official UIDAI website (https://uidai.gov.in).
Head to the ‘My Aadhaar’ section.
Tap on the “Retrieve Lost UID/EID”
You will need to enter the registered mobile number or email ID associated with your Aadhaar.
Enter the CAPTCHA for verification
Tap on the “Send OTP” option.
You will receive an OTP on your registered mobile number. Enter it and click submit.
You will receive the Aadhaar number or Enrolment ID on your registered mobile via SMS.
How To Check Aadhaar UID/ EID On Android, iOS
Download an install Umang app via Google Play Store or App store on iOS
Search Aadhaar services
Go to Retrieve EID/ Aadhaar Number section
Select EID or Aadhaar number option
Enter your register mobile number or email address
After completing the captcha verification, tap on Send OTP
Enter the OTP and tap on submit. You will receive the EID/ Aadhaar number on your mobile via an SMS.
2. Order a Reprint of Aadhaar Card/ Duplicate Aadhaar Process
Once you have retrieved the EID or Aadhaar number, it will be become easy for you to apply for a duplicate aadhaar card. You can also request for a reprint which will cost you minimal charges of Rs. 50.
Visit the official UIDAI website once again. Open any browser and search https://uidai.gov.in.
Open ‘My Aadhaar’ section
Tap on “Order Aadhaar Reprint” option. This is the step for printing a duplicate aadhaar card.
You will need to enter the Aadhaar number or Virtual ID.
Confirm and enter the security code
Now, click on the “Send OTP” option.
Verify the OTP that you will receive on the registered mobile number.
A nominal fee of Rs. 50 (including GST and speed post charges) will be charged. Complete the payment.
Once all these steps are performed, the duplicate Aadhaar card will be sent to the registered address via post. Estimated timeline for the same is around 5- 7 working business days.
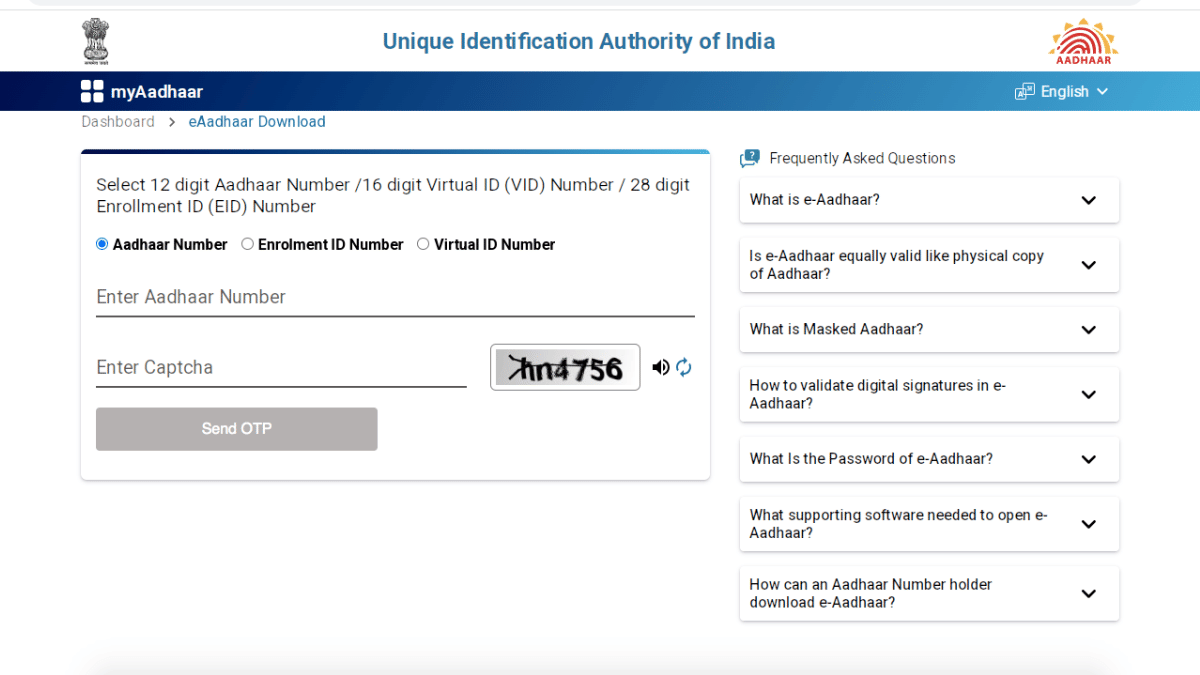
3. Download e-Aadhaar Card Online For Emergencies
You can always keep a copy of e-Aadhaar card in case of lost or misplaced physical card. The steps for the same are below


