Categories
How To Tablet

How To Hard Reset Android Tablet Without Using Volume Button?

Key Highlights

  • Hard resetting Android tablet is required in case of cluttered storage
  • Hard reset also improves slow speed performance
  • Factory rest on Android tablets can be performed without the volume keys

Tablet sales have gradually picked up in the last few years. Even the smartphone manufacturers are now eyeing this market and contributing with capable devices. OPPO, Realme, and Xiaomi are the latest brands that have joined this race in India with affordable and premium mid-range Android tablets.

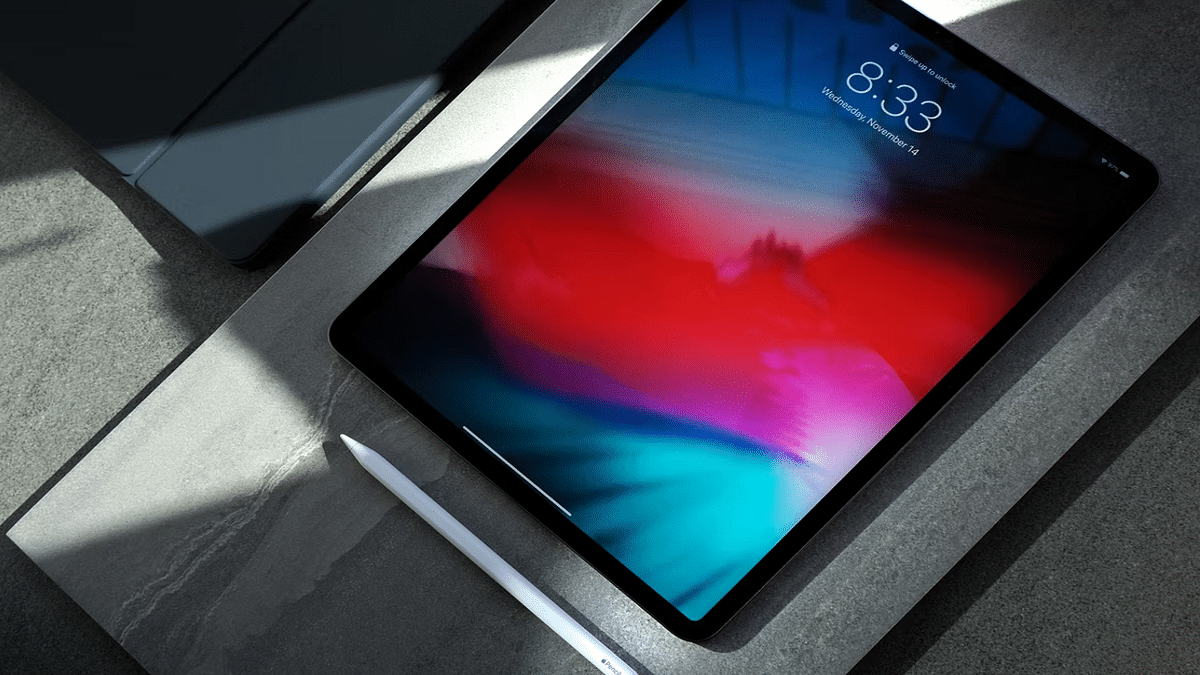
All the brands are focusing on performance delivery with the new-generation tablets. However, the large screen size and support for external accessories such as keyboard and stylus pen have been giving tablets an edge over smartphones. This is specifically when you need a gadget for creative work.

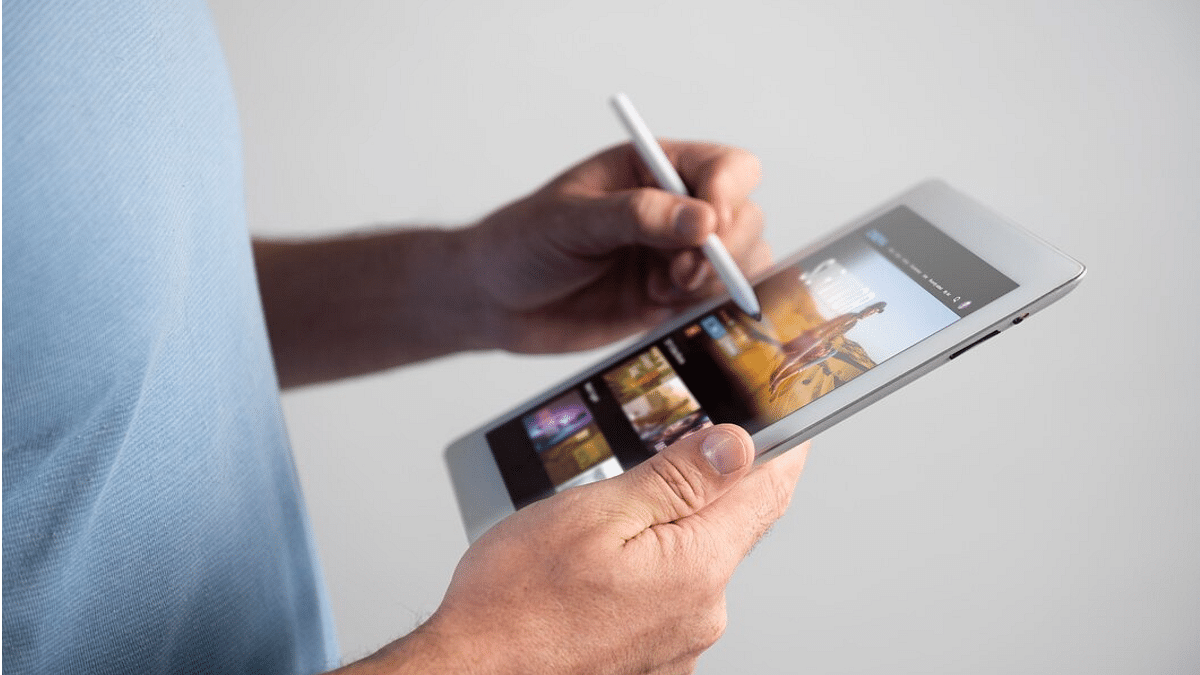
You can easily use any third-party application on your tablet and use it as you would on any smartphone. While the user possibilities are endless, clogging the tablet’s memory could hamper the performance. Performing a factory reset in such scenarios is one of the best ways to boost performance. Most of the new generation tablets have a built-in option to perform a factory reset. We’ll speak of the steps below. These methods will also make it easy to factory reset any Android tablet without a power key. Take a look:

Also Read: Lost Reliance Jio SIM Card? Here’s How To Block And Resume Your Jio Number

How To Factory Reset Android Tablet Without Volume Keys

Before you perform the factory reset on your Android tablet, it is advised to take a backup of the data. This will make sure you don’t lose any of your important data during the factory reset.

Step 1: Unlock your Android tablet and go to the Settings menu.

Step 2: For backup, scroll down to the Backup & Reset option.

Step 3: Click on Backup up my data and complete the data backup process. Note, you can also make required changes to settings for future backup.

Step 4: Once the backup is complete, go back to the Backup and Reset option.

Step 5: This time, select the Factory data reset option.

Step 6: Keep your device battery over 50 percent to make sure the reset process is completed smoothly.

Step 7: Your tablet will reboot once the data rest has been completed.

Also Read: Realme Pad X 5G Android Tablet Review: An All-Rounder Mid-Range 5G Tablet

How To Factory Reset Android Tablet Without Volume Keys Using Recovery Mode

The recovery mode is another way out to hard reset any Android tablet without using any volume key.

Step 1: On your Android tablet, press and hold the Home and the power key simultaneously.

Step 2: Wait until the boot menu pops up. You’ll see a bunch of options including Power off and Restart. Here, you would need to press and hold the Home button again along with the Power off option on the screen. This step will reboot the tablet in Safe mode.

Step 3: Repeat step 1 for the tablet to enter recovery mode.

Step 4: Press the Home button to scroll down to the Wipe Data/ Factory reset option and select it using the power key. Once the reset is complete, your tablet will reboot and you can complete the setup from the beginning.

Also Read: Lenovo Tab P11 Pro (2nd Gen) Tablet Hands On Review: A Fully Loaded Package

Categories
How To Tablet

iPad Tips And Tricks: What Are The Steps To Create Screen Recording On iPad?

Apple iPads are the top-of-the-line Android tablets that one can buy in the markets nowadays. There are numerous iPad models that you can select depending on your daily requirements. Apple has released different iPad tablet lineups for the masses. Amongst the several available Apple iPad series are the iPad Air, iPad Pro, and iPad Mini. The price range for each Apple iPad lineup is different; so are the internal features.

For affordable audiences as well, Apple has a dedicated iPad lineup, i.e., the Apple iPad Air and the iPad Mini. The iPad Pro models are designed for the premium category users that can’t compromise anyhow on performance. All the iPad tablets are packed with Apple’s newest hardware and software technologies to deliver the best-in-class performance.

You can perform numerous tasks with an iPad. The most common usage to date with Apple or even Android tablets remains web surfing and multimedia playback. These big-screen tablets are also well loaded to handle gaming and complete most of the professional tasks for which you would otherwise have required a laptop or PC.

Now, the capability of any Apple iPad can’t be measured just with the specs. It’s with the functions that you can perform. Grabbing a screen (screenshot) is one of the most common features that every iPad user must have tried using once. But with the advancements in this tech space, Apple iPad users also get the provision to record an entire screen.

We already have shared the procedure with which you can capture a single page or a full-page screenshot on iPads and also save the latter as PDF files. Adding on to the iPad tips and tricks, we have now listed the method with which you can record the entire screen on your iPads. Below are the steps:

How Can You Create A Screen Recording On iPads?

Before we proceed with the steps, we would like to add that you can not only record the screen video but also audio on your iPads.

Step 1: Open the Settings menu on your respective iPads.

Step 2: Click on the Control Center.

Step 3: Tap on “+” icon placed next to the Screen recording option.

Step 4: Now, you will need to launch the Control Center app.

Step 5: Tap on the record option. Make sure you wait for the countdown to begin. It will be a three-second timer following which the screen will start recording.

Step 6: Once you are done, re-launch the Control Centre and select the recording tab or the red status bar on the top of the screen. Click Stop.

Step 7: Now, open the Photos option and select your screen recording that has just been captured.

Categories
How To Tablet

How To Capture A Full Page Screenshot On iPad And Save It As A PDF?

The Apple iPad series is amongst the most powerful tablets available in the market today. Apple has released multiple iterations of iPads in the last few years. Now, you don’t need to empty out your pockets to buy a new Apple iPad. Apple is not only focusing on the premium range tablets but also mid-range iPads that don’t really burn a hole in your pockets.

Apple has been using all the latest technologies with the new-generation iPads. You get more powerful and versatile tablets if you buy the new-generation Apple iPads. Performance delivery is never an issue with Apple iPads. This is one of the biggest reasons why iPads are among the first preferences amongst professionals and users with creative skill sets.

Apple iPads can support almost all formats of documents which makes our lives easier with professional tasks. In one of our previous articles, we explained the steps to capture a screenshot using an Apple iPad.

This time we will be guiding you with another useful trick that will further simplify the process of keeping records in a paperless format. Yes, you read that correctly. This article will be your guide to not only capturing a full-page screenshot on Apple iPad as a PDF file but also the steps to record a screen. Here’s how:

Steps To Take Full Page Screenshot As PDF On Apple iPad

For the Apple iPad With Home Button

Step 1: Unlock your Apple iPad.

Step 2: Now, press and hold the top button and the Home button simultaneously and release instantly.

Step 3: Repeat Step 2 again properly if the screenshot of the page or document isn’t captured.

For the Apple iPads Without the Home Button

Step 1: Press and hold the top button and either of the volume keys and release simultaneously.

The next step is common for both iPad models with or without the Home Button.

Step 1: From the bottom left corner of the home screen, click on the Full Page option.

Step 2: Click on Done to save the screenshot. Select save PDF to files.

Step 3: Now, choose the appropriate location where you want the full page screenshot to save as a PDF file.

Step 4: You can also share the captured full page screenshot as PDF by clicking on the  symbol. You will get the option to share the screenshot PDF via Messages, AirDrop, and Mail.

Categories
How To Tablet

iPad Tricks: How To Capture A Screenshot On Ay Apple iPad?

Tablets are among the top-selling consumer electronics gadgets in the modern markets. Similar to the smartphone industry, Android and Apple iPad tablets hold the major chunk of the market in the tablet industry as well. While Android tablets grab the larger share, Apple iPads aren’t any less popular amongst consumers.

Apple is known for releasing new iPad models and supported OS every year. This year as well, Apple had introduced the iPad OS 16 for the new-generation iPads and the eligible older models. The latest firmware brings several new useful features for easy and improved usage with the iPads. And tablet usage is similar to smartphones in many ways. You can use these large screen gadgets for web surfing, calling (with the LTE models), gaming, and also creative tasks such as designing, etc.


Since the functionality and usage of tablets and iPads are quite identical to a smartphone, the features available are also similar. While using any iPad, you might want to take a screenshot of any document that you are accessing on the web or have received via mail or any other format. Capturing a screenshot on any Android tablet is fairly simple, but are you aware of the procedure to grab the screen on any Apple iPad?

We bet you might have tried capturing screenshots using the Apple iPad and if you haven’t succeeded yet, you don’t have to worry at all. In this article, we are making it super easy for you to grab any screen on your Apple iPad. We also have listed the method to capture a screenshot with iPads. Take a look:

Steps To Capture Screenshot On Apple iPads

Step 1: Unlock your iPad. Go to the page or document whose screenshot you want to capture.

Step 2: if your iPad has the Home button then simultaneously press and release the Home and the top button.

Step 3: For the iPads with no Home button, press and release the top button (placed on the top right edge of the iPad) and any one of the volume keys.

Step 4: You’ll see the screenshot capture on the lower-left of the home screen. Tap on it followed by Done.

Step 5: Select the appropriate option from Save to photos, Save To Files, or Delete screenshot.

Just for reference, upon clicking the Save to Photos, the captured screenshot will be visible in the Screenshot album that you can later access from the Photos app. The second option will save the screenshot to File Manage, while the last option will delete the captured screen.

Categories
How To TV

No Network Adapter: How To Connect A Samsung Smart TV To Internet/ Wi-Fi Without Integrated Network Adapter?

Samsung is one of the biggest players in the display industry in the global markets. The brand has gained huge popularity with its high-resolution smart TVs. In India as well, Samsung has a whole range of powerful smart TVs that can easily render 4K and 8K videos besides FHD resolution. Samsung TVs are not just popular for the high-resolution panel that they pack but also for the plethora of features they offer for a premium user experience.

Samsung’s new-age smart TVs are all capable with high-resolution panels, Wi-Fi, and Bluetooth connectivity, and also a whole lot of user-oriented features for an overall improved user experience. We just shared an article detailing the steps to pair any new Samsung smart TV with an available Wi-Fi network.

Now, the steps mentioned in the previous article will work perfectly fine with the smart TVs enabled with a network adapter. But in some cases, the LAN card or the network adapter is missing from the TVs. This is specifically the case with old-generation TVs. What can you do in such scenarios? Is It Possible to connect your Samsung TV with Wi-Fi without a network adapter? Well, the answer is yes. And to do so, you can either use a wireless Wi-Fi card or the WPS Key option.

How To Pair Samsung Smart TV To Internet With WPS

Step 1: The first step is to switch on the TV.

Step 2: Now, with the TV’s remote scroll to the Menu option.

Step 3: From the Menu tab, locate the Network option. Select it.

Step 4: Tap on the Network Settings.

Step 5: Locate the WPS option and move the remote cursor over it.

Step 6: Click Next.

Step 7: Press and hold the WPS button using the remote. Wait for a few seconds to get connected to the internet. This is all you need to do in order to pair your Samsung smart TV to the internet without the network card.

Notably, to make sure you get a successful internet connection with a Samsung smart TV that doesn’t come with a built-in Network access card, you can buy a third-party Wi-Fi receiver that you can easily plug into the USB slot of your TV and complete the internet connection setup.

Categories
How To TV

How To Connect Samsung And Other Smart TVs With Wi-Fi Easily: Step By Step Guide

The smart TV market is getting populated across India with multiple brands launching new devices frequently. Samsung, Sony, and LG are the major players in this market known for their premium range of smart TVs. There are multiple other smart TV brands in the country that have a wide portfolio of affordable, mid-range, and flagship-grade TVs.

Samsung is well known for launching feature-rich TVs that can give a theatre-like experience from the comfort of your room. Most of the new-generation smart TVs be it from Samsung or other brands comes with Wi-Fi network connectivity. This allows users to connect the TV with the internet to use all the services including third-party app downloads or streaming content via OTT websites such as Netflix and Amazon Prime videos.

Making an internet connection with smart TVs isn’t a super tricky process. You just have to make sure there is an active internet connection within the vicinity and TV range. Also, you should be aware of the Wi-Fi user ID and password for a successful connection. If you have bought a new Samsung or any other brand’s smart TV and aren’t aware of how to complete the internet connection process, then we have made it simple for you in this article. We have listed down the steps with which you can easily pair your Samsung smart TV with any available Wi-Fi network.

How To Manually Connect A Samsung Smart TV With Internet/ Wi-Fi?

Step 1: Power on your Samsung smart TV and wait until the home screen loads up.

Step 2: Use the TV’s remote to go to the Menu or TV Settings option.

Step 3: Scroll down to the Network menu.

Step 4: Select the Network Settings tab.

Step 5: Tap on the Wireless option. Wait until the TV reads the available connections and shows the list on the screen.

Step 6: Select the Wi-Fi network with which you want to connect your smart TV.

Step 7: Now, you will need to type in the Wi-Fi network password. Hit Done once you have entered the password. That’s all you need to connect your smart TV to the internet.

Categories
How To TV

How Can You Pair Or Connect New Wireless Speaker With Any Smart TV? Step-By-Step Guide

In this modern market, gadgets driving our daily lifestyle have become all smart and tech advanced. The current hype is with wireless gadgets be it smartphones, tablets, laptops, and audio devices such as portable speakers and wireless headphones and speakers. Smart TVs are also the trending consumer electronics that have become a common sight in normal households. Besides the major players in the smart TV race, smartphone OEMs are now also catering to the requirements of the audience with feature-rich big-screen TVs.

Smart TVs today offer a plethora of user-oriented tools and features. You can even operate the new-age smart TVs with voice commands using built-in voice assistants such as Google Assistant. Besides, digital voice assistant supports the most useful feature offered by any latest smart TV is the internet connectivity support. You can easily pair up your smart TV with available Wi-Fi connections at your home for seamless content playing with YouTube and other OTT apps.

Most of the modern days smart TVs are also equipped with Bluetooth technology so that users can easily pair any wireless audio product and other accessories such as a new remote. Adding an external portable speaker or a home theatre is a sure-shot way of enhancing the viewing experience with any smart TV. But how do you add an additional speaker to your smart TV?

While making a wired connection is as simple as hooking up the AUX cables, making a wireless connection requires some manual steps. If you are unaware of how to connect a Bluetooth speaker to your smart TV then this article will help you with the same. But before you proceed with pairing a wireless speaker with your smart TV make sure your TV supports wireless connectivity. The remaining steps are listed below:

How To Add Or Pair A New Wireless Speaker With A Smart TV

Step 1: Power on the smart TV and the wireless speaker that needs to be paired together.

Step 2: On your smart TV, go to the Settings menu. You can also take help from the TV’s user manual.

Step 3: Select the Bluetooth or Wireless settings.

Step 4: Click on “Add Device”.

Step 5: The TV display will show the list of available wireless devices in the range. Select the speaker with which you want to pair the smart TV. That’s all you need to complete the audio setup between the smart TV and the speaker.

Categories
How To Laptop

How To Add Handwritten Signature On Google Docs Using Laptops/ PCs?

Laptop and PCs are serving as the primary gadgets to complete all kinds of professional and personal work. While our dependency is gradually shifting towards mobile devices specifically smartphones, the need for computational gadgets isn’t fading anytime soon. In fact, more than PCs laptops are being sold as hot cakes in the modern market. And post the COVID-19 pandemic, a surge has been evident with the laptop usage across the globe. Specifically, the majority of the organizations routing toward the hybrid working module.

You now get dedicated online tools and services to help with any professional tasks. In fact, online meetings have become a new norm across all organizations. There are multiple online tools for meetings and supported services. Google Docs is one of such application that is helping users with easy document management. You now don’t have to deal with carrying around hard copies of any document.

Google Docs is definitely making our lives paper free and it’s now easier for us to get documents printed or shared with different contacts with just a few taps. Google Docs helps with document sharing on a mass level and you also get to make modifications as per requirements.

One of the unique features offered by Google Docs is the option to add handwritten signatures. This is essential to verify the authenticity of any document created or shared by you. But there is no direct way as of now with which you can add your handwritten signature on Google Docs using your laptop or PC. But that doesn’t stop you anyhow from adding your own handwritten signature into a Google Doc file or document.

If you own a Microsoft Windows laptop or PC, you can easily edit any PDF file and add your own signature with the help of built-in tools. You can also add your personal signature to all the documents including the ones on the Google Doc with the help of Google Suites’ Scribble feature. Here’s how you can use the Scribble option to add your handwritten signatures on a Google Doc file on any laptop or PC:

Step 1: Open the Google Docs file on which you need to add your handwritten signature.

Step 2: Now, move your cursor to the line or paragraph where the signature is to be placed.

Step 3: From the toolbar, click on insert.

Step 4: Select Drawing.

Step 5: Tap on “+ New” option next and then select the “Line” dropdown.

Step 6: You will now see the “Scribble” option. Click on it.

Step 7: Create your signature using the drawing option.

Step 8: Click Save when you have accurately drawn your signature.

Categories
How To Laptop

Set Up Your Brand-New Laptop Like A Pro: Here’s The Step-By-Step Guide

Key Highlights

  • Most laptops come with Windows 10 and follow a similar setup process
  • Doing the setup right helps avoid future security and performance issues
  • Just follow the steps in order, and it’s simpler than you might think

It may be both thrilling and terrifying to set up a brand-new laptop. However, it’s pretty simple. Most laptops now on the market have Windows 10 installed. Although it can vary depending on the brand, the setup process is generally the same. You’ll avoid security issues and other troubles in the future by doing everything correctly and in the appropriate order the first time. Here is everything you require to set up your new laptop or PC.

Also Read | Top 5 Effective Ways To Protect Laptop From Overheating

Unbox Your Laptop And Plug It In

To get started, open the box and plug in the original power adapter and cables. It could take some time to set up the laptop, so make sure you have enough power to keep it running. On the majority of the most recent laptops, rectangular Type-A connectors have been replaced by USB-C connections. In this situation, just plug the charger into your device’s Type-C connector.

Turn On Your Laptop

Press the power button. On some models, it could be on the right side of the computer or at the upper right corner. Nevertheless, it might be located somewhere else.

The Welcome screen will appear when you first boot up, and Cortana, Microsoft’s virtual assistant, will offer you a voice walkthrough. On some laptop models, she’ll ask you questions, and you can reply with your voice (but keep in mind that this will not work on many laptops). You can adjust the level by clicking the speaker icon at the bottom of the screen if you want to mute her voice.

How To Set Up Your Windows Laptop

Step 1: Select your country or region and then click Yes.

Step 2: Select your keyboard layout. On the ‘Want to add a second keyboard layout screen’, click ‘Skip’.

Step 3: Connect to a Wi-Fi network. Enter your password and click Next. Choose ‘I don’t have internet’ if you don’t currently have a connection to the internet.

Step 4: Sign in to your Microsoft account. In the ‘Email, phone, or Skype’ box, enter your email address, phone number, or Skype username. Then press Next. Choose ‘Create account’ if you do not already have a Microsoft account.

Step 5: Create a PIN. It is not advised to use your Microsoft account password to login in if you don’t create a PIN. Select Create PIN to create a PIN.

Step 6: Select your privacy settings. Microsoft has every setting enabled by default, but you might want to have a look at them to see if there’s anything you want to turn off. Click the blue slider switch next to a setting to make it inactive. When finished, press the Accept button or tap to proceed.

Step 7: Customize your device. Click ‘Skip’ if you do not wish to customize your device.

Step 8: You might see some steps after this one that doesn’t apply to you. Only if you chose a certain customization option may some of the options shown in this article apply to you. You should skip any steps that you see that don’t match what you are viewing.

Step 9: Connect your phone to your laptop. To access it from your PC, you simply link your iPhone or Android device to your computer. Choose ‘Skip for now’ if you don’t want to connect your phone to your laptop.

Step 10: Whether or not to back up your files to OneDrive is up to you. The option ‘Only save files to this PC’ should be chosen if you don’t wish to backup your files. However, bear in mind that if you select this option, your files can be lost forever.

Step 11: Await the setup’s completion. Just be careful not to unintentionally shut off your PC. You will need to reinstall Windows otherwise.

Also Read | Windows 11 Laptop, PC Reset Guide: How To Perform System Reset Without Loosing Data

Run All Windows Updates

It’s likely that your laptop will automatically download a number of Windows 10 updates, so why not get it over with by forcing them to install manually?

Step 1: In the search box, type ‘updates’.

Step 2: Tap on ‘Check for updates’.

Step 3: If Windows doesn’t automatically search for updates, select the ‘Check for updates’ box. That’s all!

For the tech geeks, stay updated with the latest cutting-edge gadgets in the market, exclusive tech updates, gadget reviews, and more right on your phone’s screen. Join Giznext’s WhatsApp channel and receive the industry-first tech updates.

Categories
Apps Featured How To

Instagram Tips: How To Change Instagram DM Background Theme, Colors & Gradient?

Instagram is one of the top-rated social media platforms for mobile users in the global markets. Its services are available for both smartphone as well as desktop users (laptops/ PCs). Instagram has made major improvements to its UI which is now more user-friendly. Besides, Instagram is consistently making upgrades to its platforms and has added several enhancement features in the last few years.

Instagram has become a hub for social media influencers and content creators. But, it is fairly popular amongst the general users as well who use the platform’s services for entertainment as well as private conversations with different contacts. The Instagram application offers a dedicated messaging section also known as the DM (direct messaging) option.

You don’t have to download any other dedicated app for the same. Rather, you can continue with the private conversations with a single tap on the app itself. Thankfully, the integrated messenger (DM) isn’t bland and is rich with features and tools to enhance the messaging experience.

You can also make audio and video calls using Instagram DM. But are you aware you can also change the background themes of the Instagram DM section? If not, you have just stopped by the right place. We have made it easy for you to apply the settings with which you can change the backgrounds of the DM section in Instagram. You can perform these steps using both mobile as well as desktop versions.

What Are The Steps To Change DM Background In Instagram?

Step 1: Launch the Instagram application on your respective devices. If you are using a laptop or PC, log in to your Instagram account to make the necessary changes.

Step 2: Click on the messenger icon to visit the DM section. You can locate this option on the top right of the app’s homepage.

Step 3: Open any chat window.

Step 4: Click on the top of the user profile of the chat window to open the chat settings.

Step 5: Now, you will be able to see the “Theme” option. Tap on it.

Step 6: Select the desired theme for the chat window and you are done.

How To Add Colors & Gradients On Instagram DM

The procedure to add colors & gradients on Instagram DM is similar to the how you would change the background theme. You just need to follow the same steps as above (up to step 4). The remaining procedure is mentioned below:

Step 1: Repeat step 1 to step 4 as stated above.

Step 2: Once you click on the “Theme” tab scroll down on the next page to see the colors & gradient option.

Step 3: Select the appropriate color or gradient for your Instagram DM and you are all good to go.