Categories
Apps Featured How To

Instagram Reels: How To Add Own Audio Recording, Other Creator’s Music To Insta Reels Videos

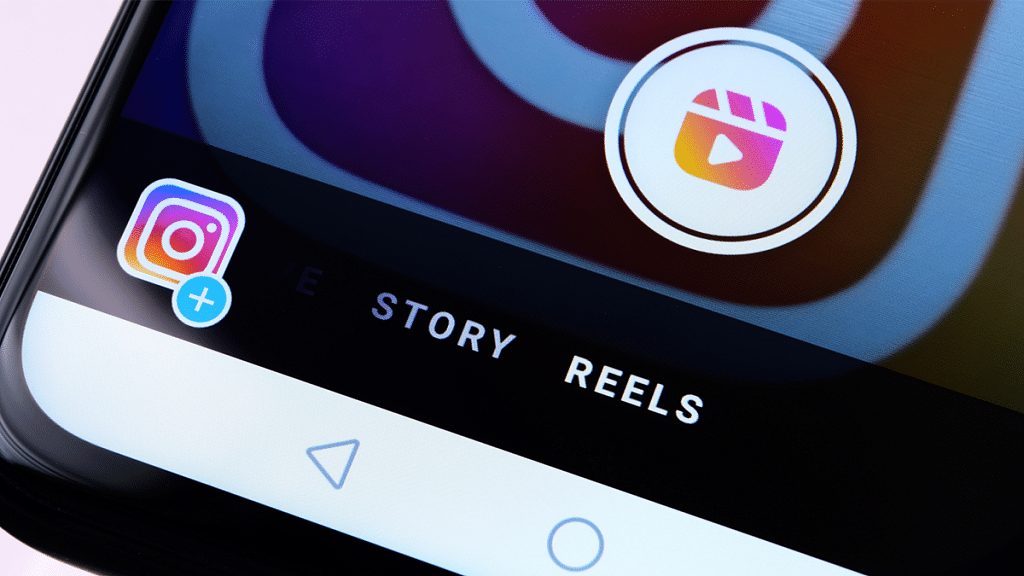
Instagram is definitely the most addictive social media application that is available on Android, iOS smartphones, and also for desktop users. And ever since the Meta-owned giant released the Reels feature on its platform to counter TikTok and other such apps, we have seen a massive surge with new content creators and also the general audience on this platform. Instagram has been proactively adding new features and has now improved the user experience by creating Reels and other content.

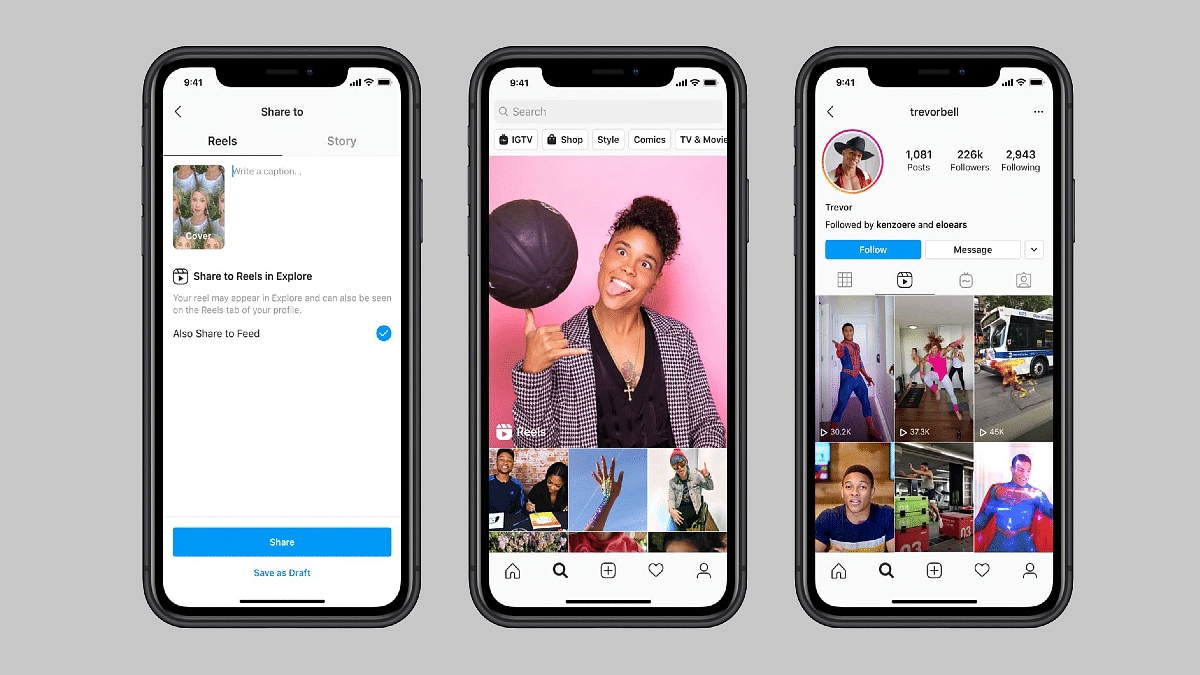
Not just influencers, any general user on Instagram can easily create a new Reel video. All you need is the Instagram app on your phone, an account, and an active internet connection. If you already have been using Instagram, you would definitely know how to create stories or Reels and add different types of multimedia effects, and use hashtags for a better reach. Adding music, text, and even location is quite a simple task with Instagram Reels.

But are you aware that you cannot just add licensed music to the Instagram Reels background but also original sounds like your own voice? Well, this is one of the options that Instagram has added with Reels wherein you can add your own voice or audio recording to a Reels background. The steps aren’t too tricky either. Take a look below:

How To Record Reel With Your Own Audio And Mix It With Other Music Or Creator’s Original Audio

Step 1: Open the Instagram app on your respective devices.

Step 2: Go to the reels section and record your own reel video.

Step 3: Click on the Preview button. This will be placed at the bottom of the app’s home screen.

Step 4: Now, add the audio by tapping on the music icon.

Step 5: You would need to make the preferred selection here. You will get two options. The first “Music” option will let you use audio from other sources, while the ‘voiceover’ option will let you mix your own audio recording with the reel.

Step 6: If you want to add your own voice recording to the reel, click on the Voiceover option. You need to tap and hold the button to record the audio.

Step 7: Tap on Done once the audio recording is complete and is added to the video.

Step 8: Select the Sound effects options and add the desired audio effects to the reels video. Click Done.

Step 9: Now, make the required edits to the video by dragging the bars below each type of audio. You can also adjust the volume levels, add effects, and edit or remove some sections of the audio.

Step 10: Click on Done and then Next to upload and share the new reel with your contacts.

Categories
Apps Featured How To

Want To Download Instagram Stories With Music? Here’s How

Key Highlights

  • Instagram stories can be uploaded with music
  • Direct in-app option to download Instagram stories with music is unavailable
  • Third-party apps required to download Instagram stories with music

One of Instagram’s coolest features is Stories. You can apply filters to your photos, GIFs, popular music, and more with a few clicks to create amazing content that you can share with the world. However, you won’t find an option to save your work with music if you love what you’ve made. This is because the Meta-owned app does not support downloading stories with music.

The good news is that you can still save Instagram stories with music. How? In this article, we are here with quick steps that you can take to download a Story with music from Instagram.

Also Read: 100 Best Instagram Boys Name With Alphabets M To Z

How To Download Instagram Stories With Music

If you have a public account, you can install a third-party application to download your story with music without logging into your account. Besides, you have to sign in to your account if you have a private account and then download your story with music. To download your own Story, follow these steps:

Step 1: On your mobile phone, navigate to the Instagram app.

Step 2: Go to the profile of those whose Story you want to download.

Step 3: Copy the username from the profile.

Also Read: 100 Best And Catchy Instagram Names For Makeup Artists

Step 4: Now, open the Instagram Story Downloader app and paste the username.

Step 5: Click on Search.

Step 6: After that, scroll down on the page and click on the ‘Download’ button when you see the desired Story.

Also Read: Here’s How to Set Long Videos as WhatsApp Status

And that’s all! You can easily download the Story to your phone’s gallery. Now you can send it to your loved ones or post it on Facebook or Twitter or other social networking websites. You should be aware that Instagram Stories disappear after 24 hours.

Also Read: 100 Best And Unique Instagram Names For Fitness Freaks

After the story has been uploaded, you have a certain amount of time to download it. For the unversed, as with screenshots, users have no way of knowing if their stories have been downloaded by users on the platform. All in all, you can now save stories with music in your gallery. Though some methods won’t work for private accounts, you can install the same free application to save videos.

For the tech geeks, stay updated with the latest cutting-edge gadgets in the market, exclusive tech updates, gadget reviews, and more right on your phone’s screen. Join Giznext’s WhatsApp channel and receive the industry-first tech updates.

Categories
How To Mobile

Recovery Mode In Vivo: How To Use Recovery Mode In Vivo Phones To Wipe Data And Fix General Issues

Key Highlights

  • Vivo smartphones speeds can be boosted with hard reset
  • Hard Reset can be performed using settings menu
  • Recovery mode can also be used for hard reset of Vivo phones

Vivo is one of the most popular Android smartphone manufacturers in India and the global markets. The brand is competing against the popular Chinese and non-Chinese smartphone brands with the Vivo V, Y, T, U, and X smartphone lineups. All of the Vivo smartphones are equipped with the latest hardware and firmware. Vivo has been using the Android OS along with its in-house Fun Touch OS and OriginOS user interfaces to power all its smartphone lineups.

All Vivo smartphones bring the goodies you would get with the latest Android version. While some of the features are in direct sight, some are hidden and need specific steps to launch. The Recovery mode is one of those options that you can find on any Vivo or other brand’ smartphones that you can use to fix general issues with performance and privacy.

Also Read: OnePlus Call Being Recorded Notification: How To Stop ‘Call Is Now Recording’ Message On OnePlus 10T, 10 Pro, OnePlus 9, 8 Series

Consider forgetting your phone’s password. The recovery mode on your Vivo smartphone will be your savior here and help you reset your device and set it up all fresh. If you aren’t aware of the steps to enter the recovery mode on your Vivo or any other brand’s Android smartphone, this article is what you need to check:

Also Read: Vivo Y100 Detailed Review: 100 Percent Complete Package Or A Mixed Bag?

How To Use Recovery Mode In Any Vivo Or Other Android Smartphone

The steps we have listed here will work with all Vivo smartphones running on Android v8 and above. If you own any other Android phone running on the same or above firmware the steps to enter and wipe the data using the recovery mode would be the same. And also, make sure device battery is over 50 percent so that the entire procedure is completed without any issues.

Step 1: Power off your respective smartphones.

Step 2: Press and hold the power key and at the same time keep pressing the volume up key. Do this until the Fastboot menu pops up on the screen.

Step 3: You’ll get two options on the screen Reboot and Recovery mode. Use the volume down key to scroll to the Recovery mode option.

Step 4: Use the power key to select enter the Recovery mode on your Vivo phone.

Step 5: From the next screen you’ll be able to Reboot System, Wipe Data, Install Update, enter System Repair mode, use power down, and Advanced options. Select the desired option using the power key and boost the performance and privacy of your Vivo phones.

Also Read: Vivo X80 Long Term User Review: Worth A Buy Under Rs. 60,000?

Categories
How To Tablet

Forgot Apple iPad Passcode? Here’s How To Reset iPad Passcode Of Any Model

The Apple iPad series is widely popular for its high-end performance and the wide array of user-friendly features. At its WWDC 2022 event, Apple unveiled the new-generation iPad OS 16 with a slew of new upgrades. The brand has also improved privacy with the new iPad OS. The previous-gen iPad OS has also offered a secure ecosystem for the users in terms of privacy. Setting up a passcode is one of the key security features offered by the iPad OS.

Bypassing this passcode feature on any iPad model isn’t an easy task for any unauthorized user that gets access to your tablet without permission. The iPad will get disabled if multiple failed login attempts are made to unlock it. But that can also happen if you have forgotten what passcode you set last and can’t log in to your iPad despite multiple attempts.

Well, resting the iPad passcode is the only option that you are left with in such scenarios. If you aren’t aware of the procedure, we have brought you the solution. But before you attempt to reset your Apple iPad’s passcode, you should be aware that the data stored will be lost. You would need a laptop or computer handy to initiate the process of passcode reset with iPad. If you have previously created a data backup, you will be able to restore the data post the passcode reset process. Now, let’s look at the steps:

How To Reset Passcode On Any iPad in 2022

You would first need to power off your iPad so that you can enter the recovery mode on your iPad. To power off the iPad follow the steps below:

Step 1: Make sure your iPad isn’t connected to any computer or laptop. Unplug it if it’s connected.

Step 2: If you have an iPad model with a Home button then press and hold one of the volume buttons along with the top button simultaneously. Leave the keys once the power off slider pops up on the screen.

Step 3: Power off your iPad using the slider. Don’t proceed to the next steps until one minute. That’ll make sure your iPad has switched off completely.

Using The Recovery Mode On iPads

Step 1: You need to immediately press and hold the correct Home button while connecting the iPad to the computer and laptop. For the models that don’t have the Home button, they need to use the top button.

Step 2: Don’t release the key until the recovery mode shows up on the screen.

Step 3: Now, once the passcode screen shows up, power off your iPad to reboot.

Complete The Reset iPad Passcode Using Computer

Step 1: On your PC or laptop, locate the connected iPad in iTunes or the Finder.

Step 2: You will get two options Restore or Update. Select the former if you wish to restore the iPad and the latter if you want the update.

Step 3: Wait until the entire process is complete and the iPad exits out of the recovery mode screen. Reboot your iPad and you are all set.

Categories
How To Mobile

iOS Tips And Tricks To Free Up Your iPhone Space

If you are running out of space on your iPhone or iPad, then we are here to teach you some handy tricks to help you reclaim a lot of that space. We are also going to teach you how to change a few different settings on your iOS devices to help prevent this from being an issue in the future.

How To Free Up iPhone Space?

Here, we are going to help you change a few settings on your iOS devices so that it automatically offloads data to iCloud in order to free up space on your local device. Now, for some of you out there, you may discover that you need to purchase a little bit more iCloud storage, but before we go down that road, let’s start by cleaning up iCloud.

Step 1: Open Settings and tap on your name at the very top.

Step 2: Then, tap on iCloud.

Step 3: Tap on where it says ‘Manage Storage’.

Step 4: On the next screen, you’ll see ‘Backups’ as one of the items towards the top of the list. Tap on it.

Step 5: You can now see all of the different devices that iCloud is currently backing up.

Now, a lot of things that a lot of people forget about is when you purchase a new iOS device, whether that’s a new iPhone or a new iPad, iCloud doesn’t know to stop backing the old device. Furthermore, it is unaware of how to delete those outdated backup files. As a result, many individuals end up buying far more iCloud storage than they actually need as they don’t realize how much space is being taken up by backups of old devices. So, if you see older devices that you have since replaced in the list, just go ahead and tap on them and then select delete back up.

So, now that we’ve reclaimed all of that iCloud storage, we would like to show you two settings that you might want to consider changing.

Optimize Your iPhone Photos

There are a few ways your iPhone can make it easier for you to store images. The first option is to take all of your images in Apple’s new ‘High Efficiency’ mode if you have an iPhone 7 or later. The quality of your images won’t suffer, but each photo takes far less storage space. It’s worth checking again even if it’s already on.

Step 1: Let’s start by going back into Settings.

Step 2: Tap ‘Camera,’ and then tap ‘Formats.’

Step 3: Make sure that the camera capture mode is set to ‘High Efficiency’.

Additionally, you can instruct your phone to preserve lower versions of your photographs on the device while syncing the original full-resolution versions with iCloud. If you send photographs directly from your phone, you’ll be sharing lower-res versions, so this is admittedly a trade-off for the potential gigabytes of space you can save. If you want to turn it on, follow these steps:

Step 1: Open the ‘Settings’ app.

Step 2: Tap ‘General,’ and then tap ‘iPhone Storage’.

Step 3: To the right of ‘Optimize Photos’, tap ‘Enable’.

And there’s more. If you frequently use the iPhone’s HDR mode, you may unintentionally save two copies of each image: the enhanced HDR image and the original, unaltered image that you probably don’t need.

Step 1: Open the Settings app.

Step 2: Tap ‘Camera’.

Step 3: Turn off ‘Keep Normal Photo’ by sliding the switch to the left. That’s all.

Clear Safari’s Cache

All those temporary internet files build up, and your web browser’s cache may be taking up a lot of space. You should be aware that if you do this, all of your cookies will be deleted and you will be logged out of any websites that you are signed into. But you can save dozens of gigabytes by doing this. See our article “How to Clear Safari/ App Cache on iOS” to clear your cache.

Categories
How To Mobile

iOS 16 Tips And Tricks: How To Unsend And Edit Text Messages On iMessages? What’s The Timelimit?

iOS 16 made its debut at the Apple WWDC 2022 event held earlier this year. The Cupertino giant introduced the iOS facelift with tons of new features and upgrades over the previous generation. With iOS 16, Apple made some notable upgrades to the iMessages application and added SharePlay support along with the option to edit or recover recently sent messages.

Currently, all the latest iOS 16 are being tested for a stable release. However, most of them are accessible with the iOS 16 beta version. If your iPhone is eligible for the iOS 16 update, you can download and use the iOS beta version to test all the features. We have previously shared the method with which you can easily install and use the beta iOS 16 on supported iPhones. Now, we will share the steps on how you can use the edit or unsend messages via the iMessages app.

How Can You Unsend Messages Use iMessages on iOS 16 Beta?

Step1: After you have successfully installed the iOS 16 Beta version on your iPhones, launch the iMessages app.

Step 2: Open the chatbox and scroll to the message that you want to unsend or delete.

Step 3: Now, you would need to press and hold on to the text message until the options pop up.

Step 4: From the bunch of options on the screen, select Undo message. Once you perform this step, the message will be deleted.

 We would like to add the time frame within which you can delete an already sent message is two minutes. The sent message will stay permanently in the inbox unless the receiver deletes it if the time exceeds two minutes. Also, the receiver will be notified that a message has been deleted.

Steps To Edit Sent Messages On iOS 16 Beta Version?

Step 1: Launch iMessages application on your respective iPhones.

Step 2: Open the chat window from where you wish to make the changes.

Step 3: Go to the message that you want to edit.

Step 4: Press and hold on the message.

Step 5: Now, select the Edit message option placed right below the Unsend option.

Step 6: Make the required changes and click ok.

Step 7: The message will have an Edited text highlighted next to it once it has been updated.

Categories
Gaming How To

Not Happy With BGMI Ban? Here’s How You Can Download The Game Without Google Play Store

Key Highlights

  • BGMI has now been removed from the Google Play Store and the Apple App Store
  • Players who have the game installed already can play it
  • New players can still download the game without the Play Store

Battlegrounds Mobile India (BGMI) has been banned in India which is a pretty unexpected development. The game has been removed from the Google Play Store and the Apple App Store in the nation. This means neither iOS nor Android users can download it. In an official statement, Google stated that the game’s removal from the Play Store was the result of a direct government order.

Even though BGMI has been taken down from the Apple App Store and Google Play Store, people who already have it installed on their mobile phones can still play it. However, new users are unable to download BGMI to their devices. For the new gamers, there is a workaround, though. They can not only download the game on their device but play it as well.

Yes, you can download the game without using the Play Store. Thanks to a new method that BGMI recently unveiled, players can now also download the game directly from the BGMI website. Here’s how:

Steps To Download BGMI

The alternative method that you can use to download BGMI is via APK files. Note that the BGMI APK download is only available for Android phone users. So, if you are one of them, all you need to do is follow these simple steps:

Step 1: Download the APK file of BGMI and locate the downloaded files on your device.

Step 2: Open the Download folder in File Manager on your devices.

Step 3: Locate the downloaded PUBG Mobile APK file.

Step 4: Then click the install button after opening it. The installation of apps from unknown sources must be permitted by going to Settings > Safety and Privacy > Install Apps from Unknown Sources.

Step 5: Following completion of the download, tap on the APK file and hit ‘Install’.

Step 6: The app will begin installing and you will soon have BGMI installed on your Android phone.

Step 7: You can now log in with Facebook or a guest account and play the game.

For those who don’t know, BGMI was launched specifically for India after the global PUBG Mobile was banned. PUBG Mobile was banned, along with many other apps and games with Chinese roots, as they allegedly sent the user data through Chinese servers and threatened national security. After a series of discussions and negotiations, the developers were able to sneak into the more or less same game albeit with a new name.

Categories
Auto Tech How To

Damaged HSRP Color Stickers? Here’s How To Apply For A Duplicate HSRP Sticker For Your Car

Key Highlights

  • The electric car owners get a green color HSRP sticker
  • These high-security number plates are designed to minimize car theft issues
  • You need to apply a request for a new HSRP color sticker

There have been several guidelines issued by the Ministry of Road Transport and Highways in India for domestic and commercial four-wheeler vehicles. One of them is the use of the HSRP (High-Security Registration Plates) and HSRP color stickers. Strict guidelines have been issued by the Indians for the citizens to use the new HSRP number plates and stickers on their cars.

These high-security number plates are designed to minimize car theft issues nationwide. It helps the official to scan the details using roadside CCTVs easily. That said, the HSRP color-coded sticker indicates the car’s fuel type. If you get an orange HSRP sticker if you own a diesel car and blue if it’s a petrol or CNG car. The electric car owners get a green color HSRP sticker.

Since they are pasted on the windshield from the inside, the chances of them getting damaged are less. But what if your windshield breaks? It will get damaged if you plan to remove it and stick it on the new windshield. That has been our recent experience. Applying for a new HSRP color sticker would be the only way to make sure you don’t get a hefty penalty while on the roads. If you have experienced one such issue and need to get a duplicate HSRP color sticker, this article will be your guide.

Also Read: How To Check Metro Card Balance Offline And Online? Learn Here

How To Get A Duplicate HSRP Color Sticker?

In order to apply a request for a new HSRP color sticker, you will first need to cancel the existing sticker. You will have to get in touch with customer care support to place the cancellation request.

Step 1: Open you mailbox and write a mail to HSRP customer care. The email address is online@hsrphr.com. (Note, this email address is for Haryana). For other areas, you can send the mail to online@bookmyhsrp.com.

Step 2: State the reason why you need to cancel the existing HSRP sticker and send the mail.

Step 3: Wait for the confirmation mail. Once your previous HSRP order is canceled, you can apply for the duplicate HSRP color sticker.

Also Read: Damaged FASTag? Here’s How To Get Duplicate FASTag Via Paytm

How To Get New HSRP Color Sticker After The Order Is Cancelled?

Step 1: Open online@bookmyhsrp.com on any web browser.

Step 2: From the home page, select ‘only Color sticker’.

Step 3: Fill in the required details. You will need to enter the state, car registration number, engine number, chassis number, and the front and rear laser codes. You can locate the laser cards on the HSRP plates in your car.

Step 4: Enter the captcha.

Once you are done with this process, you will be able to schedule an appointment when an executive can visit and complete this process.

Also Read | Recharge Your FASTag On WhatsApp: Here’s How To Do It

Categories
How To TV

How To Download And Install Third-Party Apps, Games On Smart TVs?

Smart TVs are ruling the TV market globally. We now have big screen TVs that can easily connect to the internet and wireless accessories to give you a theatre-like experience right inside your homes. The latest generation of smart TVs comes in a variety of sizes and with support for 1080p FHD, 4K, and even 8K resolution (with some models). Now, if purchase a new smart TV, you will get a bunch of pre-installed applications.

Most of them are media applications or supported apps to play multimedia files. OTT apps are amongst the most commonly found applications on a smart TV from any brand. Netflix, Amazon Prime videos, and YouTube are amongst those streaming applications that most of the manufacturers are pre-installing on their new-gen smart TV models.

In fact, smart TV manufacturers are shipping TV remotes with dedicated hotkeys for the aforementioned apps. In addition to the OTT and streaming applications, most smart TVs have a custom media player app that will allow you to play videos, audio, and even pictures from external sources such as a USB port or hard disk.

But often, there are instances when you would want to download and install a third-party application on your smart TV. Now, it sounds quite simple when you have an available internet connection and the required hardware on the TV. But what are the exact steps? If you aren’t aware of how can you download and use additional third-party apps on your TV, read the steps below:

Steps To Download And Use Third Party Applications On Smart TVs

Step 1: Power on your respective smart TVs.

Step 2: Open the apps menu using the TV remote.

Step 3: Scroll to the Google Play Store app.

Step 4: In the search option, type the name of the app that you wish to download.

Step 5: Tap on the app and then select install.

Step 6: Follow the on-screen steps to complete the app installation.

Step 7: Launch the application once the setup is complete.

It is also worth adding that you can also download games on your smart TVs. Most of the latest smart TVs are compatible with some of the games available online. But not all TVs have the required hardware to render high-end games smoothly. You will need an external gaming console in such scenarios.

Steps To Download And Play Games On Any Android Smart TV

Step 1: Go to the Google Play Store application on your smart TV.

Step 2: You can either go directly to the gaming section from the Play Store’s menu or search for your favourite game. If the TV supports the game, you will get the option to download.

Step 3: Complete the game installation by following the steps on mentioned on the screen. That’s it. The game will be downloaded on your TV to play.

Categories
How To Mobile

How To Stop/ Deactivate Airtel, Vodafone, BSNL, JIO SIM Flash Messages On Android, iOS?

Key Highlights

  • Flash messages are short, text-based messages that are designed to grab your attention.
  • Most of these flash messages are promotional.
  • The following steps will help the users to disable any kind of promotional messages on Android phones.

Whether you own an Android or iOS smartphone, it can’t be complete without a SIM card. Not just for smartphones, SIM cards have been the heart and soul of mobile communication from the initial days. Just as smartphone technology is evolving, we have seen developments on a large scale with SIM cards as well. All the large-sized SIM cards are now being replaced with micro and E-Sim.

Using a SIM card with any smartphone is fairly easy. You just have to insert a SIM card from any carrier and take care of the pack recharges to get access to all services. If we speak of the major players in the mobile communication market in India then Airtel, Vodafone, BSNL, and Jio are some names.

Also Read: Airtel Digital TV: How To Add Or Remove Airtel DTH Channels

Now, you can use any of the carrier’s SIM cards with your Android and iOS smartphones. You often don’t get any service messages or calls from the mobile carriers unless your existing plan is getting expired or there are some new services that the brand wants a customer to be aware of. But one of the most annoying messages that you get from Airtel or any other mobile carrier is flash messages.

Is there any direct way in which you can turn off flash messages from Airtel, Vodafone, Jio, and other mobile carriers in 2022? The answer is yes. We have shared fresh methods with which you can easily disable flash messages on any Android and iOS smartphone.

Also Read: Recharge Your Delhi Metro Card Using Airtel Thanks App: Here’s How

How To Disable Airtel Flash Messages On Any Android Smartphone?

The first and direct way to disable Airtel flash messages on your smartphone would be using the SIM toolkit settings on your Android smartphone. This method will work for both Airtel prepaid and postpaid customers.

Step 1: On your Android smartphone, open the App drawer.

Step 2: Locate the Airtel Services app. Tap on it.

Step 3: Select the Airtel Now option.

Step 4: You will get a bunch of options from where you need to click on Start/ Stop.

Step 5: Select the Stop option.

Now, go back to the home screen and start using the smartphone as usual. You will not get any flash messages from Android after completing all these steps. Notably, if you own a Vodafone, BSNL, or JIO SIM card, the steps would remain the same to deactivate flash messages using the carrier app.

Also Read: Airtel Gives The Best Download Speed, Jio Leads In Availability: OpenSignal