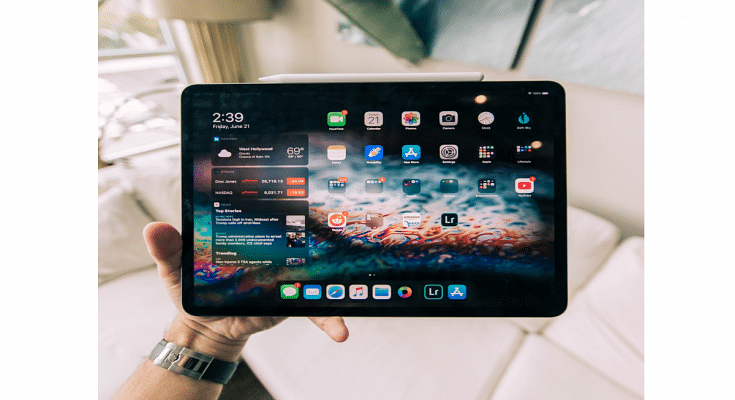
Tablets are among the top-selling consumer electronics gadgets in the modern markets. Similar to the smartphone industry, Android and Apple iPad tablets hold the major chunk of the market in the tablet industry as well. While Android tablets grab the larger share, Apple iPads aren’t any less popular amongst consumers.
Apple is known for releasing new iPad models and supported OS every year. This year as well, Apple had introduced the iPad OS 16 for the new-generation iPads and the eligible older models. The latest firmware brings several new useful features for easy and improved usage with the iPads. And tablet usage is similar to smartphones in many ways. You can use these large screen gadgets for web surfing, calling (with the LTE models), gaming, and also creative tasks such as designing, etc.
Since the functionality and usage of tablets and iPads are quite identical to a smartphone, the features available are also similar. While using any iPad, you might want to take a screenshot of any document that you are accessing on the web or have received via mail or any other format. Capturing a screenshot on any Android tablet is fairly simple, but are you aware of the procedure to grab the screen on any Apple iPad?
We bet you might have tried capturing screenshots using the Apple iPad and if you haven’t succeeded yet, you don’t have to worry at all. In this article, we are making it super easy for you to grab any screen on your Apple iPad. We also have listed the method to capture a screenshot with iPads. Take a look:
Steps To Capture Screenshot On Apple iPads
Step 1: Unlock your iPad. Go to the page or document whose screenshot you want to capture.
Step 2: if your iPad has the Home button then simultaneously press and release the Home and the top button.
Step 3: For the iPads with no Home button, press and release the top button (placed on the top right edge of the iPad) and any one of the volume keys.
Step 4: You’ll see the screenshot capture on the lower-left of the home screen. Tap on it followed by Done.
Step 5: Select the appropriate option from Save to photos, Save To Files, or Delete screenshot.
Just for reference, upon clicking the Save to Photos, the captured screenshot will be visible in the Screenshot album that you can later access from the Photos app. The second option will save the screenshot to File Manage, while the last option will delete the captured screen.
