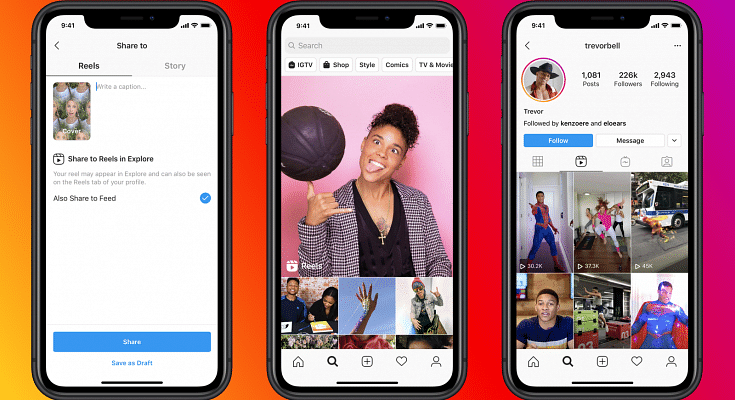
Facebook now called Meta has been the game-changer in the social media market. The company started this online service from the desktop version (for windows and Mac) and had later expanded its venture to the Android and iOS mobile operating systems with a dedicated app. Of late, the brand has been borrowing some features from its other social media arms such as Instagram and Facebook. Reels which is currently a hit amongst content creators on Instagram is one of such features which has made its way to the standard Facebook app.
Announced back in December 2021, Facebook Reels is a rip-off of Instagram’s Reel option allowing users to create and upload short-format videos. So, how exactly do you use the Facebook Reels option to showcase your talent? Read on to know:
Facebook Reels: What Is It? How Is It Different From Instagram Reels?
As mentioned above, Facebook Reels is nothing but the company’s new service for the masses to create and upload short videos. You can also use a series of clicked shots and edit them into a short video. It isn’t any different from what Instagram offers. It is worth mentioning that Facebook Reels is available for both desktops as well we mobile operating systems (Android and iOS). Creating and uploading Facebook Reels isn’t much of a hassle either. Take a look at the steps:
How To Create And Upload Facebook Reels Videos?
If you haven’t yet accessed the Reels section, you can do so by clicking on the menu (three horizontal lines) option. Select ‘Reels’ to get started.
Step 1: Once you are on the Reels section on Facebook, you will be able to see the ‘Create’ tab in the top right corner. Tap on it.
Step 2: You will need to grant access to the Facebook camera to create and share Reels. Click on ‘Allow Access”.
Step 3: You can either record a new video using the Facebook camera app or use previously captured images or videos.
Step 4: Now, add desired effects such as music, frames, etc.
Step 5: Select ‘Next’ once done with the video editing part.
Step 6: To increase the reach, add a good description (short) and then select the audience type for your video.
Step 7: Click on “Share” to upload your Facebook Reel.
