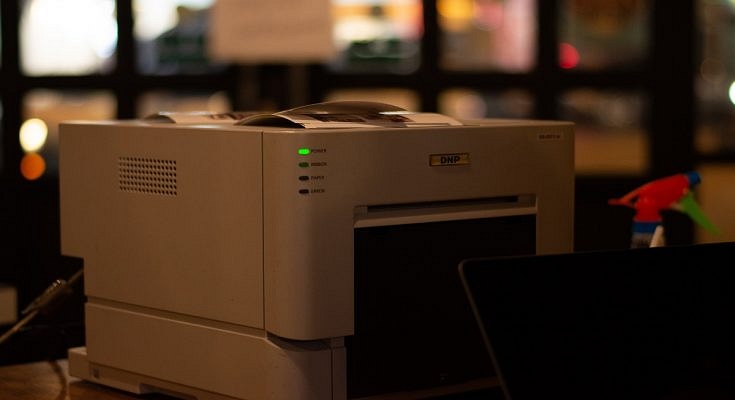
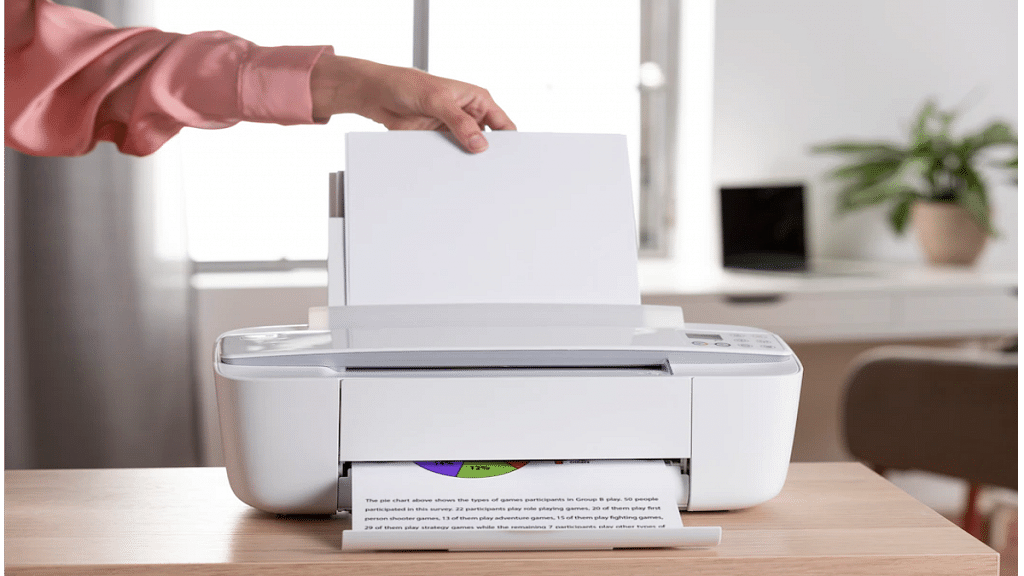
Printers are an essential tool for students and working professionals. While the digital transition is at its peak, printers still platy a vital role in our daily lives. The modern day printers are all advanced and lets users scan and fax from the same machines. HP, Epson, Canon, and Samsung are the noted players in the printer market in India offering a wide range of models.
Printers have also evolved with the technolgy the same way other mainstream consumer gadgets such as smartphones, tablets, laptops, and PCs. The services have also improved with the new-gen printers. For most of the general issues, you can try quick fixes at home to avoid visits to service centres.
The latest generation printers have wide range of connectivity options and also compatibility with multiple operating system including Microsoft Windows and Mac OS. We have previously shared some of the tips and tricks to resolve issues with Windows OS. Here we are sharing the steps to add a wireless printer to your Mac OS-powered device.
How To Add A Bluetooth Or Wireless Printer In MacOS
As mentioned above, this articles is centred around the method to add a Bluetooth printer to a Mac OS laptop or PC. If your MAC laptop or PC is Bluetooth-enabled then you can easily pair a wireless printer. Additionally, you can alo give prints using USB Bluetooth adapter that you have used to pair the Mac device and the PC.
Step 1: Open your Mac laptop or PC and check if the system firmware is up to date. You wouldn’t need to check this if the printer to be connected is one from the AirPrinter series.
Step 2: Complete the printer setup by filling up ink cartridges and papers.
Step 3: Turn on the printer.
Step 4: On your Mac device, tap on the Apple menu option.
Step 4: Click on System preferences.
Step 5: Tap in the Printers and Scanners option.
Step 6: Click on the Add option.
Step 7: Select the Default option.
Step 8: In the pop up screen, you’ll see the printer name in the list of printers. Select the appropriate printer.
Step 9: The wireless printer will now be set as default in your Mac laptop or PC. You can directly give print commands from the Mac device.