Despite the fact that the iPhone has been around for a long time, there is still no straightforward way to create a custom ringtone, but it is doable. You can make your own ringtones with iTunes if you don’t want to buy them or utilize the ones that come with your iPhone.
With iTunes 12.7, the procedure can be altered slightly. Although the previously synced “Tones” library has been gone, you can still manually install ringtone files on your iPhone.
Step 1: Getting Itunes
With a recent iPhone, you hardly ever need to utilize iTunes. But if you want to install your own custom ringtones, you have to get iTunes first.
On a Windows PC, you’ll need to download and install the most recent version of Apple’s iTunes.If you have a Mac, iTunes generally comes pre-installed. This method will work on both a Mac and a Windows PC.
However, iTunes for macOS Catalina is no longer available from Apple.
Step 2: Choose a Desired Sound File
You’ll need a sound clip to convert and use as a ringtone for this. You most likely already have an idea of what you’d like to use. If not, go ahead and look for anything that interests you. You are free to use any sound file you come across.
- The length of your ringtone file must not exceed 40 seconds. Ringtones that are longer than 40 seconds will not be copied to your phone by iTunes.
- If the file is long and you only want to use a portion of it, you can use an audio editor to chop it down to the desired length. You are free to use any audio editor you like.
- You can visit mp3cut.net to cut your audio files. To utilize this website, go to the “Open file” tab and select the MP3 or other sound file you want to modify. If you submit video files, it can also extract the sound from them.
Step 3: Convert MP3 to AAC format
It’s likely that your audio file is in MP3 format. To use it as a ringtone, you’ll need to convert it to AAC format. (You can skip this step if your sound file is already in AAC format or has a .m4r extension.)
- To begin, open iTunes and add the sound file to your library. This can be accomplished by simply dragging and dropping the file into the iTunes library. After that, look for the file under Library > Songs.
- In iTunes, go to File > Convert > Create AAC Version and choose the sound file.
Step 4: Renaming Your File
- In your iTunes library, you’ll have two copies of the same song file: the original MP3 version and the new AAC version.
- To keep track of which is which, right-click on the library’s headings and select the “Kind” column from the drop-down menu.
- A new “Kind” column will appear, indicating which file is which. The original MP3 is the “MPEG audio file,” while the “AAC audio file” is your new AAC file. If you choose, you can remove the MPEG audio file version (which is the MP3) from your collection by right-clicking on it.
- You now have an AAC file for your ringtone. However, you must modify the file extension in order for iTunes to recognize it as a ringtone.
- To begin, drag and drop the AAC file from your iTunes library to your Desktop or any other location on your computer.
- The ringtone will be delivered as an AAC file with the.m4a extension. Replace the .m4a extension with.m4r. If the file’s name is Song.m4a, for example, rename it to Song.m4r.
Step 5: Adding Ringtone to your Phone
Finally, use the provided USB-to-Lightning cable to connect your iPhone to your PC or Mac.
- If you haven’t previously connected your phone to iTunes on that PC or Mac, unlock your iPhone and hit the “Trust” option on its screen to confirm your file transfer. You’ll be asked to enter your PIN code.
- In iTunes, select the device icon to the left of “Library” in the menu bar.
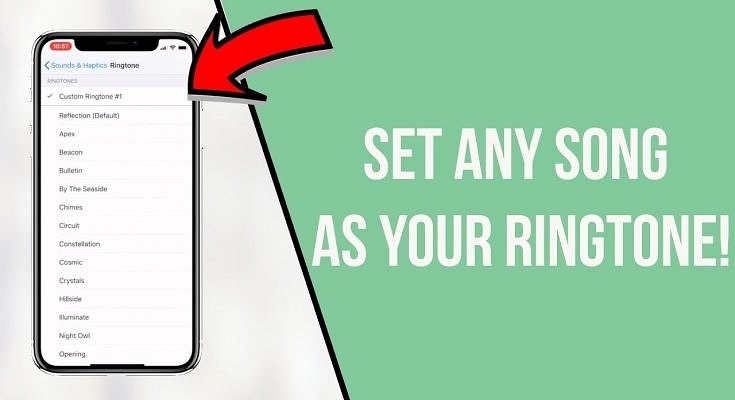
- In the left sidebar, click the “Tones” box under My Device.
- Drag the.m4r ringtone file from its folder into the iTunes Tones section.
- The ringtone will be synced to your phone via iTunes and will appear under Tones here right away.
Conclusion
Listen to any music you like. You can follow the above-mentioned steps to set any customized audio file as your ringtone on your iPhone.