Key Highlights
- Microsoft Teams lets users get their messages noticed among others
- They have the choice of delivery options for Urgent and Important
- Urgent messages get highlighted every two minutes and 20 seconds
Microsoft Teams is a powerful communication tool that allows users to collaborate and communicate effectively. One of the features of this app is the ability to set a message as urgent, which helps to draw the attention of the recipient to the message. In this article, we will discuss how to set a message as urgent on Microsoft Teams.
Also Read | Google Meet Hacks: How To Change/ Update Google Meet Name Using A Laptop Or PC?
How To Highlight A Message In Microsoft Teams?

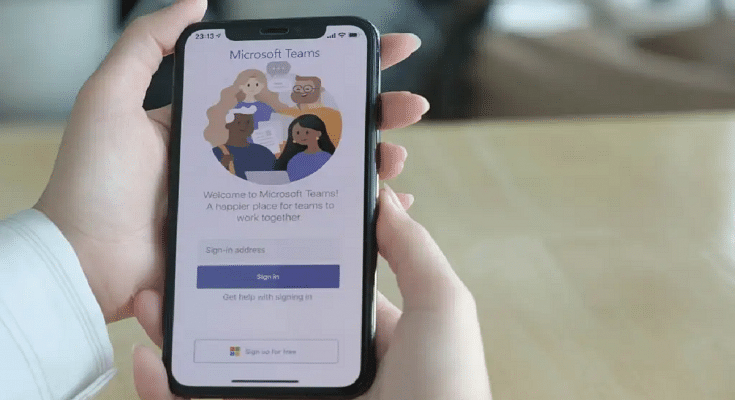
Step 1: Open Microsoft Teams
The first step to set a message as urgent on Microsoft Teams is to open the app on your mobile or laptop. You can do this by clicking on the icon on your desktop or by navigating to the website and logging in.
Step 2: Select the chat or channel
Once you have opened the app, you need to select the chat or channel where you want to send the message. You can do this by clicking on the chat or channel from the left-hand panel.
Step 3: Type your message
After selecting the chat or channel, you can type your message in the text box at the bottom of the screen. It is important to ensure that your message is clear and concise.
Also Read | How To Archive Emails In Microsoft Outlook: Here’s The Step-By-Step Guide
Step 4: Set the message as urgent
To set the message as urgent, you need to click on the exclamation mark icon next to the text box. This will open a menu where you can select the level of urgency for your message.
Step 5: Choose the level of urgency
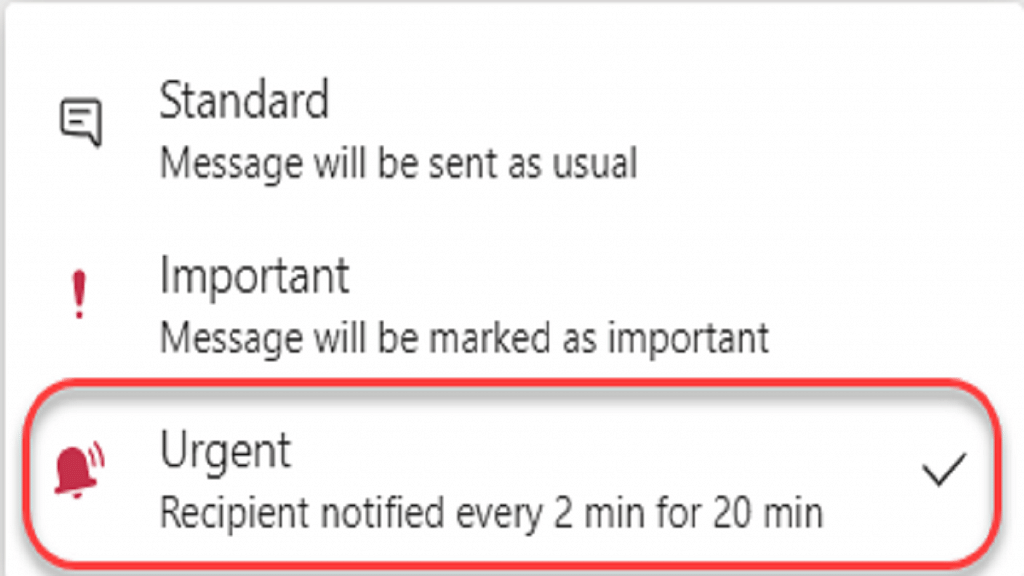
In the menu that appears, you will see three levels of urgency: standard, important, and urgent. Standard is the default level, while important and urgent are used to draw the attention of the recipient to the message. To set your message as urgent, you need to click on the urgent option.
Step 6: Send the message
After choosing the level of urgency, you can click on the send button to send your message. The recipient will receive a notification that the message is urgent, and the message will be highlighted in red in the chat or channel.
Overall, setting a message as urgent on Microsoft Teams is a simple process that can help to draw the attention of the recipient to the message. By following the steps outlined in this article, you can ensure that your message is seen and acted upon quickly. Remember to use this feature only when it is necessary, as overuse can lead to a decrease in its effectiveness.
Also Read | Want To Create A New Group For Google Meet Calls? Here’s How To Do It