Key Highlights
- Google Maps allows locating nearby EV charging station
- Feature useful for new EV owners
- Customizations with plug type can be done
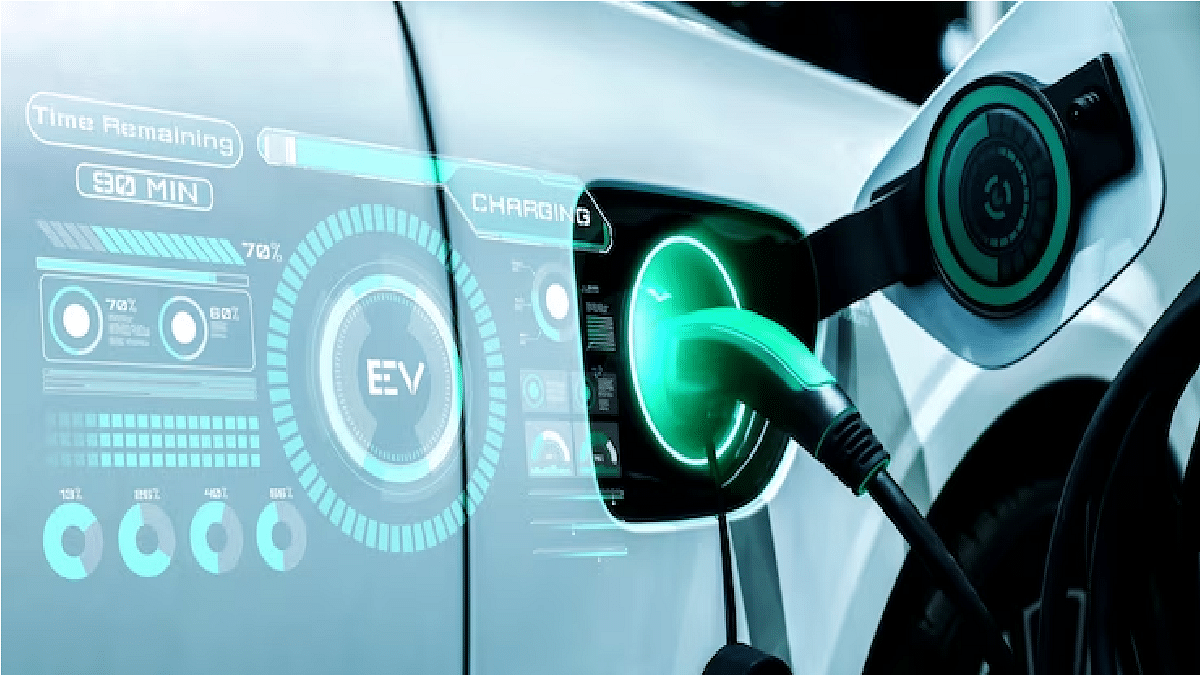
Google Maps is indeed the best navigation mobile app out there in the market. Offering a plethora of services, the Google Maps is making lives easier when it comes to getting directions for unknown destinations. Finding emergency services is one of the most useful features which makes Google Maps the go-to application for the masses globally. And for the EV owners, Google Maps is emerging as handy tool to take care of range anxiety.
Google recently added a new feature to the Google Maps application allowing users to find EV charging stations on-the-go. This feature addresses the concerns of new EV owners traveling to a new route. This is considering the fact that the EV charging infrastructure is in the development phase and there might be a scarcity with charging stations at certain locations. With the charging station service being added to the Maps, it definitely comes as a rescue. If you are also an EV owner and wish to know the steps for locating EV charging stations with just a few taps, then below is your step-by-step guide.
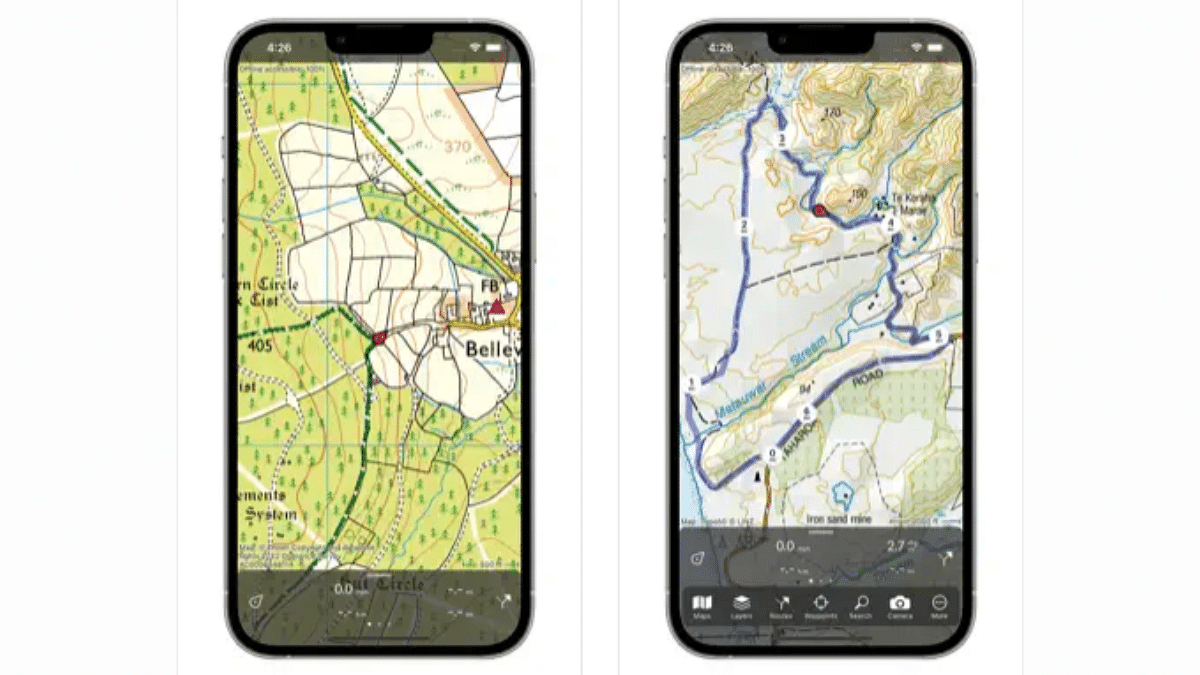
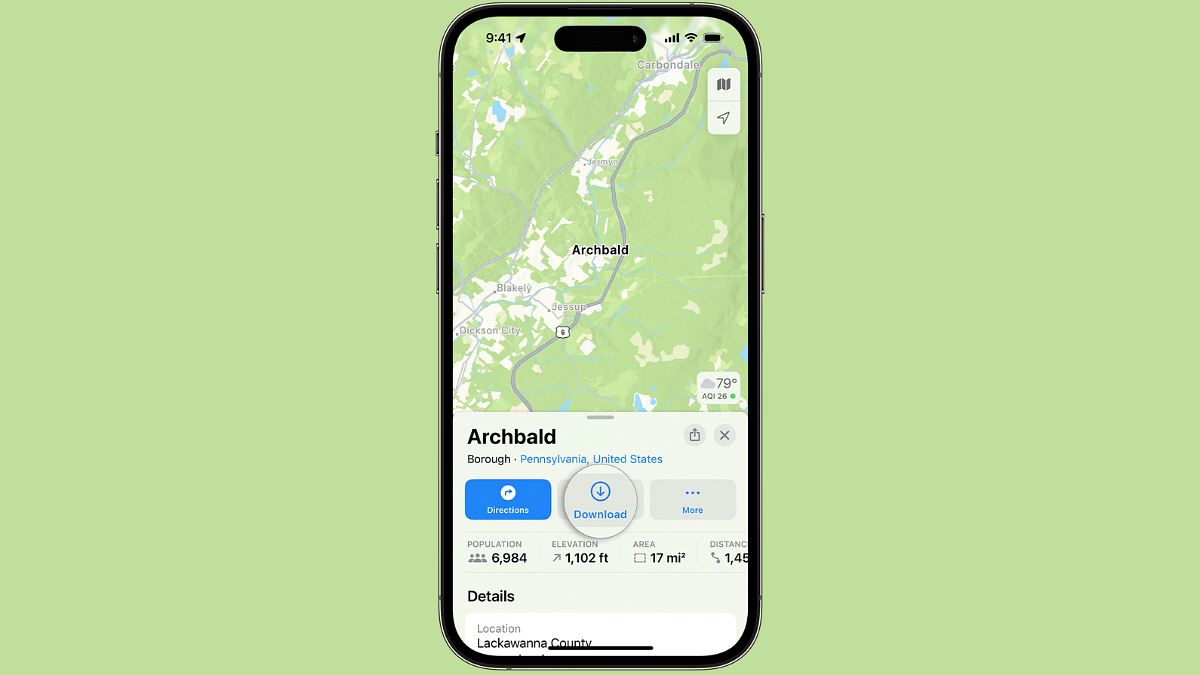
Also Read: Apple Maps Topographic Hiking Trail Feature: How To Use?
Steps To Find EV Charging Stations Using Google Maps On-The-Go

Before you proceed with locating an EV charging station on Google Maps, ensure that it is updated to the latest version. You can check manually if there’s any update pending.
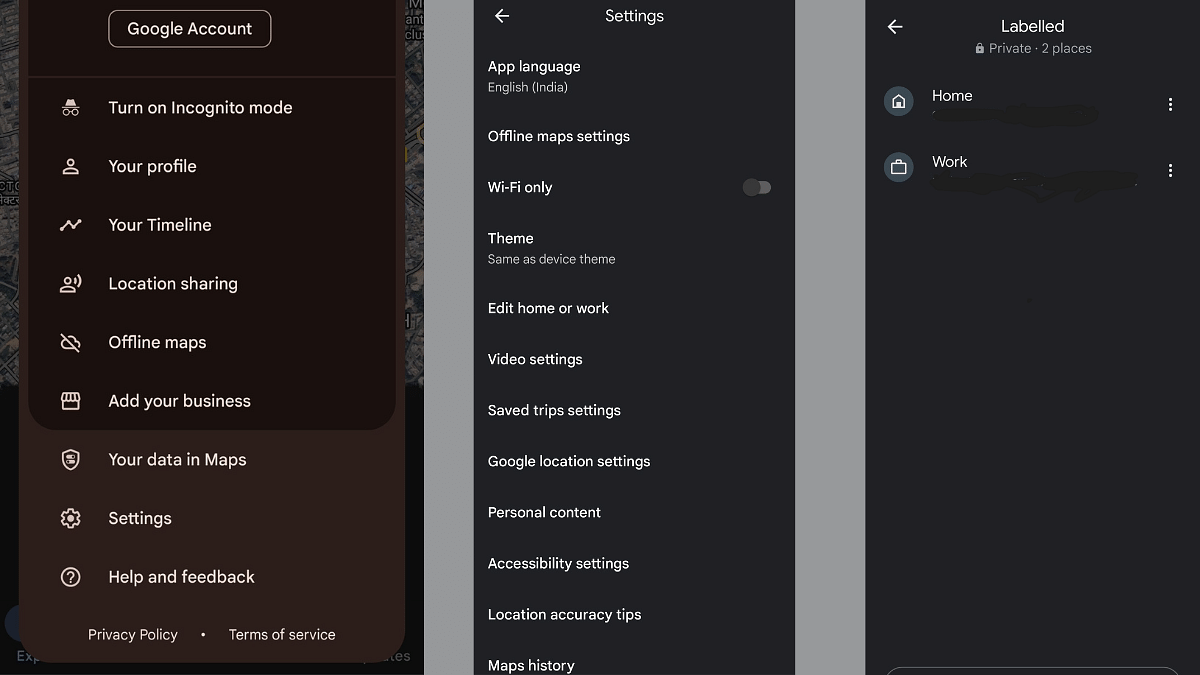
Step 1: Open Google Maps mobile app
Step 2: From the list of services, tap on More (three dots icon)
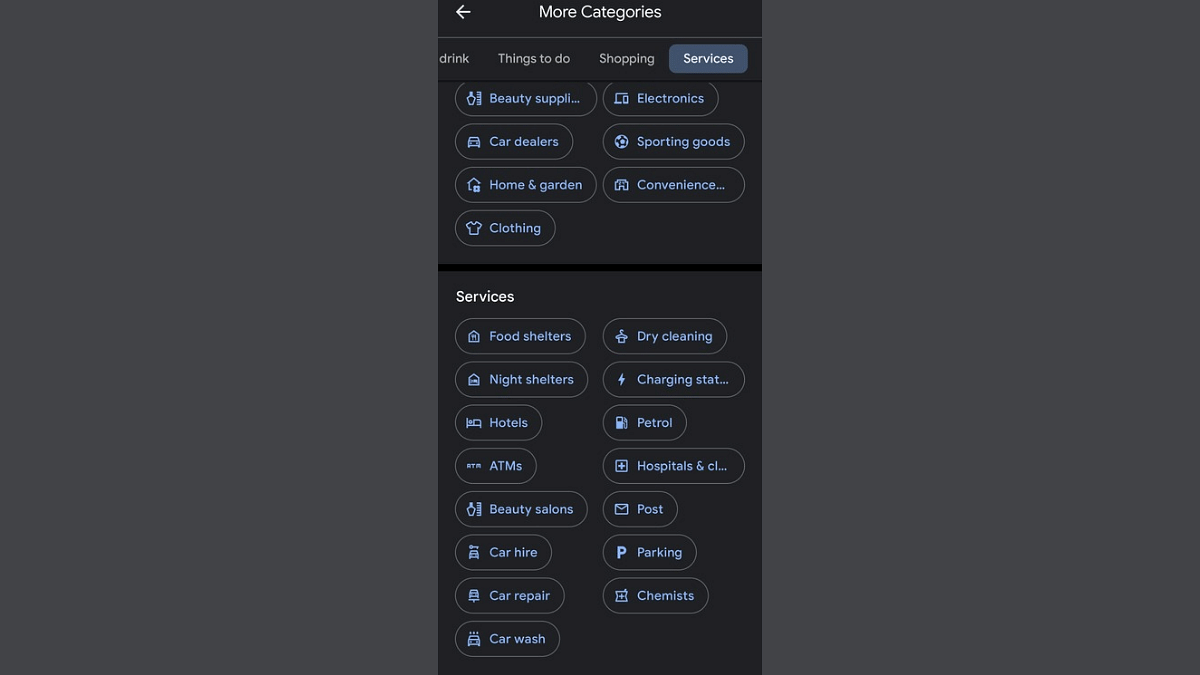
Step 3: Scroll to the Services section
Step 4: Click on Charging Station
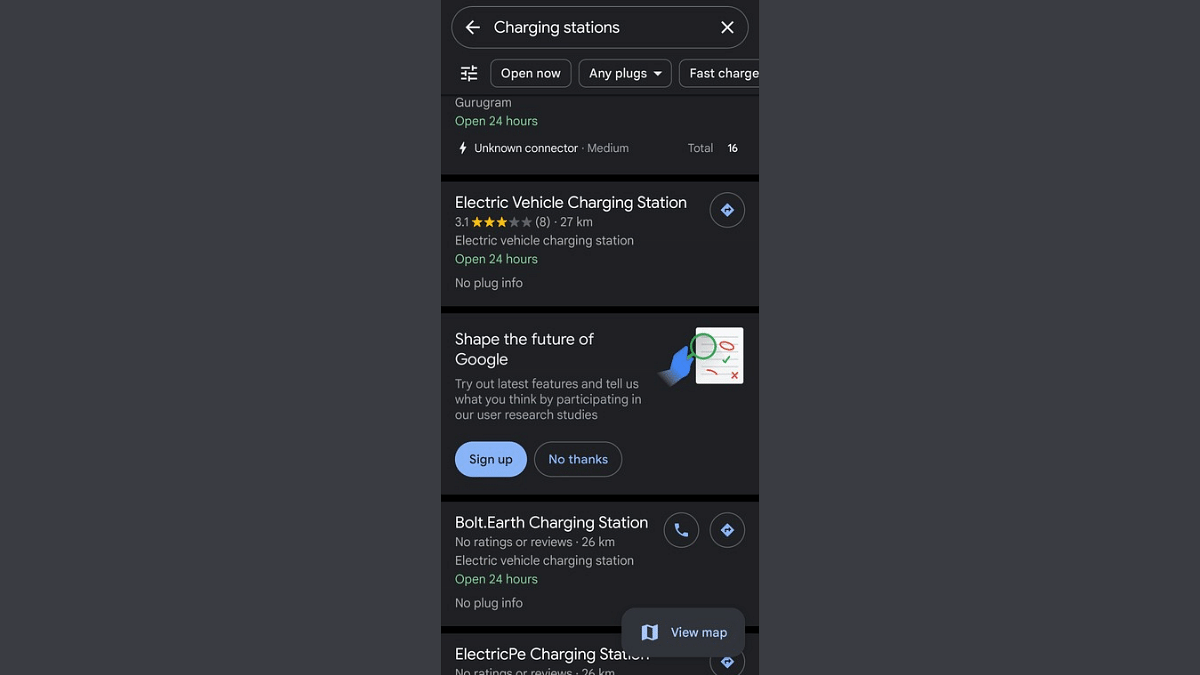
Step 5: You will see the list of nearby charging stations for your EV
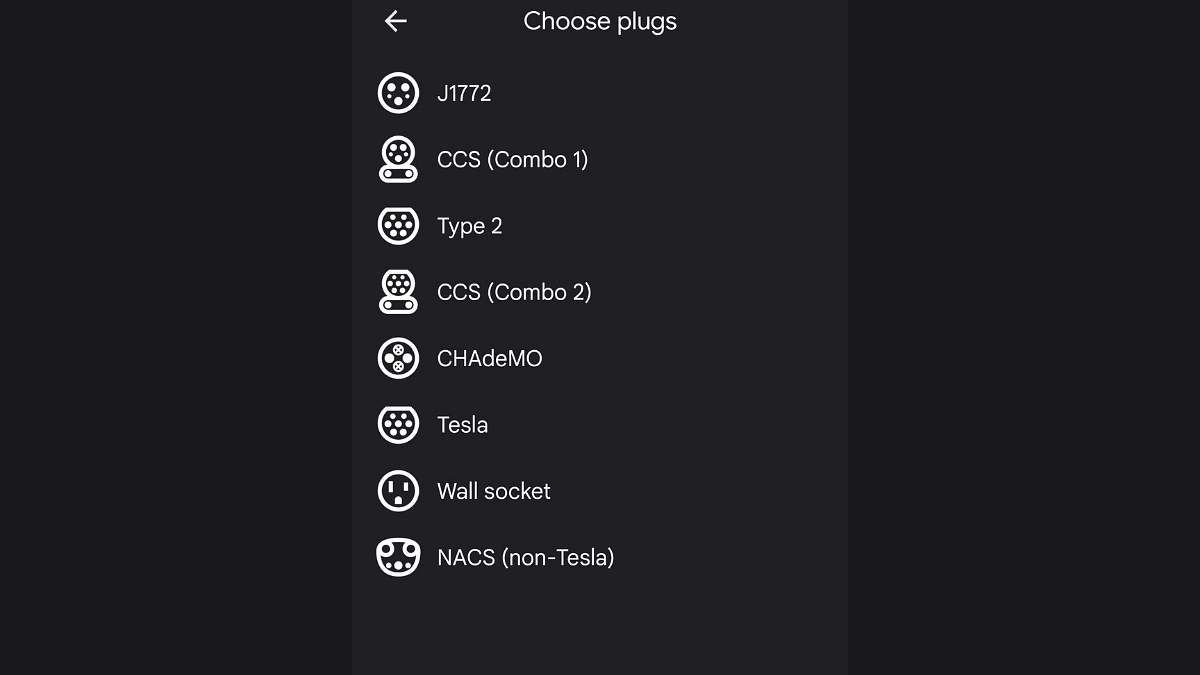
Step 6: If you need specific type of charging plug, you can gp ahead with the customization option as well. Just select the “Add Plug” option to enter your preference
Step 7: Tap on Done to see the updated list of near by EV charging station