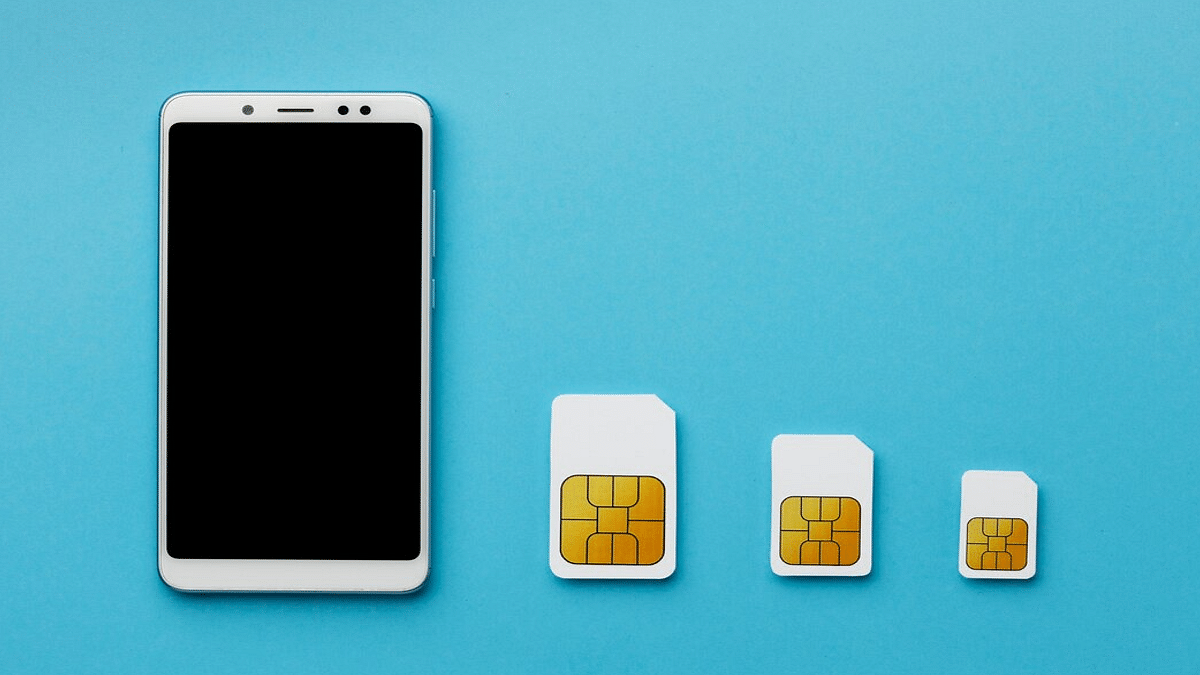
Categories
Apps Featured How To

How To Use Two WhatsApp Accounts On One iPhone: Check Out The Steps

Key Highlights

  • Most new smartphones offer dual-SIM functionality
  • You can’t use two distinct WhatsApp accounts on one smartphone
  • Android users use app cloning or third-party apps, while iOS users face challenges due to lack of built-in or third-party tools for app cloning

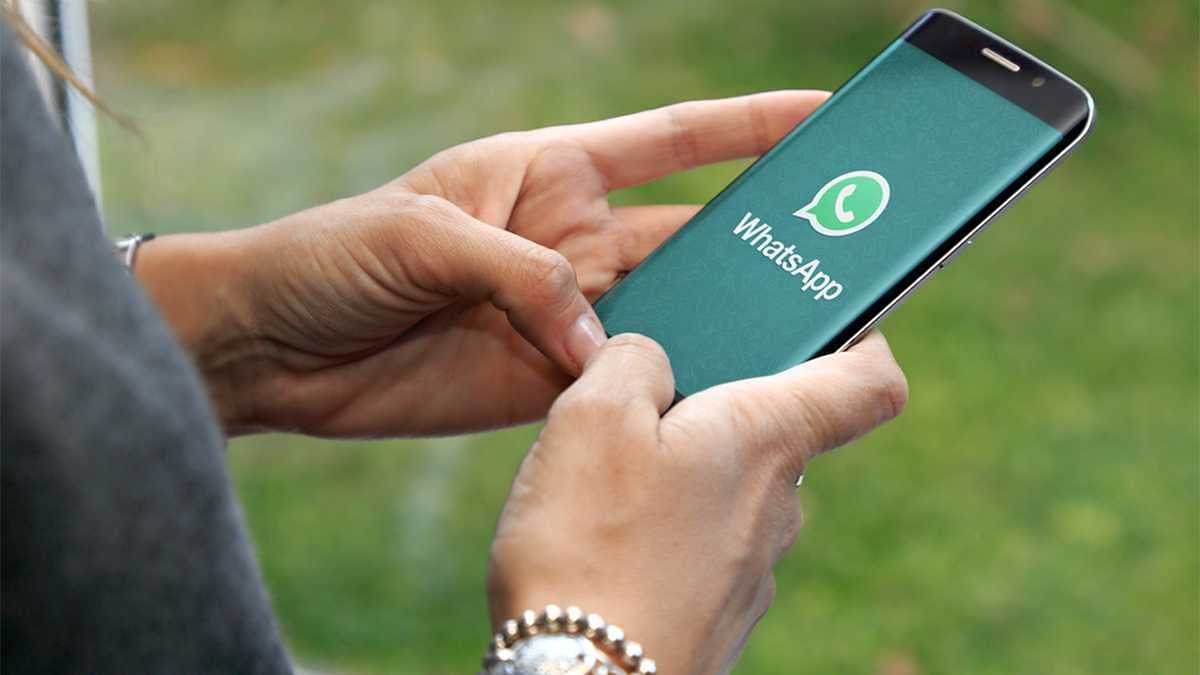
In the past few years, almost all new smartphones have had dual-SIM functionality. You can use two separate numbers on the same device thanks to the feature. Unfortunately, you cannot use two distinct accounts on a single smartphone using WhatsApp, one of the most widely used messaging apps worldwide. The majority of Android users choose “Dual WhatsApp” by using the app cloning feature or installing third-party apps to use two WhatsApp accounts.

With iOS, this might not be the case, though, as there aren’t any internal or third-party tools that let users clone their apps, making it challenging for users to have multiple accounts for the same app. Let’s find out how you can use two WhatsApp on a single iPhone. Also Read | WhatsApp Tips & Tricks: How To Unblock Yourself And Regain Access

Steps To Use Two WhatsApp Accounts On A Single iPhone

Using WhatsApp Business is the only way to use two WhatsApp accounts on a single iPhone. Similar to the standard version, WhatsApp Business has a few more features that make it appropriate for business owners.

You can currently use these two versions of the platform with two separate numbers on a single device with the Meta-owned app. Follow these steps to learn how to use two WhatsApp accounts on a single iPhone. This way you can lastly make use of your iPhone’s second SIM for WhatsApp.

Step 1: On your iPhone, open App Store and search for WhatsApp Business.

Step 2: Click on the Get icon and install the app on your iPhone.

Step 3: Open the application after downloading it and tap on Agree & Continue button.

Step 3: There will be two choices available to you in a new window. Click the second choice. You can use your current WhatsApp account as a business account if you choose the first option. You can create new WhatsApp Business accounts with a different number using the second option.

Step 4: Simply log on with your second number as you would on the standard WhatsApp app.

Also Read | WhatsApp Pay Tips And Tricks: How To Check Bank Account Balance On WhatsApp App

Following setup, you can use the regular WhatsApp for your primary contact number and WhatsApp Business for your secondary contact number. You will find it simple to sort through messages in this manner. Additionally, it is simple to maintain two WhatsApp accounts on a single iPhone if you run a business or wish to use one for personal usage and the other for work.

Categories
Featured How To Mobile

How To Check Number Of Sim Cards Registered On Your Name And ID: How To Block Unauthorized SIM Cards Issued On Your Name?

Key Highlights

  • Check and block linked SIM cards.
  • 18 SIM cards per ID/Aadhar.
  • TRAI’s portal for SIM verification.

If you are a smartphone user, chances are you must be using one primary SIM card for your smartphone. If it’s a dual SIM phone, you might have two SIM cards from a single or different operator. But have you ever wondered if unauthorized SIM cards are issued in your name or ID cards? If yes, how many of them are there is one big query that every single user has.  

Safeguarding Against SIM Card Fraud With TRAI’s Dedicated Portal

This is one concern that is constantly rising amongst smartphone users with the increasing digital and cyber attacks. You might land in trouble if any fraudulent activity is being carried out using the SIM card issued under your ID and name that you are unaware of. And to check if any SIM card is issued on your ID or is linked to your Adhar Card, you don’t have to visit any operator store physically.

Also Read | Lost Reliance Jio SIM Card? Here’s How To Block And Resume Your Jio Number

You can easily check how many SIM cards are linked to your ID and block them using your smartphone or laptop/PC. This will not only save you time but also extra hassles and physical effort. Just for reference, the Telecom Regulatory Authority Of India (TRAI) has also certain guidelines set for SIM card registry in India. A user can have 18 SIM cards issued on the same ID or Adhar Card.

To minimize such fraudulent activities, TRAI has created a dedicated portal where you can not only check the exact number of SIM Cards registered with your ID and also block the ones you aren’t aware of.

Also Read | No SIM Card Error: How To Fix No SIM Card Detected/ SIM Toolkit Issue With Smartphones

How To Check The Number Of SIM Cards Issued On Your Name Or ID

Step 1: On your laptops/ PCs or smartphones, launch any web browser such as Google Chrome, Firefox, or Opera.

Step 2: Type www.tafcop.dgtelecom.gov.in and hit enter.

Step 3: Now, enter your primary mobile number on the home screen.

Also Read | Annoyed With Unwanted Calls On Your IPhone? Here’s How To Block Any Phone Number On iPhone

Step 4: Tap on the Request OTP option.

Also Read |Want To View Instagram Story Secretly Without Notifying Contacts Or Followers: Here’s How

Step 5: Now, enter the OTP that you have received on your primary mobile number.

Step 6: As soon as you complete step 5, you will see the list of the mobile numbers that have been issued on your Aadhar card or are linked to your name and ID.

Step 7: If you see any unknown mobile number, you can proceed to raise a complaint request to block it.

Also Read | How To Disable the ‘This Call Is Now Being Recorded’ Warning On OnePlus

How Can You Block Or Deactivate Extra/ Unauthorised SIM Cards Registered With Your Name Or Aadhar Card

Step 1: Identify the number that you haven’t purchased or got issued under your Aadhar Card or name.

Step 2: Select the number on the TRAI portal.

Step 3: Raise a complaint that it doesn’t belong to you or is fraudulent.

Step 4: TRAI will process the request to block or deactivate the SIM and will also provide a specific ticket ID for this request. You can easily keep a track of the request and see how long the deactivation process will take.

Also Read | Stop Call Recording Announcement On Realme Smartphones: Here’s How

Categories
Featured How To TV

Apple TV Features: How To Setup Apple TV Remote In Control Centre And Use iPhone, iPad As Remote

Apple is not just popular for iPhones or iPads. The Cupertino Giant is well-known for its Mac notebooks, laptops, and Apple TV lineup (smart TVs). Like iPhones and its other popular products, Apple makes sure it uses top-tier hardware for its smart TV lineup. Siri  Remote is one of the prime accessories that ships with Apple TVs. As the name suggests, the Siri Remote is a wireless remote accessory enabled with the digital voice assistant Siri.

But Apple has also made it possible for users to control Apple TVs using Apple iPhones and iPads, or even iPod touch. This option is also available for compatible AirPlay 2 devices. This is a useful feature that becomes a savior at times you aren’t able to find the TV remote.

In such scenarios, you don’t have to wait to buy a new Apple TV remote and rather can use the range of available Apple devices at your place to control the audio and video playback on your Apple TVs. You would first need to add the Apple TV remote to Control Centre only then you will be able to complete the setup. Below are all the steps to add and setup Apple TV Remote to the control center so that you can use your iPhone or iPad as a remote:

Steps To Add Apple TV Remote To Control Center

Step 1: Make sure the device to be connected (iPhone or iPad) is running on the latest firmware version (iOS and iPadOS). If the devices are already using the latest firmware build, they will be automatically added to the Control Center. Just for reference, the Apple TV Remote feature in the Control Center is compatible with Apple TV 4K, Apple TV HD, Apple TV (3rd Gen), and compatible AirPlay 2 models.

Step 2: If in case your device is running on the older iOS or iPadOS version, you will need to complete the procedure manually. In such scenarios, go to the device settings first.

Step 3: Click on the Control Center option.

Step 4: Select the Add “+” icon placed right next to the Apple TV Remote tab.

How To Complete Apple TV Remote Setup In Apple TV Control Center

Step 1: Launch the Control Center app on your respective Apple devices.

Step 2: Scroll to the Apple TV Remote option.

Step 3: Click on the Apple TV or smart TV from the list on the screen.

Step 4: You will see a bunch of on-screen instructions. Follow the steps and enter the four-digit passcode that you will receive on the connected iPhone or iPad. You will need to use the Siri Remote to enter the four-digit passcode into the Apple TV. This is for 3rd Gen Apple TVs. Once you complete these steps, you’ll be able to use your iPhones, iPads, and iPod Touch as your Apple TV Remote.

Categories
Featured How To TV

Samsung TV Tips And Tricks: How To Use Tap View And Multi View Screen Sharing Feature On Samsung TVs

Samsung is one of the largest players in the big screen markets. The South Korean tech giant has shown its expertise with smart TVs and monitors and is meeting the user requirements with feature-rich products in this segment. Samsung smart TVs v tech advanced features that you would expect on any premium range smart TV.

You can use the internet, connect wireless accessories, and much more with modern Samsung smart TVs. Screen sharing is another useful option that most of the new-generation Samsung smart TVs allow. Samsung is also known for adding customized features to its smart TV range. And since we are speaking of screen sharing, the Tap View and Multi-View features are two of these features that help with easy screen sharing.

The Tap View feature lets you transfer content including photos and videos from your smartphones and other mobile devices including tablets to your smart TV. On the other hand, the Multi View feature allows users to view a split screen for different content types simultaneously on the TV. The Multi View option on Samsung smart TVs also lets users sort content and allot screen size (small or large) respectively.

How To Use Tap View On Samsung Smart TV For Screen Sharing

In order to use the Tap View and Multi View feature on your Samsung smart TV, you would need to have the Samsung SmartThings app installed on your respective phones. If you don’t have this app, make sure you do that from Google Play Store or Apple App Store on your respective Android phones or iPhones.

Step 1: Launch the SmartThings mobile application on your respective smartphones.

Step 2: Click on the Settings menu from the app’s home screen.

Step 3: Scroll to the Tap View option and toggle it on.

Step 4: Now, move your smartphone closer to the TV and wait for the Allow phone presence option on the app. That’s all you need to activate the Tap View screen sharing feature on Samsung smart TVs.

Precautions You Need To Take While Using Tap View Feature

You must take certain precautions while using the Tap View feature on Samsung smart TVs. One is primarily to avoid damage on the screen or corner of the TV.  You can avoid accidental cracks by avoiding tapping on the screen or the corners. You can tap on the top or the side of the TV frame to avoid damage while using the Tap View feature.

How To Use Multi View Screen Option For Split Screen View On Samsung TVs?

The method varies for using the Multi View feature on Samsung smart TVs. It depends on the type of device that is connected to the smart TV. You will simply need to toggle on the screen mirroring option if it’s a smartphone or mobile device.

On the other hand, if it’s an external device such as a gaming console, you will need to select open the Content Menu and then select the required device from the list. You can drag and adjust the screen sizes and placement of the content with the Multi View option.

Categories
Featured How To TV

How To Send Files From Smartphone To Your Smart TV: Check Steps Here

Key Highlights

  • Sending files from a phone to a smart TV is easy
  • There are several ways to do it including using a USB cable
  • Ensure both devices are on the same network

Smart TVs, mainly Android TVs, have become popular, with their sales skyrocketing due to the smart features with integration across multiple platforms. You may wish to stream music, watch videos, or even view documents on your Android television straight from your phone if you have one. But how?

Once you know how to get around it, transferring files from your Android phone to a smart TV is simple. Two methods for transferring files from your Android phone to your Android smart TV will be covered in this article. Let’s quickly dive in.

Also Read | Buying New Smart TV? List Of Best 32-inch Smart TVs Under Rs. 10,000 In India

How To Send Files To TV From Your Phone?

First things first, you need to download and install the necessary app on your Android TV and Android smartphone. To do this, all you have to do is follow the listed steps:

Step 1: Open the Play Store on both your TV and your Android phone.

Step 2: Search for the ‘Send Files to TV’ app.

Step 3: Open the app on your TV and select ‘Receive’.

Step 4: On your phone, go select the files you’d like to send to your TV and hit Share.

Step 5: Choose ‘Send Files to TV’ from the resulting window.

Step 6: Now, select your Android TV from the list. The files will be sent over.

Note: The ‘Send Files to TV’ app is not yet available for iOS devices.

Also Read | Best Smart TVs In India With 120hz Refresh Rate: Popular Options From LG, Samsung, And More

Mirror Your Phone’s Screen To Chromecast Or Firestick

Mirroring is another method for watching content from your phone or computer on your TV. If you only want to play videos or view images on the big screen, you can mirror your mobile device to your TV. Also, note that the file will not be transferred to the TV.

For mirroring, you must connect your TV and mobile phone to the same Wi-Fi network, locate the casting option on your smartphone, press on it, and choose your smart TV from the list of connected devices. You can play the movie on your smartphone, which will then be played on the TV, and it will mirror your device to the screen.

For the tech geeks, stay updated with the latest cutting-edge gadgets in the market, exclusive tech updates, gadget reviews, and more right on your phone’s screen. Join Giznext’s WhatsApp channel and receive the industry-first tech updates.

Categories
Accessories Featured How To

Claustrophobic While Using TWS Earbuds: Here’s How To Tune Into A Single Earbud

Let’s face it. Nobody enjoys listening to music with just one pair of headphones plugged in. However, sometimes when you want to listen to audiobooks or podcasts but need one ear free for outside noise. Therefore, you only insert one earbud.

It feels more natural to listen to music and podcasts in stereo which reproduces sounds with directionality. Additionally, if Streamed Hams’ music, podcast, or binaural ASMR dub is in stereo, some noises will only come through the earphone you are not currently using. As a result, it will sound as though you are missing half of the song if you are listening with just one pair of headphones.

In the accessibility settings on your phone or computer, you can turn a switch to hear everything. Here’s how to do it:

How To Listen To Music In One Earbud On iPhone?

For Apple mobile users, you can toggle this feature on by following these simple steps:

Step 1: On your iPhone, launch the ‘Settings’ app.

Step 2: In the third block of options, click on ‘Accessibility’.

Step 3: Under Hearing, tap Audio/Visual.

Step 4: Toggle ‘Mono Audio’ on.

How To Listen To Music In One Earbud On Android?

Step 1: On your Android phone, launch the Settings app on.

Step 2: Tap Accessibility.

Step 3: Under Audio & on-screen text, toggle Mono audio on.

How To Listen To Music In One Earbud On Mac?

Step 1: On your Mac, open System Preferences.

Step 2: Now click on ‘Accessibility’.

Step 3: Under Hearing on the left, tap on ‘Audio’.

Step 4: Click Play stereo audio as mono.

How To Listen To Music In One Earbud On Windows?

Step 1: Open Settings.

Step 2: Click Ease of Access.

Step 3: Click Other options.

Step 4: Toggle Mono audio on. That’s all.

The audio will now play in both earphones on both channels. So even with one earbud in your ear, you can hear every click and ting of Pink Floyd’s “Money” or all sides of the conversation on a well-scripted podcast.

Categories
Featured How To TV

Use Your Smartphone As A Smart TV Remote: Here’s How

Key Highlights

  • Juggling multiple remotes is frustrating
  • Use your phone to control your smart TV
  • Phones with IR blasters control various devices

Are you ready to binge-watch your favorite TV shows? Now imagine all the remotes that currently reside on the coffee table. One for the cable, DVD player, video game console, or television. Additionally, there must have been times when you couldn’t find the remote or its battery died. It’s annoying, isn’t it?

Gratefully, smart as they are, Android smart TVs can also be controlled by Android phones and even iPhones. Users of smartphones with IR blasters can download TV remote apps to operate not just their smart TVs but also set-top boxes, cable TV boxes, DVD players, Blu-ray players, stereo equipment, projectors, air conditioning systems, cameras, and other devices that receive IR signals or light beams.

According to the Google blog page, here’s how you can use your smartphone as a remote for your smart TV.

How To Control Smart TV With Your Android Smartphone?

Step 1: On your mobile phone, download the Android TV Remote Control app from the Google Play Store.

Step 2: Connect your Android phone and smart TV to the same Wi-Fi network.

Step 3: Open the smart TV Remote Control app on your phone and tap the name of your smart TV.

Step 4: A PIN will appear on your smart TV screen.

Step 5: Enter the PIN on your phone. Click on pair to connect both devices.

How To Control Smart TV With Your iPhone?

Step 1: Download the ‘Smart TV Remote’ app from the App Store to your iPhone.

Step 2: Your phone and smart TV should be connected to the same Wi-Fi network.

Step 3: On your phone, open the Smart TV Remote Control app.

Step 4: To access your smart TV, tap its name.

Step 5: Your smart TV’s screen will display a PIN.

Step 6: On your phone, enter the PIN that is displayed on your TV.

Step 7: To link the two devices, tap pair.

Once paired, users can turn their TV on or off with the remote. They can easily use their mobile phone to view the same menu that is available on the remote control.

For the tech geeks, stay updated with the latest cutting-edge gadgets in the market, exclusive tech updates, gadget reviews, and more right on your phone’s screen. Join Giznext’s WhatsApp channel and receive the industry-first tech updates.

Categories
Featured How To Mobile

Apple iPhone eSIM: How To Convert Physical SIM To eSIM, Transfer eSIM/Physical SIM During And After New iPhone Setup?

Smartphones nowadays are all advanced with the brands embedding their new products with myriads of features for a better user experience. You can do all possible things if you own a modern generation smartphone right from gaming to photography and more. Even communication with these handheld gadgets isn’t restricted to just voice calls or texting. You get the option to make or receive video calls and also use dedicated messaging apps for voice and video calls using the internet.

Smartphone OEMs are also gradually routing towards adding an eSIM support instead of a physical SIM. This is one of the major changes that we have seen with smartphones; specifically, the new-generation models. Apple has also been integrating eSIM support with iPhones. The iPhone XS, iPhone XS Max, and the iPhone XR and above models are equipped with the eSIM feature. Just yesterday, we covered the procedure to set up and manage eSIM on iPhones.

This article is centered around the ways with which you can transfer your eSIM or physical SIM during setup. We also have mentioned the method to convert your physical SIM to an eSIM on iPhone and the steps to transfer a physical SIM or eSIM to a current iPhone after setup.

Steps To Transfer eSIM or Physical SIM While Setting Up An iPhone

 While setting up an iPhone, you will be asked to Transfer your Cellular Plan. This will be done in the Quick Start setup.

Step 1: You need to select the mobile numbers that you wish to transfer to the new iPhone during the setup process. Click on Continue from the bottom of the page. You can also select the option to decide later.

Step 2: You will see a set of instructions on the screen with which you can finish the setup process.

Step 3: Make the first call using your new iPhone. This is to check if you have active cellular connectivity before removing the cellular plan from the previous iPhone.

As soon as the cellular services are activated on your new iPhone, they will be discontinued from the old iPhone. You can then discard the physical SIM from your previous phone.

Steps To Transfer Physical/ eSIM On Your Current iPhone To eSIM On New iPhone Post Setup

Step 1: Unlock your iPhone and scroll to the Settings menu.
Step 2: Move to the Cellular option.

Step 3: Tap on Add Cellular plan option.

Step 4: Select the Convert Cellular Plan option.

Step 5: Click on the Convert eSIM tab.

Step 6: You will now need to hit the OK tab. A notification will pop up asking for transfer approval on the previous iPhone.

Step 7: Now, on your older iPhone, select the transfer option.

Step 8: You will have to wait for the eSIM to activate. Once it is done, you can remove the physical SIM from your iPhone.

Step 9: Now, wait until the cellular plan is activated on your new iPhone. The previous SIM card will be deactivated when the new cellular services are active.

Step 10: A new notification will show with Finish Setting Up Your Carrier’s Cellular Plan. Select this option.

Step 11: Click Continue and you will be redirected to the carrier webpage to transfer your eSIM.

How Can You Convert Physical SIM to eSIM On Same iPhone Model

Step 1: Open iPhone and scroll to the Settings menu.

Step 2: Click the Cellular option.

Step 3: Tap on Convert to eSIM.

Step 4: Tap Covert To eSIM in the next step.

Categories
Featured How To Laptop

How To Fix Wi-Fi Connection Issues In Windows 11: Check Steps Here

Key Highlights

  • Wi-Fi connectivity issues in Windows 11 are among the most frequent problems
  • It could be caused by a missing, out-of-date wireless network driver
  • Removing and reinstalling your Wi-Fi driver could be helpful

One of the most annoying problems you can experience is when your Wi-Fi stops working. And on Windows 11, Wi-Fi connectivity issues are among the most frequent problems. User complaints regarding slow Wi-Fi and error messages like “Limited Access” or “No Internet Access” are common.

Most likely, you are not connected to your network and are unable to access the internet if you are unable to access your email, browse the web, or stream music. Here are some things you can do to solve the issue.

Also Read | Here’s How You Can Recover Lost Or Deleted Data In Windows 11 Laptops, PCs

Method 1: Remove And Reinstall Wi-Fi Driver

Windows 11 Wi-Fi issues could be caused by missing, out-of-date, or damaged wireless network drivers since they frequently conflict with systems or devices. Therefore, removing and reinstalling your Wi-Fi driver could be a recipe for dealing with Windows 11’s Wi-Fi issue.

We advise you to make a restore point before moving further with the steps in case something goes wrong. With the help of a backup of crucial Windows operating system files and configuration settings, a restore point enables you to return the system to a previous time.

Step 1: Open the program by searching “device manager” in the Windows search box.

Step 2: Double-click Network Adapters. Select Uninstall device from the context menu when you right-click the WiFi driver.

Step 3: Click Uninstall in the pop-up Windows.

Step 4: Restart your computer. After that, it will automatically search your system for stored drivers (which might not be the most recent version) and install them.

Step 5: Reconnect the Wi-Fi and check for any improvement.

Also Read | Effortless Typing In Laptop/PC: Here’s How To Use Voice Typing Feature On Windows 11 To Type Without Keyboard

Method 2: Run The Network Troubleshooter

Windows comes with powerful troubleshooters by default. It can locate and resolve issues with the Internet, audio, printer, update, and many other things.

Step 1: Press the Windows key and ‘I’ to open the settings on your keyboard.

Step 2: In the System tab, search ‘Troubleshoot’ and select it.

Step 3: Tap on ‘Other troubleshooters’.

Step 4: Next to Internet connections, click “Run.”

Step 5: In the pop-up Windows, select ‘Troubleshoot my connection to the Internet’.

Your internet connection should be detected by the troubleshooter as it runs. Watch to see if it uncovers anything while you wait.

For the tech geeks, stay updated with the latest cutting-edge gadgets in the market, exclusive tech updates, gadget reviews, and more right on your phone’s screen. Join Giznext’s WhatsApp channel and receive the industry-first tech updates.

Categories
Featured How To Mobile

eSIM iPhone: How To Setup And Manage eSIM On iPhones, Install Assigned Cellular Plans

Smartphones are constantly evolving; specifically with the advancements in the tech field. The OEMs are embedding their devices with the newest of technologies for improved user experience with photography, gaming, and more. But communication is one prime usage of smartphones right from the beginning. Brands have been focusing to bring the fastest internet and better connectivity with mobile communication. Most of you must be using a SIM card from one of the telecom operators for calling, texting, or mobile internet.

Smartphone OEMs have started integrating the eSIM feature so that one can start using cellular services instantly after purchasing a new device. This can be done without inserting any other physical SIM card. The use of eSIM (electronic SIM) is on the rise and brands are adopting this new technology gradually for their product lineups. Apple is one of those smartphone brands that is going full-fledged with eSIM for its iPhones.

The iPhone X series including the iPhone XR, iPhone XS Max, iPhone 11 series, iPhone 12 series, and the iPhone 13 series are all enabled with the Dual SIM feature with which you can use both a physical micro or nano SIM card along with the eSIM for communication.

But do you know the procedure to set up an eSIM if you own any of these aforementioned Apple iPhone models? If now, we are helping you with the process to set up an eSIM on iPhones and also install an assigned cellular network. We have also listed the steps with which you can transfer an eSIM from one of your previous iPhones to a new one.

Steps To Setup An eSIM On Supported iPhone Models

By Scanning A QR Code

You can easily set up an eSIM on your iPhone by using the camera scanner.

Step 1: On your iPhone, launch the camera app.

Step 2: Scan the QR code for the eSIM.

Step 3: Once the scanner detects the Cellular Plan, a notification will pop up. Select it.

Step 4: From the bottom of the screen, click continue.

Step 5: Tap on the Add Cellular Plan option.

You will then receive a confirmation code using which you will be able to activate the eSIM. Now, enter the mobile number that your mobile carrier has provided.

Steps To Install An Already Assigned Cellular Plan On iPhone eSIM

Step 1: You will get a notification on your respective iPhones stating Carrier Cellular Plan Ready to be installed. Once you see this message on your iPhone, click on it.

Step 2: You would need to click on the Carrier Cellular Plan Ready to Be Installed from the Settings app.

Step 3: Now, click on Continue.

Step 4: To check the status of the cellular connectivity on eSIM, you can make a call. If in case, the call is not being placed, you would need to contact the dedicated mobile carrier.

Step 5: You can also remove the physical SIM, if the activated mobile plan replaces the one on the physical SIM.  

Notably, you can also enter the plan details manually for your eSIM. Follow the steps below for the same:

Step 1: Unlock your iPhone and go to the Settings menu.

Step 2: Select either Mobile or Cellular data.

Step 3: Click on Add Cellular plan option.

Step 4: Now, enter the required details manually.