Android phones from companies like Samsung, Xiaomi, and Realme come with a slew of system apps that you may or may not want to use. Nonetheless, they’re sapping your device’s resources unnecessarily. Don’t worry if you wish to remove these pre-installed programs; we’ve got you covered. Here are several simple ways to get rid of pre-installed apps that your phone won’t allow you to erase.
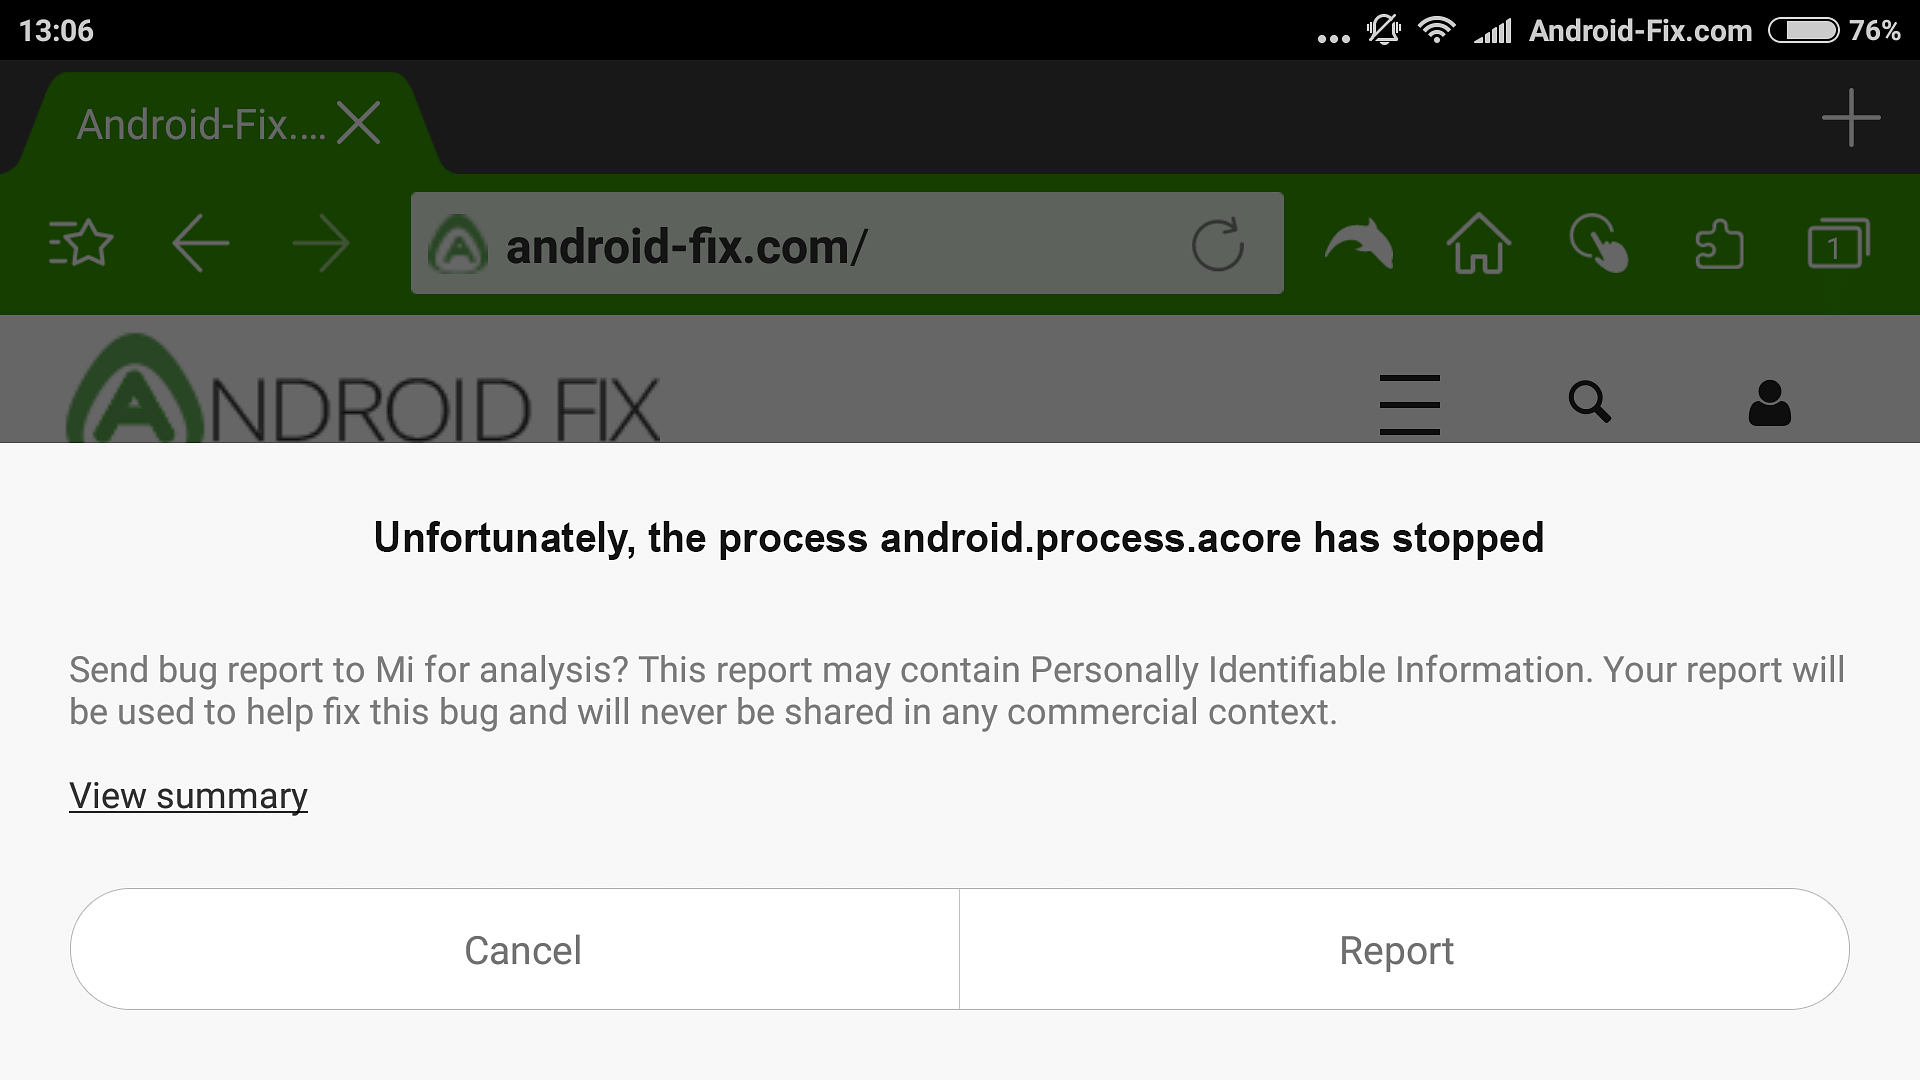
Can’t uninstall app, what to do?
- Disabling the App From the Settings

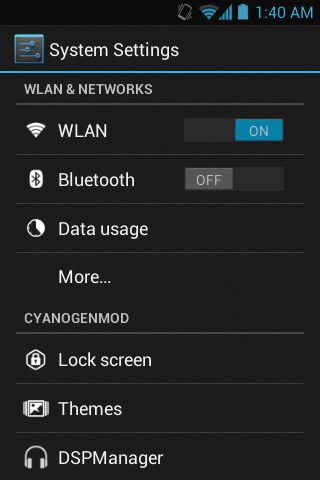
Source: Google Images
The simplest way to remove pre-installed programs or bloatware is to turn them off completely, as seen below.
Step 1: Access the Settings option
Step 2: Go to Apps or Manage Applications and locate All Apps (this may vary based on the brand and model of your phone).
Step 3: Next, look for the apps you wish to get rid of. You can find it by typing its name into the top search box.
Step 4: Disable the app by tapping its name. When prompted, select confirm.
.That is all there is to it. The app will be removed from your home screen and app drawer once disabled. It will also no longer run in the background or consume unneeded disc space by gathering cache. Some bloatware can be deleted like regular apps, while others must be disabled using the methods outlined above.
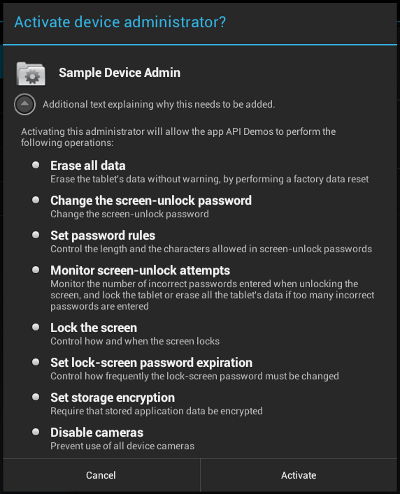
- Uninstalling App Without Having Admin Authorization

Source: Google Images
Some apps require device admin authorization and hence are difficult to uninstall. This is typically the case with antivirus, app lock, and other apps for which you have granted device administrator authority.
To get rid of such apps, follow the procedures below to revoke administrator privilege.
Step 1: On your Android, go to Settings.
Step 2: Go to the section on security. Look for the Device administrators tab on this page.
Step 3: Press the Deactivate button next to the app’s name. The software can now be uninstalled whenever you want.
Removing Apps Without Rooting Your Phone
Another alternative is to connect your phone to your computer and uninstall each program one by one. It’s worth noting that it’s a little tedious and necessitates a basic understanding of computers. However, the procedure can be used to delete programs that cannot be disabled on Android.
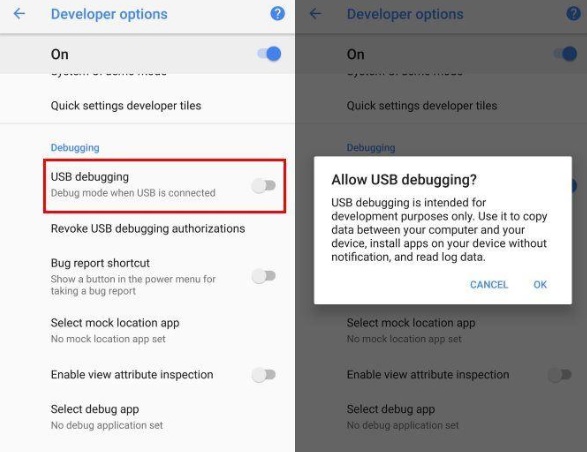
Step 1:Enable USB debugging

Source: Google Images
To establish an ADB connection between your phone and PC, you must first activate USB debugging on your phone.
- Go to your phone’s Settings and scroll down to the About Phone section.
- Tap on Build Number or Version seven times in a row till the toast message “You are now in Developer Mode” appears.
- Return to the Settings page. Select Developer Options from the System menu. This feature is available in the ‘Additional Settings’ section of some phones.
- Turn on Developer Options by clicking the toggle. Now go to the bottom of the page and enable USB Debugging.
Step 2: Connecting Phone to PC
You can connect your phone to a PC or laptop using a compatible USB cable after you’ve enabled USB debugging.
Make sure the notification pane is set to ‘Transfer Files’ mode. When prompted to “Allow USB Debugging,” select “Always allow from this computer” from the drop-down menu and tap OK.
Step 3: Instal ADB drivers
Install ADB drivers on your computer if you haven’t already. These links will allow you to get the package for Windows, Mac, and Linux.
Open the ADB directory once it has been installed.
Select Open PowerShell Window here by pressing Shift + Right Click.
Check whether your device’s code name appears in the following line, along with its serial number. To use the commands to uninstall apps on your Android, enter the same code again.
Step 4: Use ADB commands
- You may now remove unwanted bloatware from your phone with precise ADB commands. “pm uninstall –k ––user 0 names of package>” without quotes is the general command.
- Simply download and install the App Inspector app from the Play Store to learn the package names of the apps on your phone. The package name of the targeted application can then be found and used in the command line to delete the app.
Conclusion
Apps are an essential part of what makes your Android smartphone unique, but what if you need to remove them but can’t? Apps might be obstinate at times, but they don’t have to stay with you indefinitely. You can use one of these remedies if you want to uninstall any app from your device.