Key Highlights
- There are various methods for transferring photos from your iPhone to your laptop
- Transferring files to your laptop can enhance your iPhone’s performance
- iCloud serves as a versatile tool to synchronize data across all your Apple devices
If you own an iPhone and are thinking about how to transfer your cherished photos to your laptop, fret not. This article delves into the various methods available for both Windows PC and Mac users to facilitate the secure and simple transfer of your precious data. This process is not only convenient but can also free up valuable space on your iPhone, potentially enhancing its performance and expanding storage for apps or backup data.
Also Read | What’s That Tune? Your iPhone Knows: How To Identify Songs With Just A Tap
Method 1: Using iCloud
iCloud, Apple’s cloud service, serves as a versatile tool to synchronize data across all your Apple devices seamlessly. By harnessing iCloud, you can automatically transfer data from your iPhone to your Mac, provided you have sufficient iCloud storage and a stable internet connection. However, it’s worth noting that iCloud transfers, especially for extensive photo libraries, can consume significant time due to the upload and download processes.
How To Transfer iPhone Data To Your Laptop via iCloud

Step 1: Launch the Files app on your iPhone and locate the files you wish to transfer.
Step 2: For a single file, press and hold it and then tap “Copy.” To copy multiple files, tap the three-dot menu and select “Select.” Pick the desired files and tap “Copy X items.”
Step 3: Head over to iCloud Drive within the Files app and select an empty space or a specific folder where you intend to paste the files.
Step 4: Tap “Paste” to initiate the upload of the copied files to iCloud Drive. You can subsequently access these files from your PC using iCloud.com or the iCloud Drive for Windows application.
Also Read | iPhone Check-In Feature: Learn How To Use It To Notify Loved Ones Of Safe Arrival
Method 2: Traditional Cable Connection
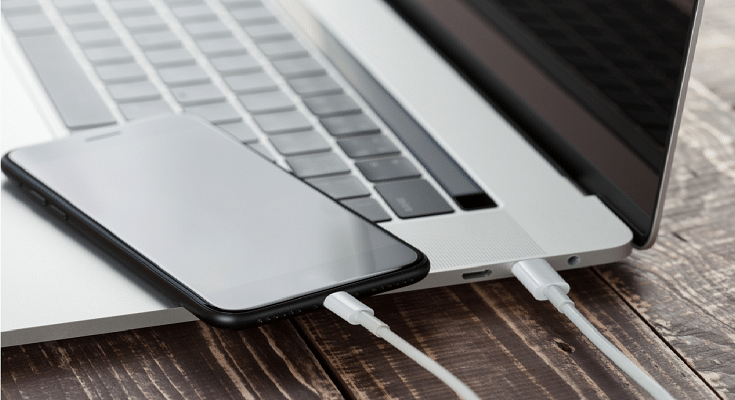
For those who prefer a more traditional approach, using a Lightning to USB cable to transfer data from your iPhone to your computer remains an effective and easy solution. This method is compatible with both Windows PC and Mac, eliminating the need for an internet or wireless connection. Here’s how you can do this.
Transfer iPhone Data To Your Laptop via USB Cable
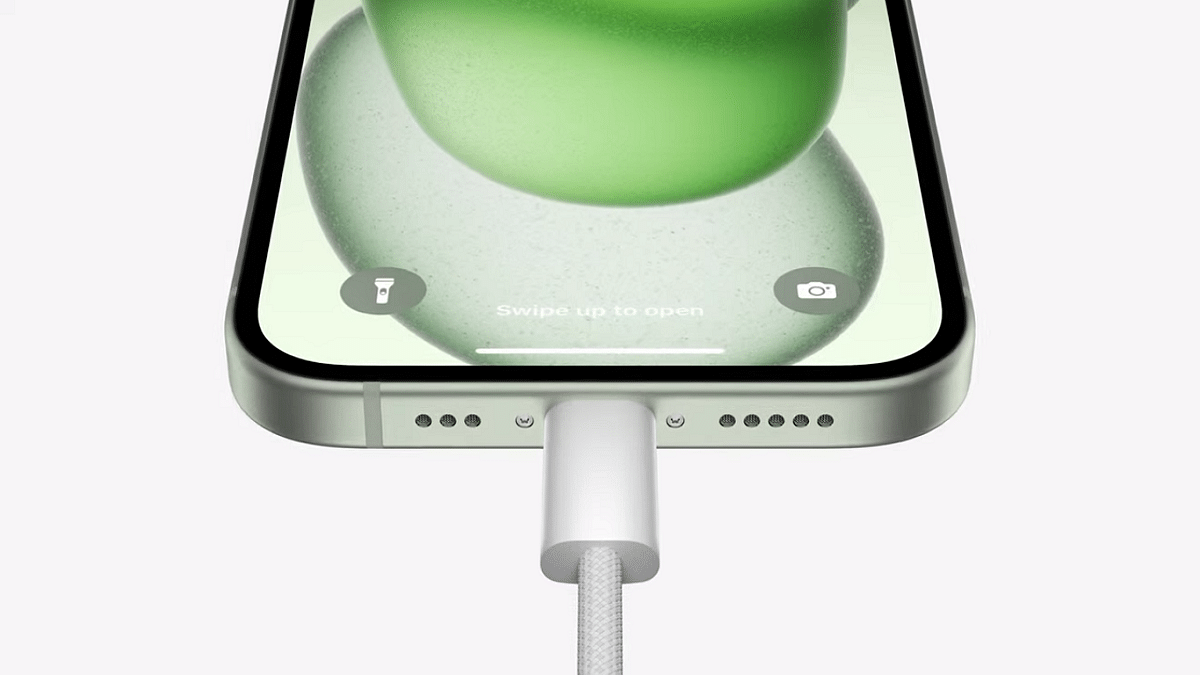
Step 1: Start by connecting your iPhone to your PC using a USB cable.
Step 2: Launch iTunes, which you can download from either the Microsoft Store or the Apple App Store. Then, click on the iPhone icon located near the top-left corner of the iTunes window.
Step 3: Navigate to the left sidebar and click on “File Sharing.” You’ll find a list of apps and their associated files on your device.
Also Read | Apple Hacks: Here’s How To Hide And Unhide Your Photos On iPhone
Step 4: To save a file from your iPhone to your PC, simply click on the file and then select “Save.” Choose a location on your PC to store the file, and confirm by clicking “OK.”
With these simple methods at your disposal, you can effortlessly transfer your iPhone photos to your computer, ensuring their safekeeping and freeing up valuable storage space on your device.
For the tech geeks, stay updated with the latest cutting-edge gadgets in the market, exclusive tech updates, gadget reviews, and more right on your phone’s screen. Join Giznext’s WhatsApp channel and receive the industry-first tech updates.