Categories
Apps Info

Amazon Prime Video Aims To Capture Indian Market With Ad-Supported Plan

Key Highlights

  • Amazon’s potential introduction of an ad-supported tier for Prime Video reflects its desire to expand its user base
  • It aims to replicate the success it has already achieved with its free ad-supported streaming service, miniTV
  • The exact details of the ad-supported plan are still unknown

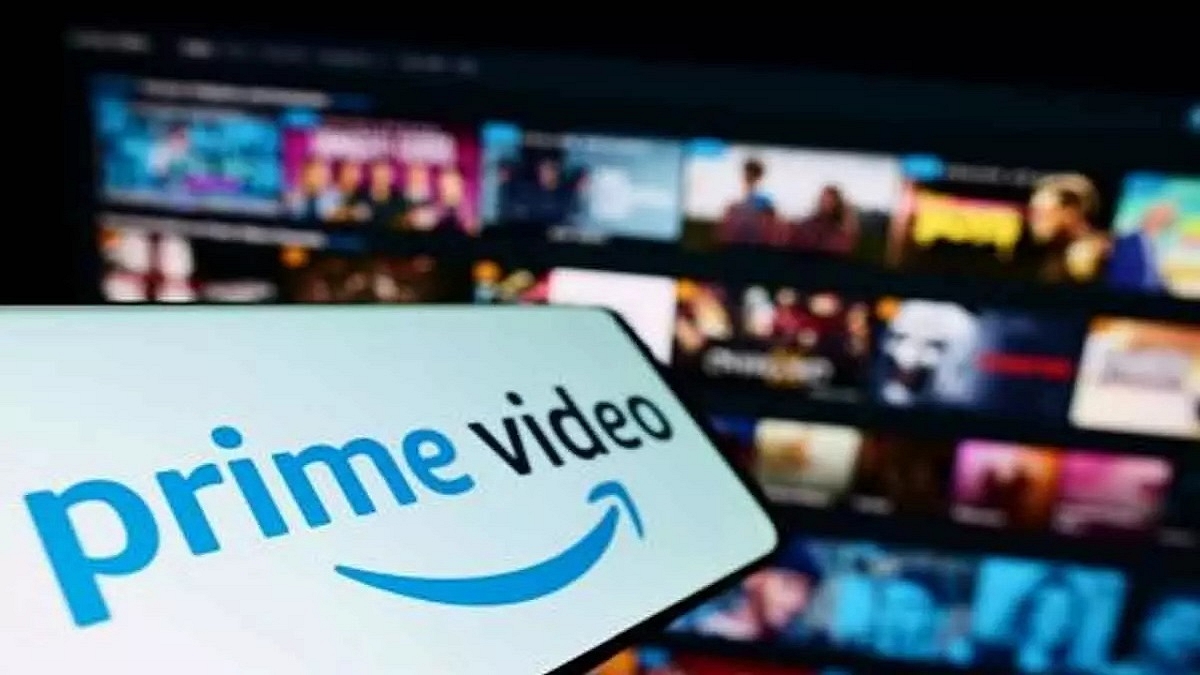
Amazon is contemplating the introduction of an ad-supported tier for its streaming service, Prime Video, in an effort to attract more users. This move would align Amazon with other major players in the streaming industry such as Netflix and Disney Plus. Considering India’s price-sensitive market, a cheaper ad-supported plan could be particularly successful in the country. Also Read | How To Create And Manage Multiple Netflix Profiles: Step-By-Step Guide

Early Stages Of Development

According to a recent report by the Wall Street Journal (WSJ), Amazon has been exploring the idea of launching a new Prime Video plan that incorporates advertisements. Although details regarding pricing and features are currently unknown, the company has been considering this plan for a few weeks and is in the initial stages of development.

Comparatively Lower Cost

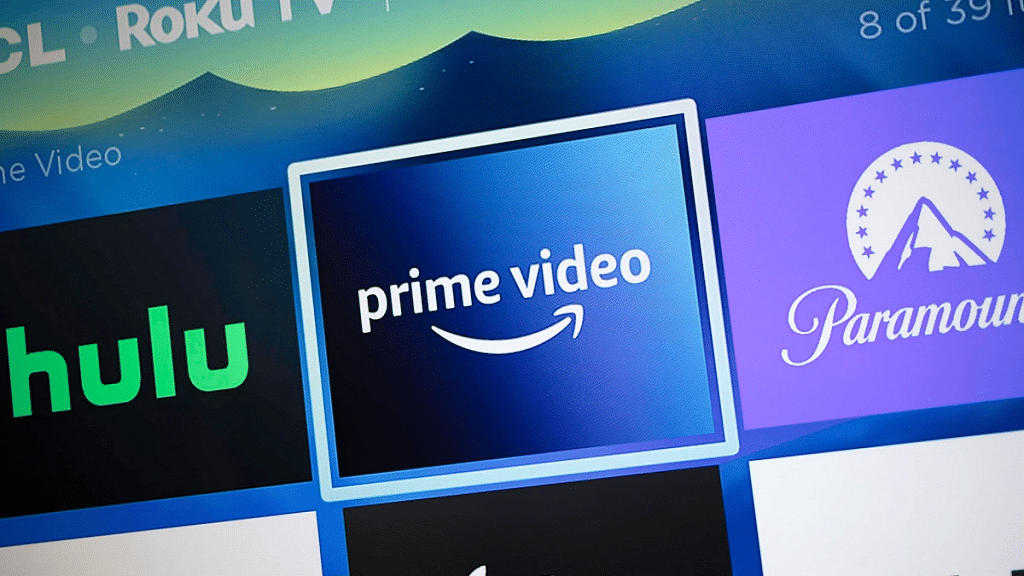
The ad-supported tier on Prime Video is expected to be priced lower than the ad-free tiers currently offered by Amazon. This approach mirrors the strategies employed by other streaming platforms like Netflix, Disney Plus, and Hulu. Users who prefer uninterrupted viewing can opt for the more expensive ad-free plans, while those willing to tolerate ads during their favorite movies and shows can choose the cheaper alternative.

Also Read | Netflix Introduces ‘Kids Mystery Box’ Feature To Android Users: All Details

Potential Success In India

While the global release of the ad-supported plan is still several months away, its arrival in India has the potential to be a resounding success. Given India’s price-sensitive market, streaming companies often introduce more affordable subscription plans compared to their global counterparts. Amazon already operates miniTV, a free ad-supported streaming service in India that features locally produced content, indicating its familiarity with this approach.

Indian Pricing

In India, Prime Video offers a range of subscription plans, with the cheapest starting at Rs. 299 per month and Rs. 1,499 per year. Additionally, Prime Mobile and Prime Lite annual plans are available at Rs. 599 and Rs. 999, respectively. Introducing an even more economical Prime Video plan that includes ads would likely generate excitement among Indian users who appreciate the possibility of accessing content at a lower cost.

Also Read | Forgot Your Amazon Alexa Password? Here’s How To Change And Reset It

Categories
Apps Featured

100+ Perfect Instagram Names For Personal Bloggers

In the vast world of personal blogging, finding the perfect Instagram name that encapsulates your unique voice and resonates with your audience can be quite a challenge. Whether you’re a lifestyle guru, a travel enthusiast, or a fashionista, a catchy and memorable Instagram handle can make all the difference in attracting followers and establishing your personal brand. In this article, we will explore some of the best personal bloggers’ names for Instagram, offering inspiration and creativity to help you stand out from the crowd. Also Read | 100+ Cool And Stylish Instagram Names For Bikers

Cool Instagram Names For Personal Bloggers

LifeInFramesFashionableWandererSereneScribbles
StorytellerChroniclesExploreAndShareChicAndSassy
TheBlogJourneyMyPassionPaletteUrbanDreamer
DiaryOfMeMindfulMemoirsTheInspiredNomad
WanderlustChroniclesCoffeeAndCaptionsCaptivatingChronicles
BlissfulBloggerBoldAndBeautifulWhimsicalWanderer
SoulfulInsightsCuriousAdventurerDaringDispatches
TheCreativeHiveTheSavvyExplorerVibrantVoyager

Trendy Instagram Names For Personal Bloggers

TalesOfTravelsBlissfulMomentsJoyfulJourneyer
StylishAdventuresTheGlamorousGlobeFashionableFascination
EnchantingExpressionsWanderer’sWhisperSerendipityScribe
BeautyUnveiledCreativeEssenceTheSoulfulGlobe
DreamyDiscoveriesThrivingThoughtsExquisiteEscapes
LifeThroughLensesStylishSojournerBoldExpressions
ThePoeticBloggerArtisticWanderlustWanderWithPurpose
AuthenticAndAlivePoisedAndPassionateColorfulChronicles

Also Read | 100+ Best Instagram Names For Cricket Lovers

Attractive Instagram Names For Personal Bloggers

TheInspiringInkUrbanAdventurerStylishScribbler
BohemianBloggerTheArtisticOdysseyJourneyOfJoy
BlissfulWanderingsMindfulMusingsTheGlamorousGypsy
CaptivatingTalesBeautyAndBeyondDreamyDispatches
WhimsicalWritingsTheEnlightenedExplorerLifeInColors
ChasingSunsetsChicVibesOnlyTheArtfulAdventurer
TheCuriousCameraTheWanderLustAuthenticAbroad
FashionFlairTalesFromTheRoadBlissfulExpressions
TheEnchantedExplorerMy LifeI am Wonderer

Catchy Instagram Names For Personal Bloggers

BoldBrushstrokesBohoBloggerChasingAdventures
WanderWiselyBlissfulRoamingTheCuriousClick
ColorfulCapturesCaptivatingChaptersFashionForward
TheInspiringImprintWhimsicalWanderlustUrbanVoyages
TheFashionVagabondStylishSafariFashionFusion
Wanderer’sWhimsyArtisticJourneysSerendipitySafaris
CreativeCuratorPoisedPassionsTheSoulfulSojourner
ThrivingTravelsJoyfulJauntsExquisiteExperiences
TheArtisticVagabondMindfulMeanderingsBeautyBlogger

Choosing the right Instagram name is crucial in establishing your brand as a blogger. It should reflect your personality, niche, and appeal to your target audience. Whether you opt for a clever play on words, a combination of your name and niche, or a catchy phrase, the key is to make it memorable and unique. With these suggestions and a touch of creativity, you’re well on your way to creating an Instagram handle that will captivate and engage your followers.

Also Read | Love K-pop? Check Out 100+ Fun And Unique Instagram Names

Categories
Apps Featured Info

UPI Tips And Tricks: Here’s How You Can Set UPI PIN Without Using Debit Card Details

Key Highlights

  • Set UPI PIN without a debit card hassle-free.
  • Use Aadhaar number for UPI PIN setup.
  • Google Pay facilitates secure Aadhaar validation process.

If you’ve been struggling to set up your UPI PIN without a debit card, there’s good news. Google Pay now offers an alternative method to sign up for UPI using your Aadhaar number through the National Payments Corporation of India (NPCI).

Also Read: How Can You Delete Google Pay Transaction History: A Step-By-Step Guide

Aadhaar-based UPI Onboarding

With the new Aadhaar-based UPI onboarding method, Google Pay users can set up their UPI PIN without a debit card. This service is currently available to customers of banks that accept it, with more banks expected to follow suit soon.

Requirements for Aadhaar-based UPI

To use UPI through Aadhaar on Google Pay, users must ensure that their bank and UIDAI (Unique Identification Authority of India) share the same phone number. Additionally, their Aadhaar must be linked to their bank account.

Also Read: Google Pay Expands Payment Options In India With UPI Payments Using RuPay Credit Cards

The Sign-Up Process

Users opting for Aadhaar-based UPI on Google Pay will have the choice between using a debit card or their Aadhaar number for sign-up. If they choose Aadhaar:

  1. Enter the first six digits of their Aadhaar number to initiate the process.
  2. Enter the OTPs received from UIDAI and their bank to complete the identification step.
  3. The bank will then finalize the process, allowing users to set their UPI PIN.
  4. Customers can now utilize the Google Pay app for transactions and to check their account balance.

Ensuring Aadhaar Security

When a user enters the first six digits of their Aadhaar number, the number is sent to UIDAI for approval via NPCI. Google Pay emphasizes that it does not retain the Aadhaar number. Instead, it facilitates the secure transfer of the Aadhaar number to NPCI for validation.

Also Read: Google Pay Expands Payment Options In India With UPI Payments Using RuPay Credit Cards

Categories
Apps Featured How To

How To Sign In To Your Google Workspace Accounts Without Passwords: A Step-by-Step Guide

Key Highlights

  • Google began rolling out passkeys for personal Google Accounts
  • Users of Google Workspace can now permit users to log in using passkeys
  • Passkeys are two times faster than passwords, according to Google data

Google has recently extended its passkey feature from personal Google Accounts to include Google Workspace and Google Cloud accounts. Given the increasing vulnerability of passwords to theft and phishing attacks, passkeys offer a secure and simpler alternative for users. Passkeys can be authenticated using fingerprints, face recognition, or other screen locks, ensuring convenient access across various devices such as phones, laptops, and desktops. Also Read | Struggling With Message Composition? Let Google Magic Compose’s AI Assist You! Here’s How

Passkeys adhere to a common standard and are compatible with numerous browsers and operating systems, including Android, MacOS, iOS, and Windows. By eliminating the need to memorize passwords, passkeys significantly reduce the risk of theft. According to Google’s data, compared to traditional passwords, passkeys prove to be twice as fast and four times less error-prone. Recognizing their benefits, Google has expanded the availability of passkeys to businesses, schools, and governments.

Passkeys For Google Workspace Users

Google has commenced the rollout of passkeys for Google Workspace users, along with providing controls for Workspace administrators. This deployment will be completed over the coming weeks, ensuring all users gain access to this new feature. Once enabled, Workspace admins can authorize users within their organization to sign in using passkeys.

How To Enable Passkey For Workspace Account Users

By default, the passkey feature is not activated for Workspace users, requiring them to continue using passwords. However, Workspace admins have the option to enable passkeys as a two-step verification method. To allow users in your organization to skip passwords and adopt passkeys for sign-in, follow the step-by-step guide outlined below:

Step 1: Sign in to your Google Admin console.

Step 2: Navigate to the Menu in the Admin console and select Security.

Step 3: Choose Authentication and then Passwordless.

Step 4: Opt for Skip passwords.

Step 5: To enable users to bypass password challenges, select the “Allow users to skip passwords at sign-in by using passkeys” checkbox.

Step 6: Save your changes. That’s all!

Also Read | Running Low On Google Storage? Five Best Techniques To Clear Your Gmail Space

Categories
Apps Featured Info

Instagram’s Latest AI Development With Unique Personalities

Key Highlights

  • Instagram to build AI chatbot
  • The chatbot to have 30 personalities
  • The chatbot could answer questions, give advice, and help users write messages

Other software businesses have been rushing to build their own AI-powered chatbots in an effort to stay relevant ever since ChatGPT grabbed the world by storm after its November release. So it should come as no surprise that Instagram is reportedly considering the prospect of integrating a chatbot into the well-known social media application.

Also Read: From One Link To Many: How To Add Multiple Links To Your Instagram Bio

Instagram’s AI Chatbot

Alessandro Paluzzi, a well-known leaker and mobile developer, asserted on Tuesday that Instagram’s own chatbot will be able to respond to queries, offer suggestions, and assist with message composition. Notably, though further information on this specific feature is not yet available, a user may be able to select one of 30 AI personas for the chatbot to adopt. This is consistent with remarks made earlier this year by Instagram CEO Mark Zuckerberg, who also stated that his team is “developing AI personas that can help people in a variety of ways.”

Instagram is yet to announce whether it’s developing such a feature, and even if it is, there’s a risk it won’t advance past the development phase.

Also Read: Want To Recover Your Instagram Account? Here’s How You Can Do It

However, with platforms like Instagram constantly on the lookout for cutting-edge new features and interest in robust chatbots like ChatGPT showing no signs of waning, there’s a high chance that it will start testing the chatbot with a small number of users in the not-too-distant future.

A comparable function that combines ChatGPT inside the app was released by Snapchat in February. You can converse with it in conversations with human friends and ask inquiries about it as “My AI,” which is how it appears.

However, some users have criticized Snapchat’s AI feature because they find the chats “creepy,” while others have voiced privacy worries about how the AI technology handles the information it receives. Before considering releasing a beta version of its own AI chatbot, Instagram will undoubtedly carefully examine these challenges.

Also Read: How Can You Download And Watch Instagram Reels On Android, iOS Without Installing Third-Party Apps?

Categories
Apps Featured How To

Google Play Country Settings Modification: How To Change Country Settings In Google Play Using Android For Payments And Other Apps

Key Highlights

  • Google Play country settings are must for payment and other services
  • Correct country settings are required to view apps of the same region
  • Changing country settings is required if your relocate to a new location

If you own a smartphone that is powered by Android OS, you get access to a wide range of Google services and tools. One of the primary reasons for the Android phone’s popularity amongst consumers is the option to download a variety of third-party apps from the Play Store. Be it games, OTT apps, health, and lifestyle, Google Play Store is the hub to download and install such required apps.

When you set up any Android smartphone, you get the option to set the country and language. Once you setup the designated country and language settings, the apps will be shown depending on the region on the Play Store. Just for reference, Google Play country settings remain the same even if you move to a new country.

Google always advises its users to change the Google Play country settings if they are relocating to a new country. This will keep any issues related to payment apps at bay. Only after the country settings have been changed, one will be able to use the apps including payment and others. If you wish to change the country settings of your location then the following are the steps you need to follow:

Also Read: Google Pay Expands Payment Options In India With UPI Payments Using RuPay Credit Cards

How To Change Google Play Country Settings Manually

Step 1: Launch Google Play Store application on your Android handsets

Step 2: Tap the profile option that is located on the top right corner

Step 3: Click on the Settings menu

Step 4: Select the “General” option

Step 5: Now, tap on the Account and device preferences

Also Read: Gmail Tips And Tricks: How To Secure Your Google Account With Two-Factor Authentication

Step 6: Click on the Country and profiles menu

Step 7: You will now need to select the country settings that you wish to add to your Google account

Step 8: Complete the on-screen instructions. This will let you add a payment method for the required country.

Step 9: It could take up to 48 hours for the country settings to update on your Google Play account

It is worth mentioning that once the country has been added to your Google Play settings, you can easily toggle between the options when you revisit the countries. Also, only once in a year, a country can be added to the Google Play Settings.

Also Read: Running Low On Google Storage? Five Best Techniques To Clear Your Gmail Space

Categories
Apps Featured How To

Gmail Vacation Replies: How To Create And Set Replies For Vacations On Gmail?

Key Highlights

  • Gmail is one of the widely used emailing services
  • One can set up Vacation replies on Gmail
  • Vacation reply messages can be set using Gmail on PC and laptops

Gmail is offering several user-friendly features that is enhancing the emailing experience for both professional as well as general users. For users going offline or a vacation, Gmail has one dedicated feature that allows them to reply to emails even without accessing the internet. With the Gmail vacation feature, one can easily set replies that will notify the sender that the user is unreachable and will be able to send a response once back in the network zone.

How To Setup Vacation Reply On Gmail

Step 1: Launch the Gmail application on your laptop or PC

Step 2: Select the Settings (gear icon) which you can locate on the top right corner

Step 3: From the list of options select the “Vacation responder” tab

Step 4: Click on the “Vacation responder on” option

Step 5: Now, select the date range for which you are going on vacation and won’t be available for replies

Step 6: You will also need to add the subject along with the message that the sender will receive as a respond

Step 7: You can select the checkbox if you wish only your contacts to see the vacation reply

Step 8: Tap on Save Changes option at the bottom of the homepage

It is worth mentioning that once a vacation reply is set, the receiver will also get the Gmail signature at the bottom of the message. Also, once the vacation mode is on a banner will float across the top of the inbox which will show the subject of the response set for vacation. Additionally, the vacation replies will be active once the timer is set. The responses will be sent starting at 12:00 AM on the beginning date and the last reply will be sent at 11:59 PM on the end date.

Steps To End Vacation Response On Gmail

In order to turn off the vacation response feature, all you need to do is select the End now option. You will need to visit the Gmail settings and head to the Vacation mode option similar to the setup up process.

Categories
Apps Featured How To

Google Unveils New Feature In Meet: Here’s How To Use Viewer Mode

Key Highlights

  • Google rolling out Viewer Mode in Meet
  • Meet users will benefit from having an easier time organizing lengthy meetings
  • To watch their video, hosts, and co-hosts can convert viewers into contributors

Google Meet is set to launch an exciting new feature called Viewer Mode. This recent announcement by Google aims to create a more focused environment during large meetings by minimizing distractions. In the upcoming update, participants can be designated as “viewers” when creating Calendar invites. Viewers are meeting participants who are unable to share their audio or video throughout the session, according to a blog post on Google Workspace Updates. Also Read | Google Meet Hacks: How To Change/ Update Google Meet Name Using A Laptop Or PC?

Maintaining Focus In Large Meetings

One of the primary goals of introducing the viewer mode in Google Meet is to reduce disruptive audio interruptions and help participants concentrate on the speaker and the meeting’s content. By designating participants as viewers, Google hopes to create a more engaging and distraction-free meeting experience.

Transitioning Viewers To Contributors

Google understands the need for collaboration, even in larger group settings. To accommodate this, hosts have the flexibility to transition viewers into contributors when it’s time for them to actively participate. Once designated as contributors, viewers gain access to Meet features like Q&As and polls. However, it’s important to note that support for in-meeting chat and emoji reactions for viewers will be added in the future.

Also Read | How To Download Google Meet On Laptop: Here’s The Step-By-Step Guide

Step-by-Step Guide To Set Up Viewer Mode

To use the viewer mode feature in Google Meet, follow these simple steps during the setup of your video call:

Step 1: Access the video call options while setting up a Google Meet session.

Step 2: Locate the ‘Guests’ section and select the ‘Everyone is a viewer by default’ option.

Step 3: Once chosen, Google Meet automatically turns viewers into contributors, enabling them to actively engage in the meeting.

Step 4: From the same section, you can also assign co-hosts and contributors by selecting them accordingly.

With the upcoming launch of viewer mode, Google Meet aims to enhance focus, reduce distractions, and promote collaboration during video meetings. By utilizing the simple setup process and taking advantage of the viewer and contributor roles, users can create engaging and productive virtual gatherings. Whether it’s a large team meeting, a training session, or a conference, Google Meet’s viewer mode empowers hosts to control the meeting environment while ensuring everyone can actively participate.

Also Read | Want To Create A New Group For Google Meet Calls? Here’s How To Do It

Categories
Apps Featured

Running Low On Google Storage? Five Best Techniques To Clear Your Gmail Space

Key Highlights

  • Gmail provides 15GB of free storage to store emails, attachments, files, photos, and more
  • Once this storage limit is reached, you may encounter restrictions on sending or receiving emails and accessing certain G Suite apps
  • To free up space in your Gmail account, you can employ various methods such as deleting unread emails, targeting large emails, and more

Gmail offers 15GB of free storage for files, photos, and more. However, once your storage is full, you may encounter limitations such as being unable to send or receive new emails or access certain G Suite apps. To increase your Gmail storage capacity, you have the option to subscribe to Google One, which offers additional storage plans starting at Rs. 130 per month. This allows you to seamlessly add more space to your Google account. This article provides guidance on how to clear storage in your Google/Gmail account. Here are five effective methods:

Also Read | Gmail Useful Tricks: How To Add, Customize Digital Signatures On Gmail

Delete Unread Emails: Streamline Your Inbox

Unread emails can quickly accumulate, especially from promotional emails. By deleting all unread emails at once, you can free up space and declutter your Gmail inbox.

Delete Large Emails: Targeting Space-Consuming Messages

Instead of solely deleting old emails, focus on identifying and removing emails with large file sizes. This method helps you reclaim storage by specifically targeting space-consuming messages.

Delete Old Emails: Effortless Storage Cleanup

Deleting old emails is an easy way to clear Gmail storage. You can either delete individual emails or delete entire conversation threads, depending on your preference.

Also Read | Struggling With Message Composition? Let Google Magic Compose’s AI Assist You! Here’s How

Clean Google Photos: Optimizing Media Storage

Aside from emails, Google Photos and Drive also contribute to your Gmail account’s storage usage. Clearing out unnecessary images and videos, starting with duplicates, can create additional space. Sorting media by upload date can help identify and remove duplicate files.

Clean Google Drive: Removing Redundant Files And Folders

Similarly, you can follow a similar approach to clean up your Google Drive. Identify and select unnecessary and outdated files, such as PDFs, DOC files, and APKs, and delete them to move them to Google Trash.

By implementing these methods, you can effectively clear storage in your Gmail account, ensuring optimal functionality and ample space for your email and file storage needs.

Also Read | Gmail Tips And Tricks: How To Secure Your Google Account With Two-Factor Authentication

Categories
Apps Featured How To

WhatsApp Screen Sharing Feature For Video Calls In Works: How To Share WhatSApp Screen on Android?

Key Highlights

  • WhatsApp Screen sharing feature in works
  • Available with Android 2.23.11.19 beta build
  • Will allow sharing different content types during video calls

WhatsApp has been developing its ecosystem to offer a premium messaging experience to the masses. The brand recently released two of the most awaited chat features including the Chat Lock and Edit and is now working on another highly demanded feature. WhatsApp is now reportedly bringing the screen sharing feature which will cater to the online conferencing requirements.

Also Read: WhatsApp Edit Message Feature Is Now Available For Android And iOS: How To Correct WhatsApp Message Spelling Errors And More

WhatsApp Screen Sharing Feature Launching Soon?

WhatsApp’s upcoming feature will allow users to share their screens during video calling. This new feature has been spotted in the testing phase by WABetaInfo. The publication has revealed that the latest screen-sharing feature for WhatsApp has already made it to the beta build of its Android app. The WhatsApp beta build 2.23.11.19 comes with this new screen-sharing feature and can be installed via Google Play Store.

The new screen-sharing feature is a great tool for video conferencing on WhatsApp and users will now be able to share different types of content with just a few taps. With this new messaging feature, WhatsApp apparently plans to simplify the process of sharing content live during an ongoing video call.

As mentioned, WhatsApp has currently released this feature for the Android beta build 2.23.11.19. Going forward, it could be available for the iOS beta users as well. The brand is yet to roll out the stable version of this screen-sharing feature which we expect would be done in a phased manner. However, it would be difficult to confirm the exact timeline for the availability of the stable WhatsApp screen-sharing feature.

Also Read: WhatsApp Chat Lock Privacy Feature Released For Android, iOS: How To Lock WhatsApp Chats Using This New Feature?

WhatsApp Screen Sharing Feature: How To Use?

Going by the screenshot shared by WABetaInfo, a dedicated icon will be added at the bottom of the video call page alongside the remaining calling tools. Once a user clicks on the screen sharing icon a quick permission menu will pop up on the screen that will allow users to share the screen.

One can control what all content will be shared or is visible to the contact/group where the screen is being shared. Also, one would need a single tap to stop screen sharing during ongoing WhatsApp video calls.

Also Read: WhatsApp Sticker Maker Tool Launching Soon: How To Create Stickers Directly Using WhatsApp App