Categories
Apps Featured How To

Travelling Overseas? Here’s How To Activate International UPI On Gpay, PhonePe For Payments Abroad

Key Highlights

  • UPI apps have simplified digital money transactions
  • International payments now allowed via UPI apps
  • Steps listed below to activate international UPI

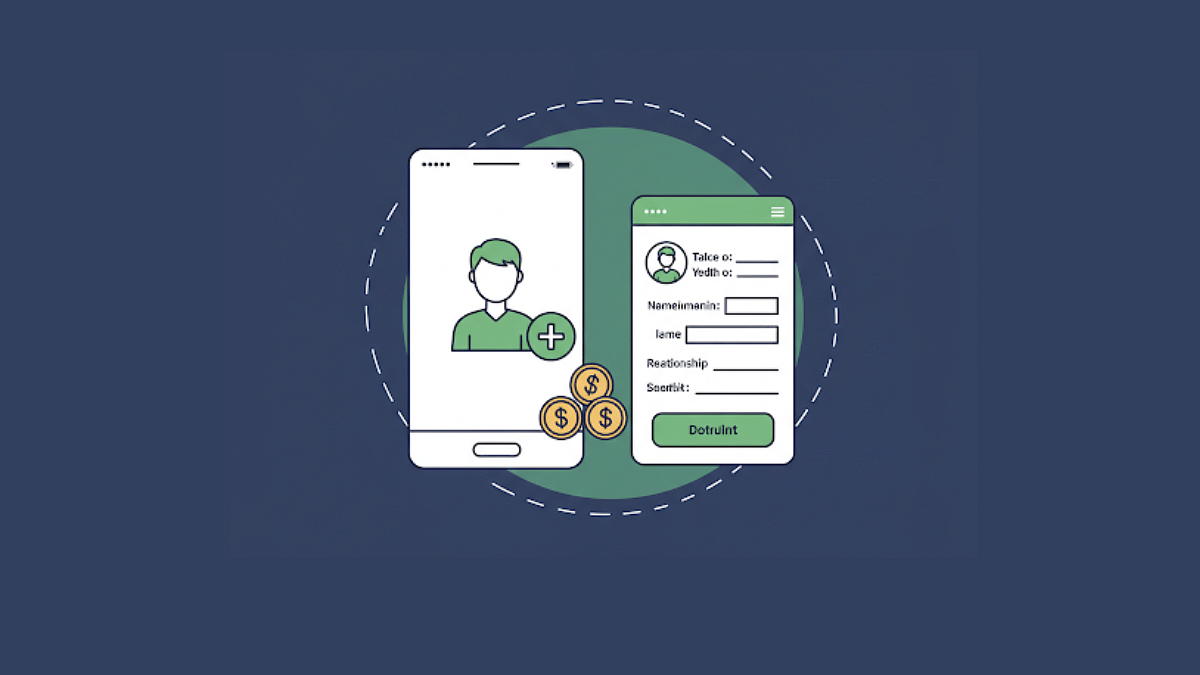
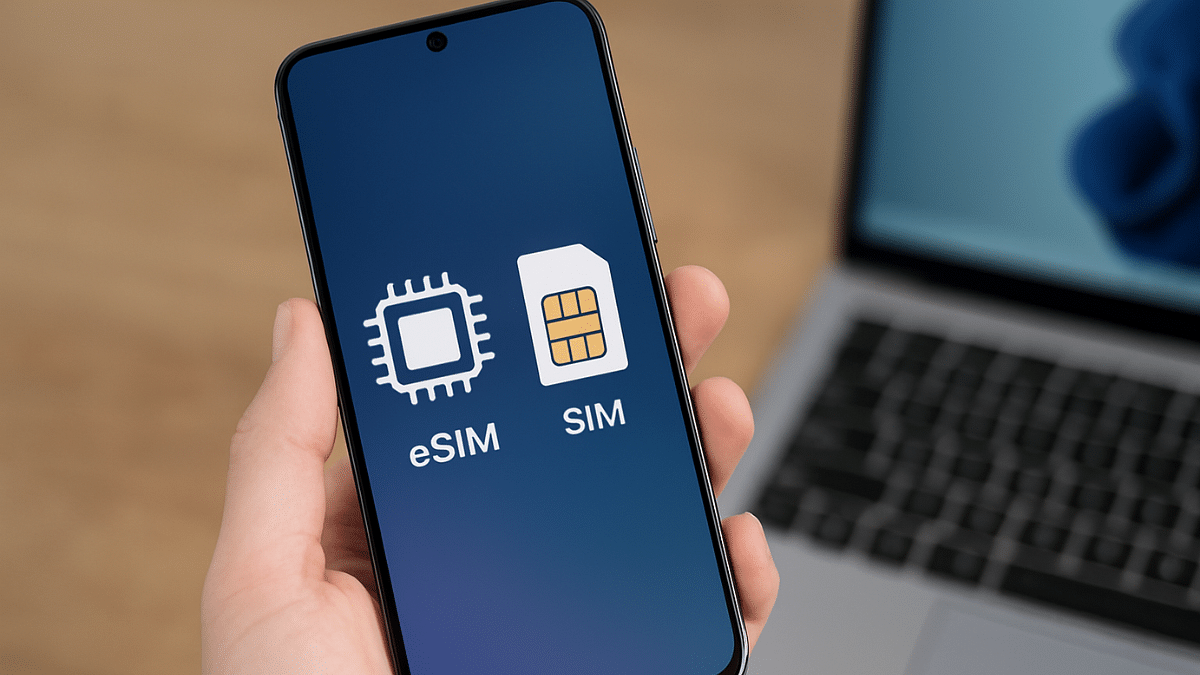
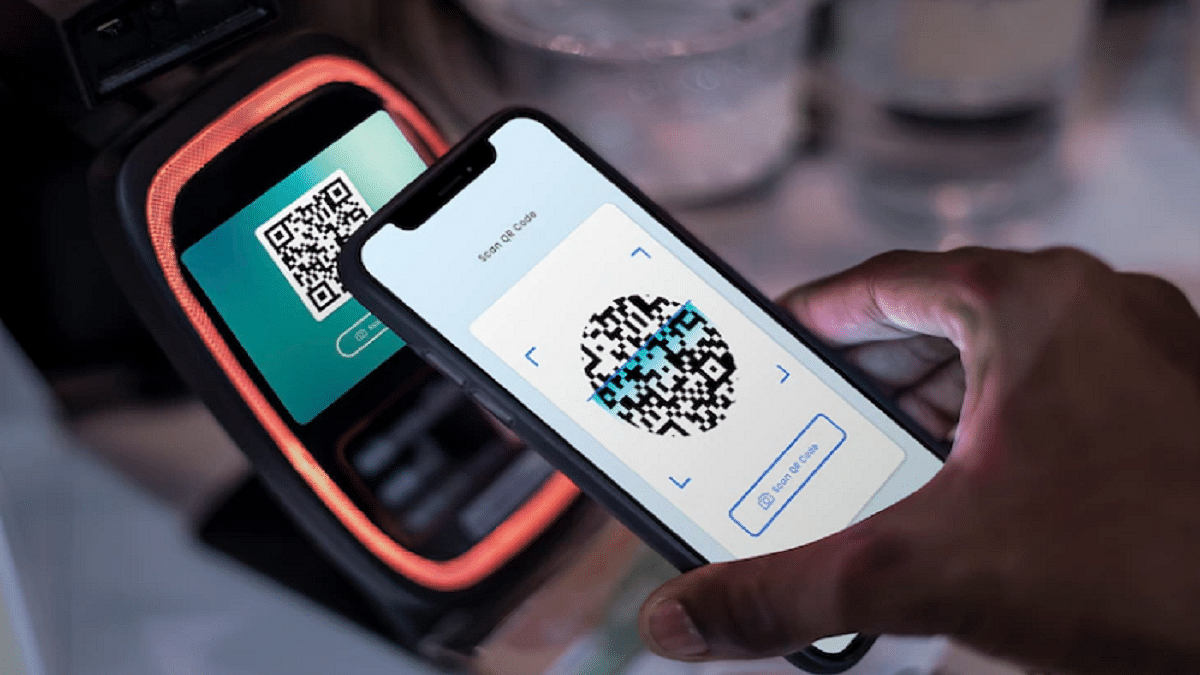
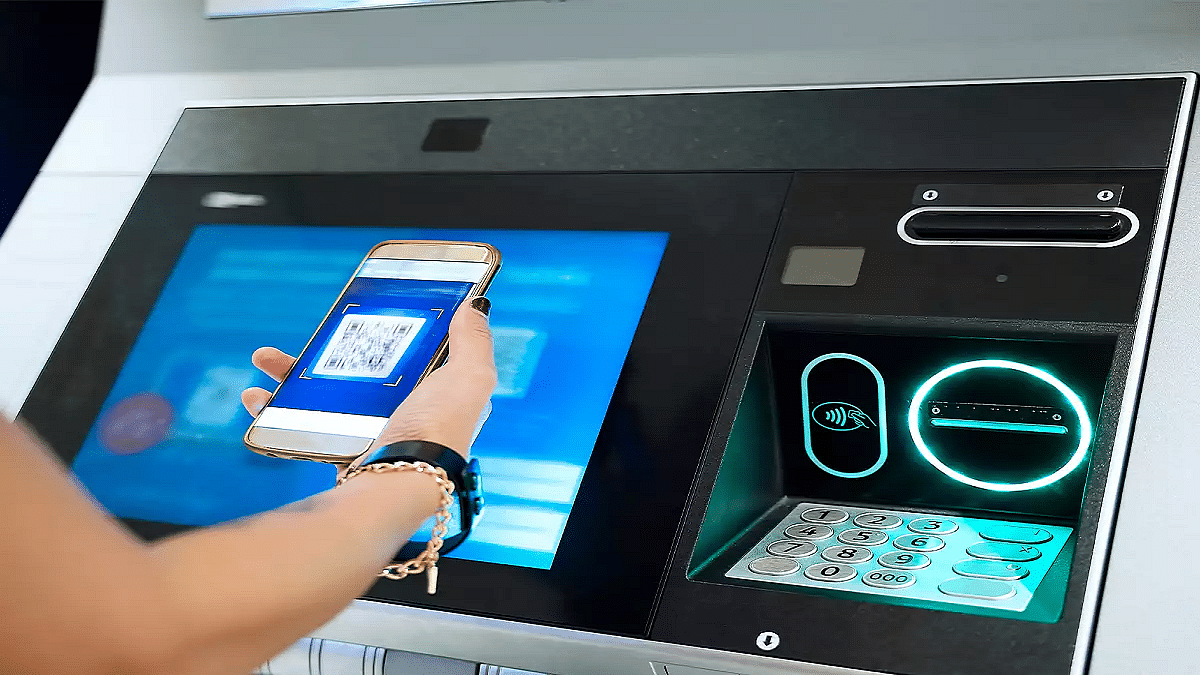
UPI (Unified Payments Interface) has been the game changer for the Indian citizens. The digital money transaction platform have simplified making/ receiving payments with bank linked phone number and dedicated apps. UPI services have been active in India for long now with frequent improvements enhancing the payment interface and overall security with digital money transactions. It’s even possible now to use popular UPI apps such as Google Pay and PhonePe overseas for payments. So, if you are travelling abroad and have to make some emergency payments, international UPI comes to your rescue. But how do you activate it? Well, in this guide we have shared the steps with which you can easily activate international UPI on Google Pay and PhonePe.

For the tech geeks, stay updated with the latest cutting-edge gadgets in the market, exclusive tech updates, gadget reviews, and more right on your phone’s screen. Join Giznext’s WhatsApp channel and receive the industry-first tech updates.

Also Read: Instagram Account Hacked? Immediate Steps To Take If Instagram Account Is Compromised

How To Activate International UPI On PhonePe

Step 1: Open PhonePe mobile app

Step 2: Tap on your profile icon placed on the top of the app’s homepage

Step 3: Scroll down and find the ‘Manage Payments’ option. Click it.

Step 4: Now, navigate to the ‘International’ option and tap on it.

Step 5: Select the ‘UPI International’ option. Currently, it is available for over 6 countries.

Step 6: Tap on the ‘Activate’ button in front of the bank account that you wish to activate for international payments.

Also Read: Enhance Your Daily Productivity: How To Pair Android Smartphones With Windows 11 PC, Laptop Without USB Cable

How To Activate International UPI In Google Pay

Step 1: Open Google Pay app on your smartphones

Step 2: Tap on the QR code scanner

Step 3: Scan the QR code of the international merchant

Step 4: You’ll get an option to enable international UPI. Activate it.

Step 5: Enter the amount you want to make as a payment. You will be shown the currency conversion rate as per the current date.

Step 6: Simply complete the payment by entering your UPI pin.

Categories
Featured How To

Smart Travel Guide: How To Apply For And Get Indian Railways Ticket Refund Via IRCTC

Key Highlights

  • Railway ticket cancellation can be done online
  • Refund eligible for tickets cancelled before chart preparation
  • Up to Rs. 120 minimum cancellation charges

India has one of the largest railways network globally which is growing connecting more cities and villages. Over the years, Indian railways has adapted to the modern technologies and is now providing better services in a bid to cut down long queues at ticket counters. Making train reservations online helps you to plan your journey well ahead. And in case of any emergencies, you can also cancel your tickets online and get a refund. Indian railways has designed a hassle free ticket cancellation and refund process via IRCTC portal. Here in this guide, we have shared the steps that can help you cancel your railways ticket and apply for refunds in case of cancelled or delayed trains.

For the tech geeks, stay updated with the latest cutting-edge gadgets in the market, exclusive tech updates, gadget reviews, and more right on your phone’s screen. Join Giznext’s WhatsApp channel and receive the industry-first tech updates.

Also Read: WhatsApp Advanced Chat Privacy: How To Add Extra Safety Layer For WhatsApp Chats?

How To Cancel Railway Tickets Via IRCTC Online

Step 1: Open IRCTC mobile app or website

Step 2: Login with your registered user ID/ password or mobile number

Step 3: Navigate to Transactions section (mobile app) or My Bookings (website)

Step 4: From the list of upcoming bookings, select the ticket that you want to cancel

Step 5: Scroll down and select ‘Cancel Ticket’ option

Step 6: Verify the details before cancelling.

Step 7: Refund amount will be displayed on the screen which will include cancellation charges if applicable.

Step 8: Once the refund process is initiated, money will be transferred back to the original source within 5 to 7 working business days.

Also Read: Hate Standing In Long Queues: Here’s How To Book Indian Railways Platform Ticket Online

Criteria And Cancellation Charges For Railways Refund

Cancellation Charges Criteria
Rs. 120 If ticket’s cancelled 48 hours prior train departure
25% of base ticket price (minimum Rupees 120)If ticket’s cancelled before 12 hours of train departure
50% of base ticket price (minimum Rupees 120)4 hours before chat preparation or train departure (whichever is first)
Till departure of train No refund
After train departure No refund

Categories
Apps Featured How To

WhatsApp Advanced Chat Privacy: How To Add Extra Safety Layer For WhatsApp Chats?

Key Highlights

  • WhatsApp chats are backed by end-to-end encryption safety
  • New advanced safety layer added called ‘Advanced Chat Privacy’
  • Can be enabled manually on mobile app

WhatsApp has been stepping up its privacy game ever since its launch. Despite being based on an end-to-end encryption platform, WhatsApp has been constantly upgrading its ecosystem with advanced safety and privacy features. The instant messaging app has received another new feature that will be providing advanced safety to all chats and media messages with a single chat or group. What is this new advanced chat privacy feature and how can you enable this feature:

For the tech geeks, stay updated with the latest cutting-edge gadgets in the market, exclusive tech updates, gadget reviews, and more right on your phone’s screen. Join Giznext’s WhatsApp channel and receive the industry-first tech updates.

Also Read: WhatsApp Advanced Privacy Hack: How To Share WhatsApp Profile Without Giving Out Your Mobile Number

WhatsApp Advanced Chat Privacy: What Is It?

WhatsApp has released a new privacy feature called the Advanced Chat Privacy to make conversations more secure and private. This feature has been in works for a while and was spotted via leaks. This new feature will act like an advanced safety layer for your chats where any random person won’t be able to export your chats or media without your knowledge.

The Advanced Chat Privacy feature will also restrict auto-download of media files and also AI tool plug-ins stopping Meta AI features in the selected chats. Advanced Chat Privacy feature on WhatsApp can be enabled with just a few taps on the mobile app. Let’s take a look at the steps below:

Also Read: Telegram Tips And Tricks: How To Schedule Messages On Telegram Android, iOS App

Steps To Enable Advanced Chat Privacy Feature On WhatsApp

Step 1: Open WhatsApp mobile app

Step 2: Go to the single or group chat where you want to enable the Advanced Chat Privacy feature

Step 3: Click on the chat name (from the top)

Step 4: Tap on Advanced Chat Privacy feature to enable it

That’s it, your chats have now been protected by an additional safety layer.

Categories
Featured How To

How To Add EPF Nominee Via Official Online Portal: Step-By-Step Guide

Key Highlights

  • Adding EPF nominee is crucial for account holders
  • Allows seamless money transfers and enhances financial security
  • Nominee can be added online via EPFO platform
  • Any family member can be added as a nominee in EPFO

EPF (Employee Provident Fund) is one of the most beneficial services available for the taxpayers in India. Managing and accessing all EPF services is now easier with the official website. Updating profile, linking aadhaar, and much more can be done via EPFO website. Adding nominee is one of such crucial procedure that you should complete if haven’t already. You can add a family member as a nominee to receive funds and more. In this guide, we are sharing the steps to add a family member or your spouse as a nominee to your EPF account.

For the tech geeks, stay updated with the latest cutting-edge gadgets in the market, exclusive tech updates, gadget reviews, and more right on your phone’s screen. Join Giznext’s WhatsApp channel and receive the industry-first tech updates.

Also Read: How To Use Telegram Without Internet? Top 5 Working Tricks In 2025

Steps To Add Family Member/ Spouse As EPF Nominee

Step 1: Open any web browser on visit the official EPFO website.

Step 2: Tap on the Services tab

Step 3: Select “For Employees” option

Step 4: Tap on the “Member UAN/Online Service

Step 5: Login to your UAN account using your credentials

Step 6: Click on the Manage tab from the menu option

Step 7: From the drop down, select “E-nomination”

Step 8: In the Family Details section, add the nominee details such as nominee’s full name, addhaar card, etc.

Step 9: Add multiple family members if required

Step 10: If you have added multiple nominees, mention the percentage share that will be divided between both.

Step 11: Click Save

Step 12: Once the details are verified, an OTP will be sent to your registered mobile number

Step 13: Tap on E-sign option

Step 14: Now, enter the OTP to complete the nominee add process.

Also Read: Three Effective Ways To Restore Deleted Games And Apps On Windows 11 Laptops And PC: How To Guide

What Documents You Need To Add EPF Nominee?

  • Nominee’s date of birth as per official records
  • Nominee’s Aadhaar number for verification
  • Proof of relation as per EPFO records

Also Read: Hacked Instagram Account? Don’t Worry! Instagram To Help Regain Hacked Account Access Easily

Who Can Be Added As EPF Nominee?

  • Father
  • Mother
  • Spouse
  • Kids
  • Any depended family membet
Categories
Apps Featured How To

Netflix Rolls Out Dialogue-Only Subtitles: Here’s How To Use The New Feature

Key Highlights

  • Netflix adds dialogue-only subtitles
  • Available in many languages
  • Easy to enable in subtitle settings

Netflix has introduced a brand-new feature to make watching shows and movies with subtitles much smoother and more focused. The platform now offers dialogue-only subtitles, starting with season five of its popular thriller series You. This new setting removes background audio cues and speaker names, showing only what’s being said by the characters.

This update is great news for viewers who prefer a cleaner screen while still needing subtitles. Until now, subtitles on Netflix came with extra details like ‘phone buzzing’ or ‘knock on the door’, meant for those with hearing difficulties. While helpful for some, these cues could be distracting for others who just want to follow the conversation. Let’s explore its features and how it works.

Also Read | How To Use Netflix Game Controller iOS App

What’s New With Netflix Subtitles?

  • Only Spoken Dialogue: The new subtitle option displays only what the characters are saying, no sound effects or speaker labels.
  • Multiple Languages Supported: Dialogue-only subtitles are not limited to English. They are also available in languages like French, Italian, Spanish, Brazilian Portuguese, and more.
  • Two Subtitle Options Now Available: Dialogue-only subtitles and subtitles with audio cues
  • Language Labels Made Simple: English: Dialogue-only subtitles, English (CC): Subtitles with audio cues and speaker names

How To Turn On Dialogue-Only Subtitles On Netflix

Want to try this new feature? Here’s how to use it:

Step 1: On your laptop, smartphone, or smart TV, launch Netflix app.

Step 2: Choose a Netflix original title like You Season 5 or any new release.

Step 3: Tap the Play button.

Step 4: Select the option for Audio & Subtitles.

Step 5: On the right, select the language without (CC). For example, choose ‘English’ instead of ‘English (CC)’.

Step 6: Press Back to resume viewing with clearer subtitles.

Also Read | Netflix Moments: What Is It? How To Capture And Share Screenshots?

This small but useful update gives viewers more control over how they watch. Whether you find audio cues distracting or just want to focus on the dialogue, Netflix now gives you that choice. This update is already live on new Netflix Originals and is expected to roll out more widely soon.

For the tech geeks, stay updated with the latest cutting-edge gadgets in the market, exclusive tech updates, gadget reviews, and more right on your phone’s screen. Join Giznext’s WhatsApp channel and receive the industry-first tech updates.

Categories
Featured How To Laptop

Laptop Overheating Issues: Top 5 Quick Fix To Keep Laptop Temperatures Stable

Key Highlights

  • Laptop overheating a common issue
  • Increased temperatures can hamper laptop’s speed and overall performance
  • Dust and dirt, extensive usage, battery degradation common reasons

Soaring summer temperatures is something that affects both human and machines. Increased workloads often leads to machines break down due to high temperatures with continuous operations. The same applies to laptop and PCs where extensive usage in peak summers can lead to frequent crashes, app shutdowns, and more. Excessive heat can even lead to damages further affecting the performance of your laptop. If you already are experiencing frequent laptop heat up and shut down issues due to the same, here’s the guide to fix this issue. We have listed top 5 effective methods that can help you fix laptop heat up issues without paying a visit to service centre.

For the tech geeks, stay updated with the latest cutting-edge gadgets in the market, exclusive tech updates, gadget reviews, and more right on your phone’s screen. Join Giznext’s WhatsApp channel and receive the industry-first tech update.

Also Read: Android Auto Customization: How To Change Wallpaper With And Without Smartphone

Top Effective Methods To Protect Laptop From Overheating

Method 1: Restrict App Running In Background (Extensive or Heavy apps)

Try to keep all the unused apps and software closed when not in use. Closing down unnecessary apps running in the background not only ensure swift performance but also keep your laptop’s temperature steady. It is one of the effective ways to ensure the laptop doesn’t get heated up with continuous usage.

Also Read: Asus ZenBook S13 OLED Laptop Review: A Compact Beast Machine!

Method 2: Use A Laptop Stand Or A Cooling Pad

Try using laptop with a cooling pad or a stand. You can buy a USB-powered cooling pad if your laptop usage is extensive. These pads and stands allows with a lifted placement of the laptop which further helps with proper airflow to keep the temperatures stable. These stands and cooling pads are ideal for extensive gaming and similar tasks that requires heavy processing.

Also Read: ASUS ZenBook S 14 OLED Laptop Review: Efficient Productive Notebook

Method 3: Keep AirVents Clean From Dust

Often clogged air vents of a laptop also leads to increased temperatures. Hence, it is advised to keep your laptop’s vents clean to allow proper air flow. Also, try using laptop on a flat hard surface instead of your lap, bed, or blankets for long. Doing this can block the air vents and the air flow hampering speeds and overall performance.

Also Read: Windows 11 Tips And Tricks: How To Change, Reset Old Password In Windows 11-Powered Laptops/ PCs?

Method 4: Ensure All Apps And Software Are Updated To Latest Version

Older OS and software versions can also lead to laptop overheating. Downloading the latest updates ensure your device doesn’t lag with performance and also maintain stable temperature levels.

Also Read: How To Use Telegram Without Internet? Top 5 Working Tricks In 2025

Method 5: Uninstall Unnecessary Apps And Softwares

Remove or uninstall any app of software which is not in use. Specifically, if the app size is large and it takes up extra storage space. Also, try setting up and using your laptop in a cool room to keep the components functioning well.

Also Read: How To Remove An Image Background On Windows 11

Laptop Overheating Common Signs:

If your laptop is experiencing overheating issues, you will notice the following changes:

  • Abrupt laptop shutdown or restart
  • Laggy performance
  • Frequent app crashes
  • Extreme heat generating through the laptop’s bottom
  • Error messages on screen
  • Slow app launch speeds
  • Loud fan noise or fan continuously operating
Categories
Apps Featured How To

WhatsApp In-App Language Translation Feature In Works: Update

Key Highlights

  • WhatsApp testing new language translation feature
  • Will be integrated within the app itself
  • Multiple language support to be included such as Spanish, Hindi, Russian, Arabic, etc.

WhatsApp is the most commonly used messaging app available globally for Android and iOS devices. Meta-owned instant messaging app offers an end-to-end platform for chatting, audio/ video calling, and media transfers making it private and secure for all conversations. Over the years, WhatsApp has benefited numerous businesses globally and the brand is consistently adding on new features to further improve its ecosystem. To help its users overcome any language barrier, a new feature is getting tested. Yes, you read that right, WhatsApp is finally bringing a native language translation app on its platform; a feature that has been in demand since long. Here’s how you can use the latest in-app language translation feature on WhatsApp:

For the tech geeks, stay updated with the latest cutting-edge gadgets in the market, exclusive tech updates, gadget reviews, and more right on your phone’s screen. Join Giznext’s WhatsApp channel and receive the industry-first tech update.

Also Read: Enhance WhatsApp Privacy: How To Blur Images On WhatsApp Mobile, Desktop App

WhatsApp In-App Language Translation Feature: Stable Rollout?

WhatsApp’s language translation feature currently undergoing testing. The company has not released a stable update to add the in-app language translation feature to WhatsApp mobile app yet. However, the feature has been spotted in the WhatsApp beta build 2.25.12.25 which confirms its imminent arrival. WhatsApp could release the stable version of this update in the coming months after verifying the feature works fine and is free from any technical glitches.

Also Read: Smart TV Modern Hacks: How Transform Your Smart TV Into A Digital Photo Frame

How To Use WhatsApp Native Language Translation Feature

As of now, WhatsApp’s native language translation app can be used only if the WhatsApp version is as above (2.25.12.25). Once the stable update is released, users will be able to translate language using the app itself on a mass level.

That said, reports indicate that once this feature is added to WhatsApp, users will be able to translate language from the downloaded language pack. WhatsApp will also allow users to set automatic translation option for specific chats besides the standard manual translation option. As for the list of languages, WhatsApp will allow users to translate languages in Arabic, Hindi, Russian, Spanish, and Portuguese (Brazil).

Categories
Featured How To Tablet

iOS Tips And Tricks: How To Sync iPad And iPhone With/ Without iCloud

Key Highlights

  • Apple allows iPhone and iPad syncing for seamless user experience
  • Synced devices gets calls/ messages together
  • Safari can also be synced on iPhones and iPads simultaneously
  • Photos, contacts, calendar, and notes are also synced

Apple has one of the strongest ecosystems where the Cupertino giant offers a seamless user experience across iPhones, iPads, and MacBooks. Staying connected simultaneously on multiple Apple devices with same Apple ID helps with the same. If you own both an iPhone and a iPad, you can sync both these gadgets together to sync calls, messages, browsing tabs on Safari, notes, contacts, and much more. In this guide, we are sharing the steps with which you can sync your iPad with iPhone.

For the tech geeks, stay updated with the latest cutting-edge gadgets in the market, exclusive tech updates, gadget reviews, and more right on your phone’s screen. Join Giznext’s WhatsApp channel and receive the industry-first tech update.

Also Read: Enhance WhatsApp Privacy: How To Blur Images On WhatsApp Mobile, Desktop App

How To Sync Apps And Data iPhone With iPads With iCloud?

Step 1: On both your iPad and iPone, log in with the same Apple ID.

  • Follow these steps to log in to the Apple ID on both devices
    • Open Settings menu on both the iPhone and the iPad
    • Enter Apple ID’s username and password
    • Login on both devices

Step 2: Open Settings menu again on both iPhone and iPad

Step 3: Tap on your profile

Step 4: Enable iCloud Sync

Step 5: Toggle on iCloud Drive option to sync all documents and app data across your iPhone and iPad

Step 6: Enable iCloud Keychain (this will synch password and credentials on both devices)

Also Read: How To Use Telegram Without Internet? Top 5 Working Tricks In 2025

How To Sync Apps And Data On iPad and iPhone Without iCloud?

If you don’t wish to use iCloud to sync your iPad with iPhone, you can also use alternative methods listed below:

Method 1: Via AirDrop

Use this option to transfer and share apps data and files across iPad and iPhone seamlessly. This option allows instant data transfer wirelessly.

Method 2: Via Third Party Apps

You can also use Google Drive and similar apps to sync and transfer data on your iPad and iPhone.

Method 3: Via iTunes or Finder Sync

If you are transferring data such as books, music, and movies via Mac or PC to your iPad and iPhone, iTunes and Finder Sync options helps you with the same.

Also Read: iOS Tips And Tricks: How To Set Up And Use Sleep Schedule On iPhone

Categories
Featured How To Info

eSIM Activation: How To Enable and Use eSIM In Android and iOS?

Key Highlights

  • eSIM allows using cellular services without physical SIM card
  • Can be used with flagship-grade smartphones
  • eSIM can be enabled on both Android and iOS devices

Cellular services are now more efficient and reliable making communication and internet services accessible event at the remote places. Physical SIM cards have also become tinier and faster offering 5G networks for high-speed internet connectivity. But gradually eSIM (embedded SIM) technology is taking over the traditional SIM cards. This technology has made it possible to use all the carrier services such as calling, messaging, internet usage without using a physical SIM card. We previously broke down the differences between an eSIM and a physical SIM card. In this guide, we are listing down the steps to activate an eSIM on Android and iOS smartphones.

For a while Pan 2.0 scan has been reported widely by the Indian citizens. A new sophisticated scam targeted at tax payers and other Indian citizens, the Pan 2.0 scam is a big threat that we are breaking down in this article. Alongside, we will also share the steps with which you can stay safe from Pan 2.0 scam.

Also Read: eSIM Vs Physical SIM Card: Which One To Choose In 2025

What All You Need Before Using eSIM?

  1. An Android or iOS smartphone supporting eSIM
  2. Check with carrier if eSIM services are supported
  3. Switch carriers if current doesn’t offer eSIM services
  4. Stable internet connection (prefer Wi-Fi if available)

Also Read: Android Auto Customization: How To Change Wallpaper With And Without Smartphone

Steps To Activate eSIM On Android Smartphones?

Step 1: On your Android devices, launch the Settings app

Step 2: Navigate to Mobile Network section

Step 3: Go to SIM cards section

Step 4: Enable eSIM and select “Add Mobile Plan”

Step 5: Open the QR Code scanner and scan the eSIM activation QR code provided by the carrier.

Step 6: If you already have the activation code, enter it manually

Step 7: Follow the procedure listed on the screen

Step 8: If required, restart your smartphone.

Step 9: eSIM will be activated once all these steps are complete.

Also Read: Three Effective Ways To Restore Deleted Games And Apps On Windows 11 Laptops And PC: How To Guide

Steps To Activate eSIM On iOS?

Step 1: On your iPhones supporting an eSIM, open the Settings menu

Step 2: Scroll to the Cellular section and tap on it

Step 3: Select Add Cellular Plan option

Step 4: Using the QR code scanner, scan the QR provided by the carrier

Step 5: You can enter the details manually if available

Step 6: Select the default line for the e SIM card (if you are using dual SIM cards)

Step 7: Tap on Confirm

Step 8: Once the setup is completed, eSIM will be activated on your iPhone

Categories
Apps Featured How To

Online Shopping? Here’s How To Spot Fake Reviews Like A Pro

Key Highlights

  • Don’t trust only 5-star reviews, look for balanced opinions
  • Focus on verified purchases and detailed reviews
  • Use tools like Fakespot to check if reviews are real

Shopping online is super convenient. But how do you know if that glowing review is real or just fake hype? With thousands of reviews floating around, it’s easy to get misled. Whether you are buying a smartphone, skincare product, or a new kitchen gadget, spotting fake reviews is a must to avoid regret later. Here’s how you can find out which reviews to trust and how to choose genuine products confidently.

Also Read | Four Best Coupon Apps For Online Shopping

Check The Review Patterns

If you see a product with only 5-star reviews, all posted around the same time, be alert. This could mean the reviews were posted by bots or paid users. Real reviews come in a mix, some good, some bad, and are usually spaced out over time. A genuine product will have a balanced rating with comments talking about pros and cons.

Look At Verified Purchases

Most e-commerce sites like Amazon tag certain reviews with “Verified Purchase.” This means the reviewer actually bought the product. These reviews are generally more reliable than unverified ones. So, scroll through the verified section before making a decision.

Read The Review Details

Genuine reviews talk about real user experience, what they liked, what could be better, and whether the product met their expectations. If a review is too short, vague, or just keeps saying “awesome” or “great,” it might be fake. Trust reviews that give useful details, especially ones that mention usage after a few days or weeks.

Beware Of Overused Keywords

Some fake reviews are stuffed with keywords like “best phone ever” or “excellent quality” to boost visibility. These reviews sound robotic and unnatural. Real users usually don’t talk like ad copies. If it reads like a commercial, it’s probably not from a real buyer.

Also Read | Top Five Shopping Apps In India For Fashion Enthusiasts

Use Review Checker Tools

There are free tools like Fakespot and ReviewMeta that analyze reviews and rate their authenticity. These tools can save you time and help you avoid shady products. Just copy the product link into the tool, and it’ll show whether the reviews are mostly real or fake.

For the tech geeks, stay updated with the latest cutting-edge gadgets in the market, exclusive tech updates, gadget reviews, and more right on your phone’s screen. Join Giznext’s WhatsApp channel and receive the industry-first tech updates.