Key Highlights
- Smart TVs can be transformed into digital photo frame
- Built-in features and chromecasts can help with the same
- Third party apps available to make smart TVs a photo frame
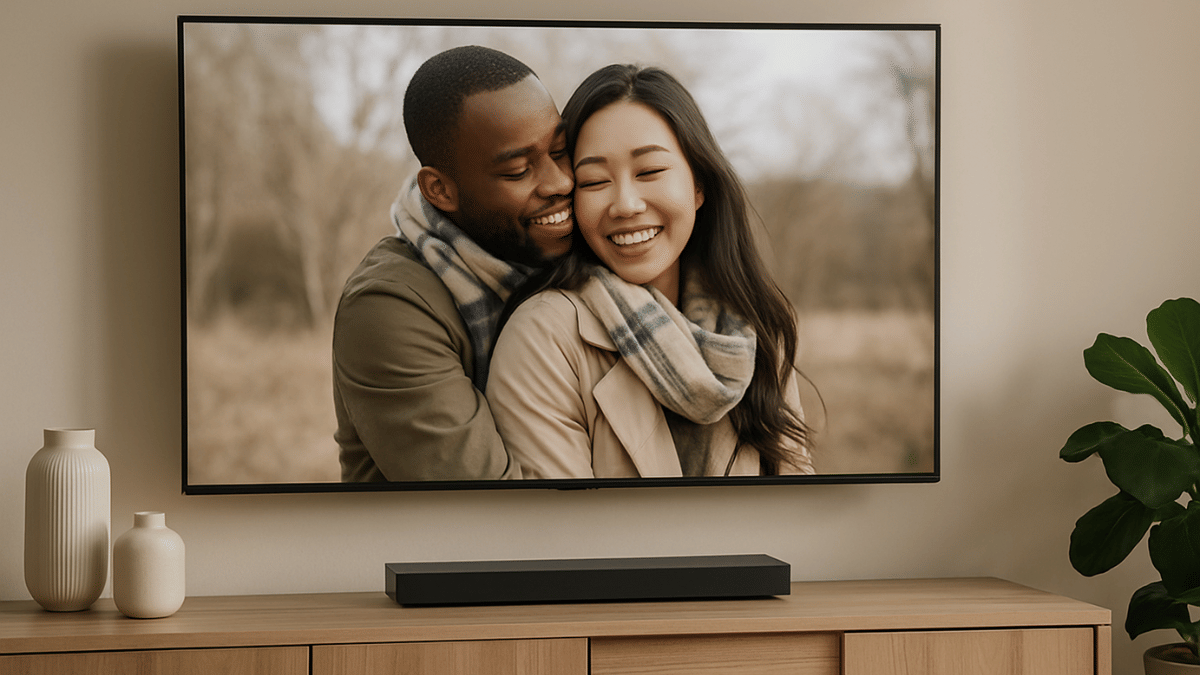
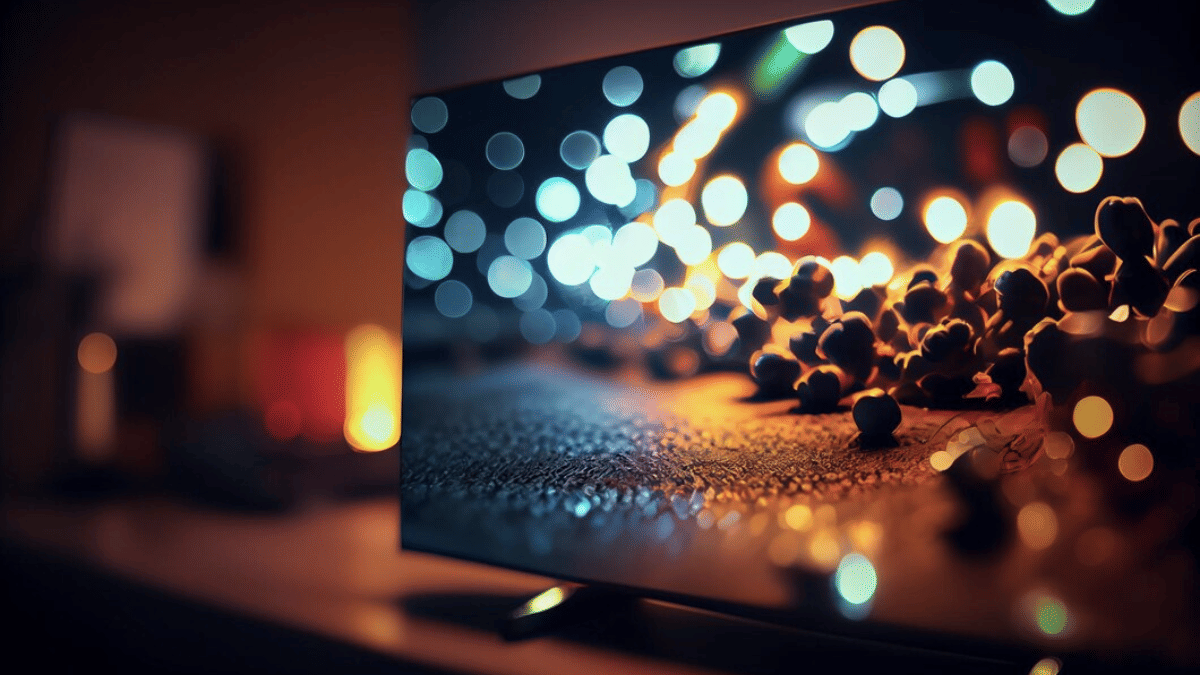
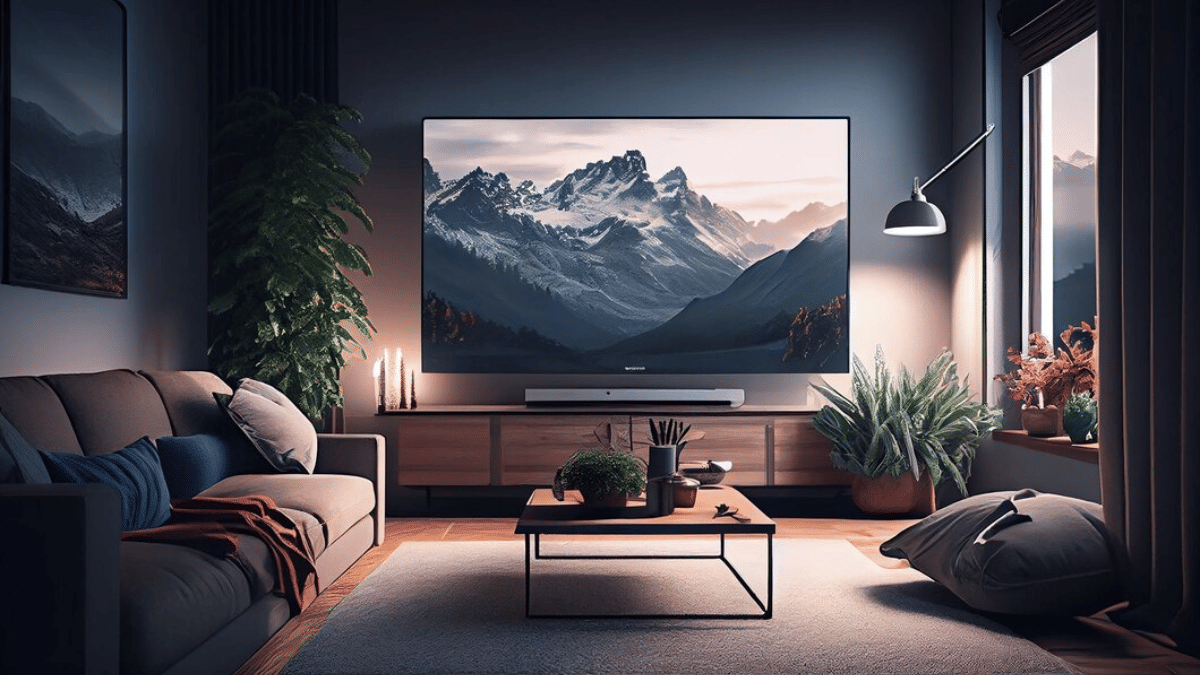
TVs aren’t just the usual bulky boxes with a picture tube. Modern age TVs are thinner and smart equipped with advanced internet and other technologies. And internet connectivity is just one part of it. Wireless accessories support, digital voice assistant integration, etc., are some of the other advancements with modern age TVs. But do you know, you can even transform your smart TV into a digital photo frame. Wouldn’t it be refreshing walking into your room with new photo frame every time. In this guide we are exploring the top 5 methods that can help you transform a smart TV into a digital photo frame.
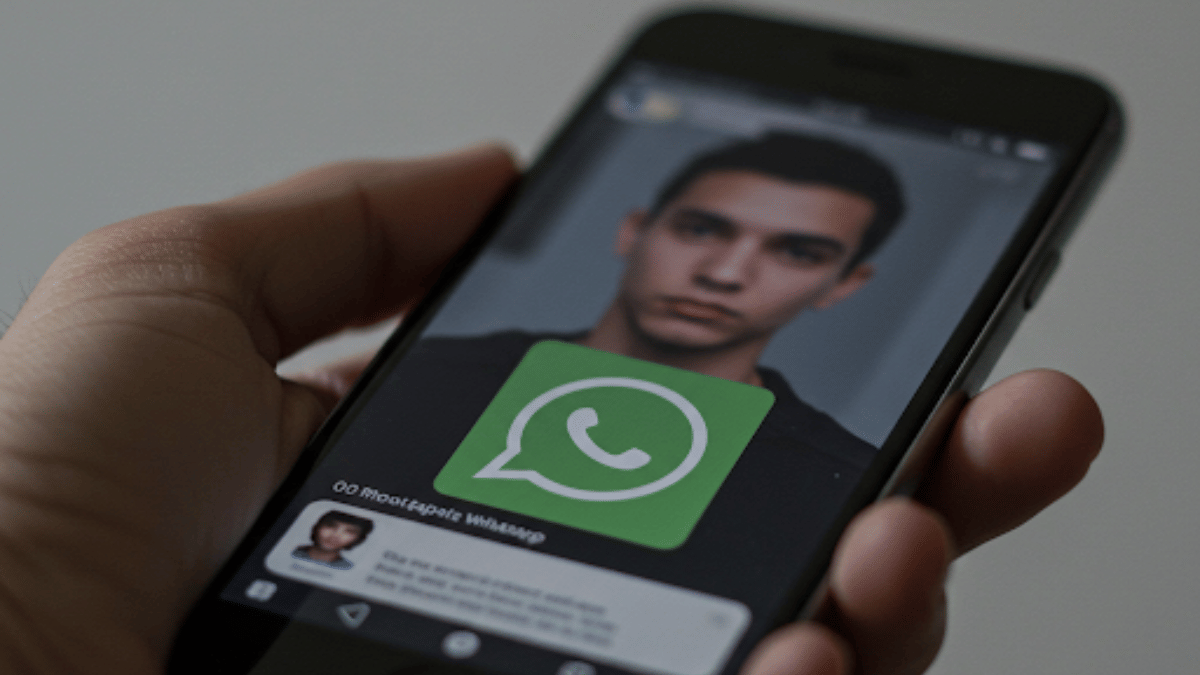
For the tech geeks, stay updated with the latest cutting-edge gadgets in the market, exclusive tech updates, gadget reviews, and more right on your phone’s screen. Join Giznext’s WhatsApp channel and receive the industry-first tech update.
Also Read: List Of Best Advanced Air Purifiers For Large Rooms
5 Ways To Transform Smart TVs Into A Digital Photo Frame For Your Room
Method 1: Using Built-In Photo Frame Apps And Features
Flagship grade smart TV models from premium brands such as Samsung, LG, and Sony have a built-in ambient or art mode feature that helps that setting up photos as frame and wallpaper. These apps can be found wit the names such as Ambient mode or Art mode or Gallery, etc., depending on the brand.
You just need to navigate to the app and use your desired photo as a photo frame on the smart TV. These apps can also help setting up screen savers which can further enhance your room’s appeal.
Also Read: Hacked Instagram Account? Don’t Worry! Instagram To Help Regain Hacked Account Access Easily
Method 2: Via External USB Or Storage Devices
Ensure your smart TV supports external USB and storage devices. Only then you will be able to use images from external sources as photo frame or screen saver on the TV. Also, there should a built-in app to display and set the images as background photo frame or slide show.
- Connect your USB or the external SSD storage device to a lapptop or PC
- Upload the set of images that you wish to use as a digital photo frame
- Now plug the USB or the external storage device to the TV
- Open the supported app that can let you open the image and use it as a photo frame.
Also Read: Tablet Buying Guide: Top 3 Tablets With Stylus Pen Support Under Rs.30,000 In 2025
Method 3: Via Third Party Apps
Most of the new-age smart TVs available today comes with third party installation support. If your TV also supports third party apps, you can download Plex, Fotoo, and similar apps to transform it to a digital photo frame.
- Go to the app store on your smart TV
- Search for Kodi, Plex, and other similar apps
- If available download and install
- Choose the photo that you want to set as a photo frame
Also Read: Smart TV Slowing Down? Here’s How You Can Speed Up Smart TV Performance
Method 4: Via Chromecast
If your smart TV has integrated Chromecast feature, you can use Google Photos to select and set a photo as the digital frame. If not, you can use external chromecast devices and get done with the same.
- On your smartphones, launch the Google Home mobile app
- Tap on add device menu
- Now, look for your TV in the device list
- Open the settings menu (gear icon)
- Head to the Ambient Mode settings
- Select Google Photos option
- Choose the image that you want to set as photo frame.