Categories
Apps Featured How To

How Can You Delete Google Pay Transaction History: A Step-By-Step Guide

Key Highlights

  • Google Pay helps you send or receive money from anyone with zero fees
  • The digital wallet platform keeps track of your purchases
  • It does not allow you to easily delete your transaction details

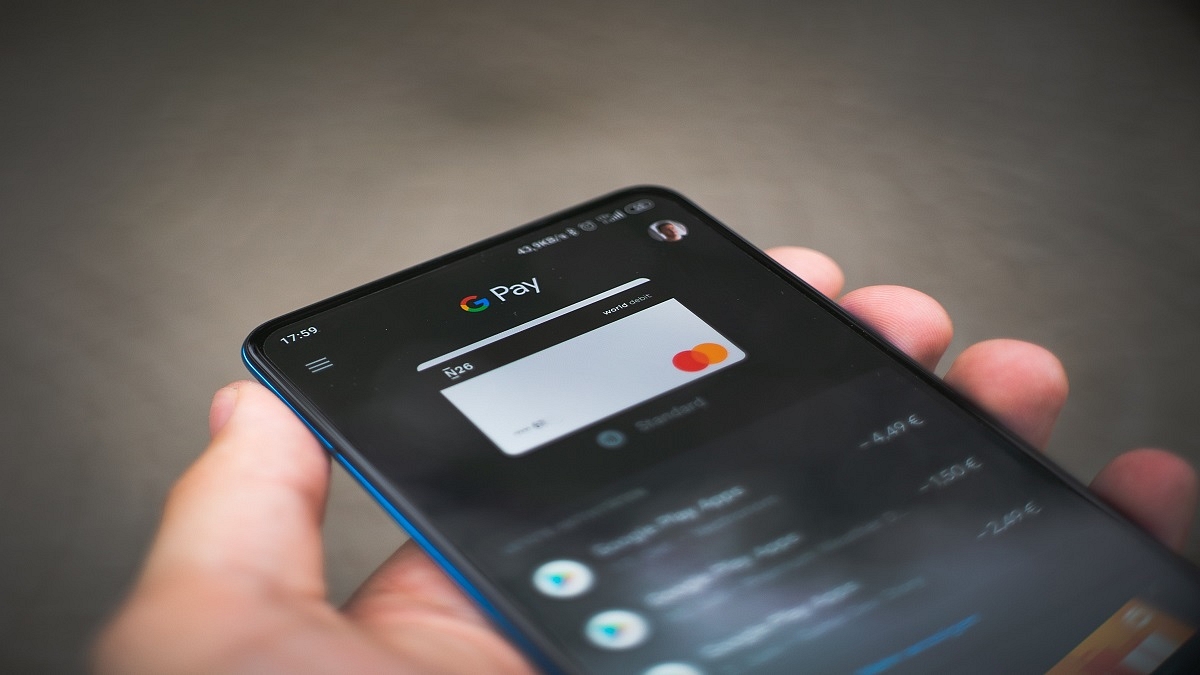
One of the most widely used online payment apps in India is Google Pay. Money from your friends, family, nearby businesses, or third-party apps can be sent or received using this method. Additionally, it compensates users for each transaction. Additionally, the app itself keeps a record of these transactions. However, you have the option to delete it if you don’t feel comfortable with Google saving or tracking all this information about you.

You can delete your Google Pay transaction history using the step-by-step instructions provided here to stop Google from tracking the information. Also Read | Want To Delete Your PhonePe History? Read Step-By-Step Guide Here

How To Delete Google Pay Transaction History

Step 1: Open Google Chrome and go to the “www.google.com” website.

Step 2: Now, search for “Google account” and sign/log in to your account.

Step 3: A new page will appear. There, select “Data and Privacy” by clicking on three horizontal lines in the top left corner.

Step 4: Under the “History Settings” section, select “Web and App Activity” > “Manage All web & app activity”.

Step 5: Now pick “Other Google Activity” by tapping the vertical three-line menu on the search bar.

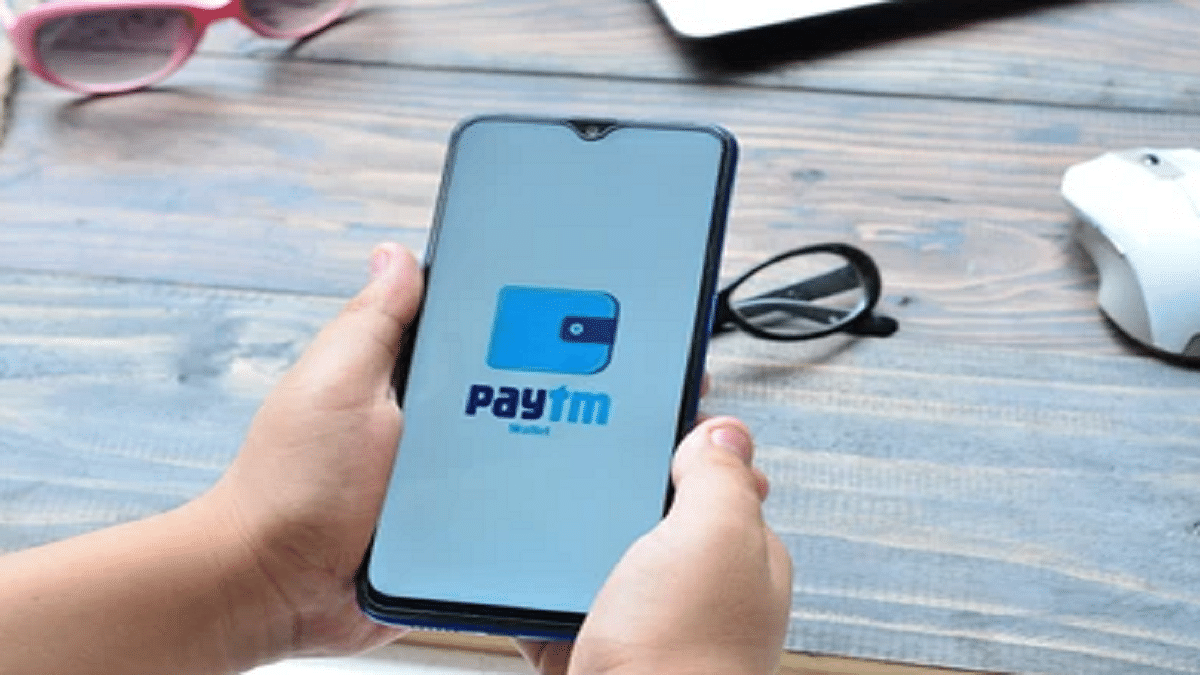
Also Read | Use Paytm To Book Your Bus Tickets: A Step-By-Step Guide

Step 6: Select “Manage Activity” from the Google Pay experience option.

Step 7: You can select which portion of the transaction history you want to erase from a drop-down menu that appears when you click “Delete.”

It offers options together with “Last hour”, “Last Day”, “Custom Range”, and “All Time”. Additionally, users will have the choice to remove the transaction history for a specific time frame. Once you’ve made your selection, all you need to do is click “delete” to finish. Notably, the modification does not appear in the transaction history for up to 12 hours.

Also Read | How Can You Delete Paytm Transaction History From Your Android And iOS Device

Categories
Apps Featured How To

Google Maps Privacy: How To Blur Or Delete House Or Any Other Image In Google Maps Street View

Navigation technology has modernized with the advancements in technology. We now have reliable navigational apps and tools available for not just smartphones and related gadgets but also automobiles. Google Maps is among the most reliable services for navigation nowadays. With features such as Satellite and 3D Street View, Google Maps is a feature-rich app you can use on smartphones, laptops, and car/bike instrument clusters.

Google Street View feature is often used to get a clear insight into the neighborhoods you wish to visit. You can view the nearby buildings and billboards, and other objects when you fire up the Street View in Google Maps. Try searching in your location or address, you might even see your house pop up on the screen.

By default, street-level collections visible on Google Maps including Photo Paths are blurred in the Street View. But you might see a clear view of any building or house in the Street View option. If it’s your own house and you don’t want it to be clearly visible, blurring it out would be the easiest way. The steps for the same are mentioned below:

Also Read: Google Maps On Apple Watch: How To Setup And Use Google Maps For Navigation On Apple Watch

How To Blur House Or Any Other Information In Google Maps Steet View

If in case you are the owner the image of the house or building uploaded on Google Maps then you can either delete or reupload the blurred image. However, it someone else is the owner, you will have to perform different set of steps.

Step 1: For your own images, open Google Maps on laptop/ PC. Note, smartphone app can’t be used to blur house on Google Maps.

Step 2: Tap on the Menu option (three horizontal lines).

Step 3: Click on Your contribution option and select Photos.

Step 4: Locate the photo you want to delete and clock on More.

Step 5: Tap on Delete this photo.

Also Read: How To Access Google Maps Without Phone On Wear OS

Steps To Delete Or Blur Your House In Google Maps Street View If Your Aren’t The Owner

Step 1: Launch Google Maps and open the photo that you want to get blurred.

Step 2: Click on Report a problem option.

Step 3: Fill the form and submit.

Step 4: Tap on Submit.

Also Read: Google Maps Location Sharing Alert Notification: How To Notify Your Contacts Of Your Arrival And Departure Using Maps

Categories
Apps Featured How To

How Can You Delete Paytm Transaction History From Your Android And iOS Device

Key Highlights

  • Paytm allows you to send money to friends and family using debit cards, credit cards, and online internet banking
  • Millions of transactions are done on Paytm each day
  • A simple option to hide or remove transaction history is not there in the Paytm app

We are moving further toward cashless transactions in this digital age, especially when using digital payment methods. PhonePe, Google Pay, and Paytm are a few of India’s top digital platforms. You can send and receive money using these payment services without regard to place or time constraints.

Paytm is one such app that has completely changed how Indians transact. The user’s financial demands are essentially all met by the digital wallet. The money in their wallet can be used for a variety of things. Every time we make a purchase or complete a transaction, it is recorded in the Paytm digital payment platform as transaction history.

Also Read | How To Check Metro Card Balance Offline And Online? Learn Here

What happens though if you wish to uninstall the application? Are you interested in learning how to remove Paytm transaction history? Removing everything after your migration is a great strategy to ensure your safety. In this article, we are going to share how to delete your Paytm transaction history permanently from your account statement.

Also Read | Want To Delete Your PhonePe History? Read Step-By-Step Guide Here

How To Delete Paytm Transaction History

The simple option to hide or remove transaction history is not there in the Paytm app. However, you can completely remove your Paytm transaction history by following this step-by-step manual. Check it out:

Step 1: Open the Paytm app on your mobile phone and log in to your account.

Step 2: Tap on your profile icon at the top of the screen.

Step 3: Select the 24×7 help option.

Step 4: Click on the transaction which you want to delete.

Step 5: You will then be prompted to choose the problem-descriptive issue. Any choice on the list is up for selection.

Step 6: To delete the details, click the “Message Us” button and enter a reason. The transaction history will now be concealed within 24 hours. That’s all.

Also Read | Transferred Money To Wrong Paytm Account/Bank? Here’s How To Retrieve Money When Transferred To Wrong Account Using Paytm

Categories
Apps Featured How To

How To Upload WhatsApp Status In High Quality (Images, Videos) On Android, iOS?

Key Highlights

  • WhatsApp is top messaging app choice for both Android and iOS users
  • It ensures secure communication for both personal and professional use
  • It offers multimedia support, including audio and video files

WhatsApp is the best-in-class instant messaging application available for both Android and iOS. With a privacy-centric end-to-end encryption platform and WhatsApp has become the most secure application for professional as well as private messaging with added elements such as audio and video file support. WhatsApp has been expanding its platform’s capabilities beyond just simple texting. It offers multiple options and features enabled with multimedia support to enhance the user experience. Also Read | WhatsApp Tips & Tricks: How To Unblock Yourself And Regain Access

WhatsApp Status is one such feature that has been loosely based on the Instagram Stories option. With WhatsApp Status one can easily share and upload pics, videos, and even texts which are visible to all contacts. WhatsApp has made several improvements to the Status feature including the security aspects.

While sharing WhatsApp Status is an easy process, quality-related issues have been reported by the users for images and videos. You might see images or videos getting pixelated during playback when uploaded as a WhatsApp Status. That’s generally the case with the default settings. When you upload and share images directly from the phone’s gallery, the quality might get deteriorated after uploading it as a Status on WhatsApp.

Also Read | How Can You Upload Instagram Stories In High-Quality

Thankfully, you don’t have to download any third-party app to upload high-quality WhatsApp Status. WhatsApp itself offers the provision to users to upload high-quality images and videos without compromising the quality. If you are curious how can you upload high-quality WhatsApp Status the steps for the same are below:

How To Share High-Quality WhatsApp Status Using Android And iOS

You just need to make a few modifications to the WhatsApp settings to upload high-resolution Status.

Step 1: Open the WhatsApp application on your Android smartphone or iPhone.

Step 2: From the Home Screen tap on the More option.

Also Read: WhatsApp Image Blur Tool To Enhance User Privacy: Update Coming Soon

Step 3: Now, select the Settings option.

Step 4: Scroll to the Storage and Data option and select it.

Step 5: You will see the Photo Upload Quality at the bottom. Tap on it.

Step 6: Three options will be presented including Auto (recommended), Best Quality, and Data Saver. Select the Best Quality option to upload high-quality images and videos and WhatsApp Status. The Data Saver option will upload images and videos as Status on WhatsApp in low quality to save data consumption.

Step 7: Select OK to save the changes.

Categories
Featured How To mobile

Incoming Call Not Showing On iPhone? How To Fix Caller ID Incoming Call Issue On iPhone?

Key Highlights

  • Incoming call not showing is a common issue with iPhones
  • Not a hardware related issue
  • Can be fixed with a bunch of troubleshooting steps

Mobile communication is what we all rely on for day-to-day connectivity with peers, family, or businesses. While we have transitioned from basic feature phones with keypads, the new-age smartphone contributes equally to daily mobile communication along. In addition to voice calling, modern smartphones (both Android and iPhones) now are capable of allowing users to make video and voice calls over the internet.

Caller ID is one of the common features which is accessible for both Android and iOS users. This safety-calling feature notifies users of incoming calls from any specific number or contact. If the phone number is saved on your device, the contact name will be displayed on the phone screen. If the phone number isn’t saved, you will see an unknown caller notification along with the number on the phone’s screen.

Also Read: Google To iOS: How To Transfer Google Contacts Directly To iPhone

While most of the latest generation smartphones have the called id feature integrated, there are multiple other options available via third-party developers on Apple App Store and Google Play Store. If you have the default Caller ID feature toggled on, you will be able to see the caller label (name and number). Often, due to random app glitches, the incoming calls are not visible on the phone’s screen

This issue is prevalent across both Android and iOS devices. We already have covered the methods/ ways with which you can fix the incoming call not showing error on Android smartphones. But what if you come across this error where the Caller ID isn’t visible or displayed on iPhones? Well, a bunch of quick troubleshooting steps can easily resolve calls not showing issue in iPhones. Read on below:

Also Read: Invisible Messages On iPhone: How To Send Invisible Messages Using iMessage On iPhones?

Steps To Fix And Resolve Incoming Call Not Showing Issue On iPhone

Before we proceed, it is worth adding that incoming calls not getting displayed on iPhone isn’t any hardware-related issue. It is a random error or glitch which you can easily fix using the following steps:

Step 1: Restart your iPhone: Restarting an iPhone is the quickest way to fix the incoming call not showing on iPhones. This will clear out any temporary issues with the Caller ID feature and will display the caller information along with the answer and reject call option.

Step 2: Check for new updates: Make sure your iPhone’s iOS version is the latest and all the system and app updates are complete. This will fix the temporary issue with the caller ID function on iPhones.

Step 3: Check and toggle on Phone app notification: You need to check if the Phone notification is enabled on your iPhone. To toggle it on, open the iPhone settings and scroll to the Notifications tab. Select Allow notifications from the Phone menu. Make sure the Banners option placed under Alerts is also on.

Step 4: Correct Incoming call settings: Incoming call settings can be modified if your iPhone is running on iOS 14 or above. You can select Full-screen incoming call ID instead of a banner. Once this setting is applied, reboot your iPhone to fix the issue with incoming calls not displaying on iPhones.

Step 5: Reset Phone Settings or iPhone itself: If none of the aforementioned troubleshooting steps doesn’t fix the incoming call not showing the issue with iPhone, you can try resetting the default phone settings. If the issue persists, try resting the iPhone itself to resolve the incoming call not visible issue.

Also Read: SIM Toolkit In iPhone: How To Access SIM Toolkit/Applications On iPhone

Categories
Apps Featured How To

How Can You Change Font Style In Telegram: Steps For Android, iOS, Desktop

Key Highlights

  • Telegram is widely used for both business and personal communication
  • The platform has its main focus on personalization
  • It lets users format text messages and change font

Plain text is insufficient. Text formatting in Telegram is useful when you need to highlight a word or give one thought priority over another. There are a number of features in Telegram that set it apart from other social media platforms. The platform’s primary goal is personalization since when something is made specifically for a user, they feel a sense of belonging. Here’s how to make your posts and messages easier to read and more expressive.

Also Read | Want To Send Stylish WhatsApp Messages: Here’s How To Change Font Style In WhatsApp

How To Change Font In Telegram?

Bold, italic, strikethrough, underline, and monospace are the five different font styles available in Telegram. The option of including a hyperlink is also available. Only the typeface’s style can be altered; the font itself cannot.

There is a possibility for you to make your messages stand out because many people are unaware of these formatting options or just sometimes use them. You can highlight terms and exclamation points in Telegram messages. Here’s how you can do it:

Step 1: Open the Telegram app on your smartphone. Android users can download the app from Google Play whereas Apple users can install it from App Store.

Step 2: Tap on the chat whom you want to text.

Step 3: Type the message you want to convey.

Step 4: Select the text you want to change the style of.

Step 5: After selecting you’ll get a floating box. Click on the three dots there and you’ll get font formatting.

Step 6: Now you can choose the way your font has to be. That’s all.

Also Read | Instagram Stylish Name And Bio: How To Write Instagram Profile Name And Bio With Stylish And Cool Fonts

The above steps are the same for Android, iOS, and Desktops. Stickers, animated GIFs, and new masks or skins can all be used with cool fonts. The basic settings for Telegram contain all of that. GIF animation can be disabled to save traffic. These added features may appear wholly informal and best suited for casual conversations, but they are regularly and successfully employed in corporate discussions and mass congratulatory messages.

For the tech geeks, stay updated with the latest cutting-edge gadgets in the market, exclusive tech updates, gadget reviews, and more right on your phone’s screen. Join Giznext’s WhatsApp channel and receive the industry-first tech updates.

Categories
Featured How To Mobile

SIM Toolkit In iPhone: How To Access SIM Toolkit/Applications On iPhone

Key Highlights

  • SIM Application is found on iPhone, iPad, and Windows devices
  • It is the control center of the KnowRoaming SIM Sticker
  • In some regions, mobile data is called cellular data

Most cell phones have a tiny chip called a SIM card which is something that most of you are probably already aware of. You probably already know how to use it to save contact information and a limited number of text messages, too.

But did you know that the SIM card has very little amount of memory that can be used to store program codes? Basic applications are usually pre-programmed into this slot by the network operator who issues the SIM card. This enables users to carry out actions relating to their cellular service such as checking their balance and activating service options. If you have an Android device, accessing a SIM card application is a simple procedure. But on an iPhone, these apps are accessible in a different way. Also Read | No SIM Card Error: How To Fix No SIM Card Detected/ SIM Toolkit Issue With Smartphones

What Are SIM Applications?

A GSM standard called SIM Applications Toolkit enables SIM cards to launch operations that can be used to provide value-added services. This is the SIM Menu that your carrier has preloaded so they can give you extra services. Mobile money payments, substitutes for USSD codes that have a more engaging user interface, and other services are examples of value-added services.

How To Access SIM Toolkit On iOS?

With iOS 12.1 and later updates, the location of the SIM application was changed, putting it in a more logical location but still under Settings. In some regions, mobile data is called cellular data but the steps are the same. You simply need to follow the listed steps to access the SIM app on your iOS:

Step 1: Go to your Settings menu.

Step 2: Pick “Mobile Data”.

Step 3: Choose “SIM Applications”. And that’s pretty much it!

What your carrier has preloaded on the SIM card will have a significant impact on the features that are accessible there. For example, SIM cards not only provide billing and payment information but also give you the option to view missed calls while your phone has been out of service.

Also Read | How To Access And Enable The SIM Toolkit On An Android Device?

Categories
Apps Featured How To

How To Edit Audio Recording And Voice Notes In iPhones Using iOS?

Android and iOS smartphones are all capable of completing numerous such tasks which previously has been possible only with high-end machines including laptops and PCs. Modern days devices, specifically iPhones have earned a rapport for high-quality video recordings. Apple has been improving both photography and videography experiences with iPhones. Even iOS has been optimized to provide firmware-level support for the improved camera hardware being packed inside the new-gen iPhones.

In addition to video recording, iPhones also allow users to record audio or voice notes which can be used later for different purposes. It wouldn’t be wrong to say that audio recording is among the crucial features that every single smartphone available in the market today is integrated with. Recording a voice is an option with built-in or third-party voice recorder apps.

Apple does not just allow users to record audio but also edit or trim as per requirements. The Voice memo feature available in all iPhones lets users record and edit voice notes or audio recordings. The built-in editing tool makes it easy to fine-tune the recorded audio, and remove and add parts.  If you are unaware of the exact procedure to edit any audio recording on iPhones or iOS, then read the steps below:

Also Read: WhatsApp Call Recording: Here’s How You Can Easily Record Call On Android And iOS

Steps To Edit Or Trim Voice Recording On iPhones

Step 1: Open the Voice Memo app and go to the list of audio recordings.

Step 2: Select the audio or the voice note that you want to trim or edit.

Step 3: Click on the trim icon placed in the top right corner.

Step 4: Select the audio part that you wish to trim.

Step 5: Once you have done the audio selection and trimmed the necessary parts, tap on the Play button to cross-verify.

Step 6: You can now either trim the audio selection or delete it. Once done, tap on save to continue.

Also Read: Fix Incoming Call Not Showing On Screen Android: Here’s How

How To Edit And Replace Any Audio In iPhone

Step 1: Open the Voice memo or the recording app in iPhone and go to the list of audio recordings.

Step 2: Tap on More option (three dots) and select the Edit Recording option.

Step 4: Select and drag the audio waveform to the position from where you wish it to start.

Step 5: Click on the Replace option to start recording with the replaced audio. Tap pause or resume as required.  

Step 6: Tap on Done once the necessary edits have been done with the audio recording.

Also Read: iOS Tips And Tricks: How To Setup And Use AutoFill For Contact Cards And Credit Cards In Safari On iPhones And iPads

.

Categories
Featured How To TV

Want To Reset Your Dish TV HD Set Top Box? Here’s How To Do It

Key Highlights

  • Dish TV HD set-top box are still popular amongst Indian consumers
  • Dish TV set-top box can become slow over time
  • Resetting a Dish TV set-top fixes slow speed issues

Do you use a Dish TV connection? If so, there’s a good likelihood that your Dish TV set-top box has slowed down over time to the point that even the most basic remote commands require several seconds to be processed. It takes a while to switch channels, and it always takes forever to load the program guide.

When you are browsing channels, it can be really aggravating since you never know if your remote input was received by the box or if it is simply sitting there happily processing an old command. Let us assure you that there is a solution if you have encountered this problem and have wondered if there is a method to resolve it. All it requires is to clear up the box’s cache and do a reboot to freshen it up.

Also Read | How To Remove Channels From Tata Sky: Tips To Save Extra Bucks

How To Reset Dish TV HD Set-Top Box?

Prerequisite: Verify that your TV and set-top box are both on and that the boot process for your set-top box is complete. Before beginning, you can turn on your set-top box for 10 to 15 minutes.

Step 1: Press and hold down the “Menu” button on the remote control of your set-top box. Hold it there until the TV displays a menu with the title “Installation Main Menu” or something similar.

Step 2: Select “System Setup” from this option and then click “OK.” You’ll reach the “System Setup” menu screen as a result.

Step 3: Select “Erase EPG” from the menu options in the “System Setup” menu screen, then click “OK.” A warning message will be shown on the screen by the system. Click “OK.”

Step 4: As directed by the message, press “OK” or one of the Color buttons on the remote. As soon as you click “OK,” a notice letting you know that the erasing is in progress will appear on the screen.

Step 5: Once complete, the system will immediately return to the “System Setup” menu screen. Choose “Erase flash FS” from the menu options here.

Also Read | How To Get Tata Play Binge App Access At Rs. 59; See All Steps Here

Step 6: The system will need your confirmation once more. To continue, click Confirm.

Step 7: The box will restart automatically after Step 6 is finished. The system will download the program guide and other data from the network, which could take a while for the reboot to finish.

Step 8: Your set-top box is ready to use and faster than before after the update is finished. That’s all.

Also Read | Airtel Digital TV: How To Add Or Remove Airtel DTH Channels

Categories
Featured How To

How Can You Check Or Verify If Your Smart TV Has HD, FHD, 4K, Or 8K Resolution?

Key Highlights

  • Modern days smart TVs offer FHD, 4K, and 8K resolution
  • Cross-verifying screen resolution makes sure the purchase is correct
  • TV packaging and manuals is the easiest way to check

Smart TVs have taken over the big screen market. You can get TVs of all makes and kinds laced with modern technologies such as internet connectivity and OTT app support. Samsung, LG, Sony, and TCL are some of the noted premium smart TV brands. In recent years, smartphone manufacturers have also set their foot in the smart TV market and are catering to all ranges of consumers. You now don’t have to shell out huge sums of money to buy a feature-packed smart TV. Specifically, if you wish to buy a large-screen TV with a high-end display and Wi-Fi/ Bluetooth wireless network support.

While standard HD Ready TVs will cost you less, FHD and HDR TVs have also become pocket-friendly. Some of the affordable TVs also offer 4K UHD resolution which definitely adds to a theatre-like experience without stepping out. But often counterfeit models make their way into their market finding way into homes due to their cheaper price tag. We have encountered some unrecognized brands selling TVs labeled with 4K and UHD resolution.

Also Read: Airtel Digital TV: How To Add Or Remove Airtel DTH Channels

It is always advised to cross-check the screen resolution of the smart TV before making a final purchase. This would make sure the content being played is in high resolution or the exact 4K and UHD resolution. But if it’s an online purchase, you would only have to rely on the product page specs listing. So verifying the screen resolution wouldn’t be an option beforehand. However, it’s always better that you are aware of the steps to check the exact screen resolution supported by any TV. We have listed the methods below:

Also Read: OnePlus TV Y1s Pro Vs Xiaomi MI TV 4X: Best 43-inch Smart TV Model Under Rs. 30,000 In India

Steps To Check Smart TV Resolution If It Supports 4K Or Not?

Step 1: Often, TV packaging has all the specifications mentioned including the display size, resolution, and other details.

Step 2: If there is no mention of the display specifications in the smart TV packaging or retail box, you can try looking it in the manuals that ship along with the retail box.

Step 3: If you don’t have access to the retail box or the manuals, you can also check the display specs from the TV itself. For this, you will need to go to the Settings menu.

Step 4: Open Picture/ Display settings.

Step 5: Scroll down to screen resolution. If it’s 1080 then your TV is FHD, anything within range of 4000 pixels will be 4K UHD.

Also Read: Smart TVs At CES 2023: List Of Best 4k OLED, ULED Smart TVs From Samsung, LG Announced